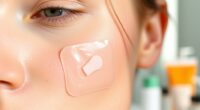
To apply an acne patch properly, start by thoroughly cleansing and drying your skin to remove dirt, oil, and makeup. Carefully peel the backing without touching the adhesive, then gently place the patch directly over the blemish, ensuring it’s centered and flush against your skin. Press lightly around the edges to secure it, and avoid disturbing it during wear. For best results, follow these steps closely and discover more tips on ensuring your patch works effectively.
Key Takeaways
- Clean and dry your skin thoroughly before applying the patch.
- Select a patch that fully covers the blemish and surrounding area.
- Peel the backing carefully, avoiding contact with the adhesive, and gently place the patch centered on the blemish.
- Press lightly around the edges to ensure the patch adheres firmly without air bubbles.
- Leave the patch on for the recommended time, avoiding touching or picking at it during wear.
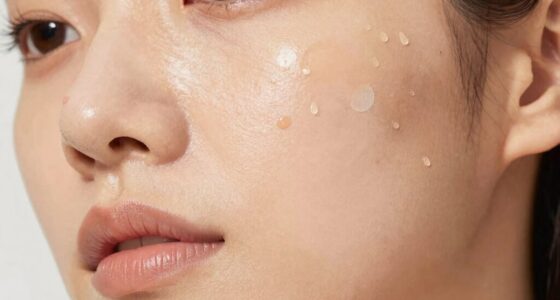
Applying an acne patch is a simple process that can help speed up healing and reduce inflammation. The key to getting the most benefit from your patch starts with proper skin preparation and choosing the right spot treatment. Before you even peel open the package, make sure your face is clean and dry. Washing your face with a gentle cleanser removes dirt, oil, and makeup that can interfere with the adhesion of the patch. Pat your skin dry thoroughly; moisture or residual oil can prevent the patch from sticking properly, reducing its effectiveness.
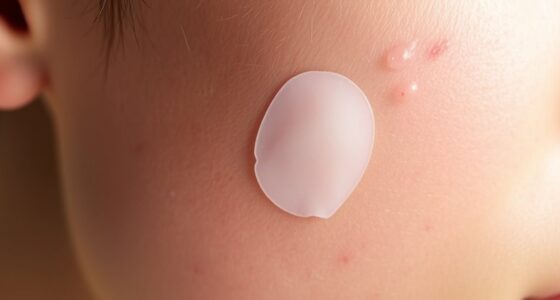
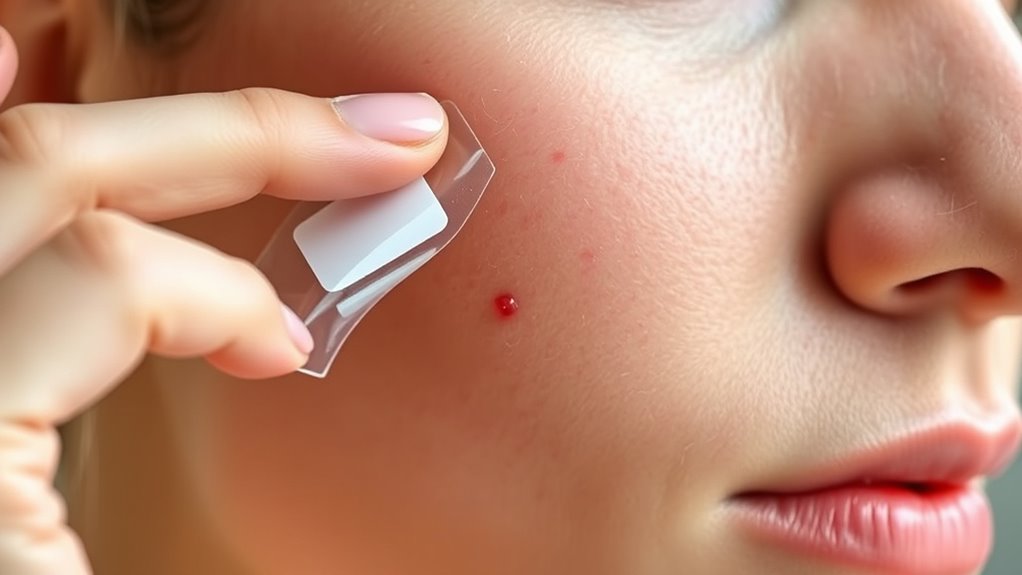
Once your skin is clean, examine the blemish carefully. For the patch to work best, it needs to be placed directly on the spot, covering the entire pimple and its surrounding area. This ensures the active ingredients can penetrate effectively and that the patch can act as a barrier against bacteria and further irritation. If your skin feels oily or sweaty, give it a few more seconds to dry completely before moving to the next step.
Apply the patch directly on a clean, dry blemish, covering the entire pimple and surrounding area for best results.
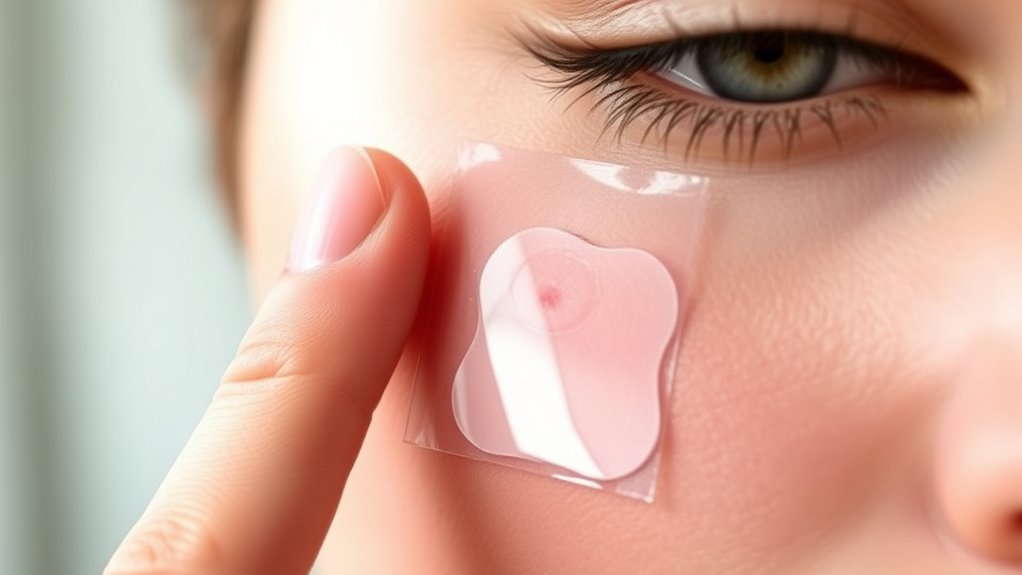
When you’re ready to apply the patch, carefully peel off the backing without touching the adhesive side. Handling it by the edges helps keep the adhesive sticky and free from oils from your fingers. Gently place the patch directly over the blemish, making sure it’s centered and flat against your skin. Press down lightly around the edges to ensure a secure seal. This ensures the patch adheres well and stays in place, especially if you plan to wear it during the day or overnight.
It’s important to note that spot treatment isn’t just about sticking on a patch; it’s about creating the ideal environment for healing. Proper skin preparation amplifies the patch’s effectiveness by allowing the active ingredients to work directly on the blemish without interference. Additionally, choosing a HEPA filter can help reduce airborne irritants and allergens that might worsen skin conditions or cause additional breakouts. If you’re applying the patch in the morning, you can leave it on for several hours or overnight, depending on the product’s instructions. During this time, avoid touching or picking at the patch, as that can disturb the treatment and potentially cause irritation.
When it’s time to remove the patch, do so gently. If it’s stuck well, a little warm water can help loosen it. Once removed, assess the area. If it’s still inflamed or if the patch has absorbed a lot of fluid, you might want to repeat the process with a new patch. Maintaining good skin hygiene and proper skin preparation before each application will maximize the benefits of your spot treatment and help clear your blemishes faster.
Frequently Asked Questions
How Long Should I Leave an Acne Patch On?
You should leave an acne patch on for about 6 to 8 hours, or overnight, to maximize pore cleansing and oil control. During this time, the patch absorbs excess oil and impurities, helping to reduce inflammation and prevent further breakouts. If your skin is sensitive, consider removing it sooner. Always follow the specific instructions on your patch’s packaging for best results and to avoid irritation.
Can I Wear Makeup Over an Acne Patch?
You can wear makeup over an acne patch, but it’s a tricky balance. If your skin is sensitive, the makeup might irritate the patch or reduce its effectiveness. For best results, use makeup that’s non-comedogenic and gentle on your skin, and apply it carefully around the patch. Keep in mind, the right combination can conceal your blemish without compromising its healing power. Proceed with caution—your skin deserves it.
Are Acne Patches Suitable for All Skin Types?
Acne patches aren’t suitable for all skin types, especially if you have sensitive skin. You should check the ingredient suitability for your skin sensitivity before using them. If you notice redness, irritation, or discomfort, it’s best to avoid or choose patches with gentler ingredients. Always do a patch test first to see how your skin reacts, ensuring you don’t worsen your skin condition.
How Often Can I Reuse or Replace Patches?
You should replace your acne patch daily for maximum patch durability and effective treatment. Reusing patches isn’t recommended because they lose adhesiveness and may harbor bacteria, increasing the risk of irritation. Always dispose of used patches properly to maintain hygiene. Think of it like changing a bandage—fresh patches keep your skin cleaner and ensure you’re getting the best results. So, stay consistent with daily replacements and proper patch disposal.
Will Acne Patches Help With Cystic Acne?
Acne patches can help with cystic acne by reducing inflammation and protecting the spot from bacteria. However, their effectiveness varies; they work best on surface blemishes, not deep cysts. For cystic acne, patches may provide some relief, but you should also consider other treatments like topical retinoids or consulting a dermatologist. Keep in mind, patches alone might not fully resolve cystic acne, but they can be a helpful addition to your skincare routine.
Conclusion
Now that you know how to apply an acne patch correctly, you can prevent infection, promote healing, and restore your confidence. Follow the steps carefully, keep the area clean, and avoid touching or removing the patch prematurely. Trust the process, be patient, and give your skin the time it needs to recover. By staying consistent, staying mindful, and staying gentle, you’ll maximize your results, minimize irritation, and embrace clearer, healthier skin with each new day.