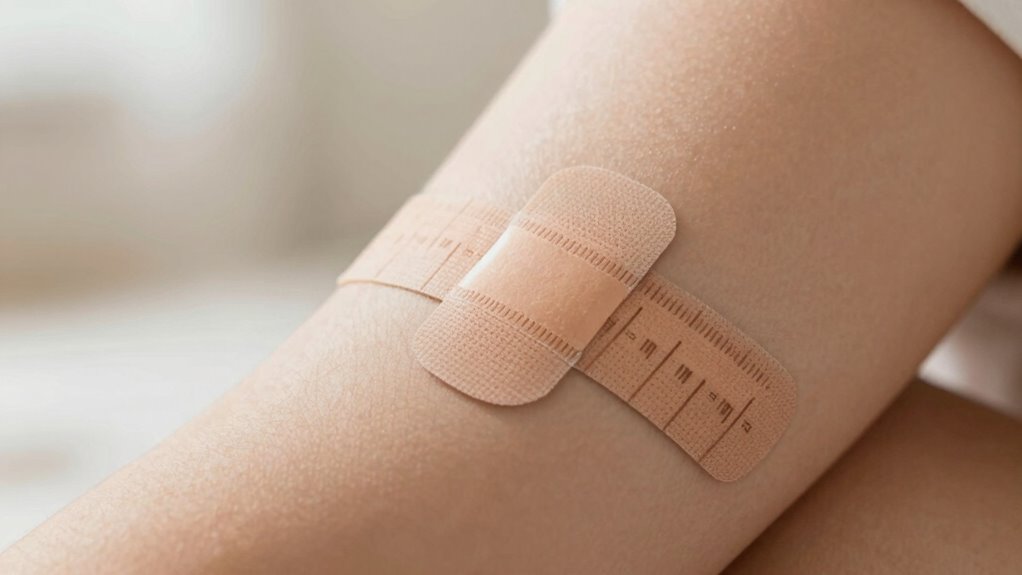
Even tiny millimeter adjustments in patch placement can make a big difference in how well it sticks, delivers medication, and prevents leaks or detachment. Precise placement guarantees full contact with your skin, boosting adhesion and effectiveness. Using measurement tools or guides helps you avoid misalignment and common mistakes. When patches are perfectly positioned, they stay secure longer and work better. Stick with these hacks, and you’ll discover how small tweaks can lead to big improvements.
Key Takeaways
- Small millimeter adjustments can significantly improve patch adhesion and medication absorption.
- Precise placement prevents leaks, detachment, and uneven wear, ensuring maximum effectiveness.
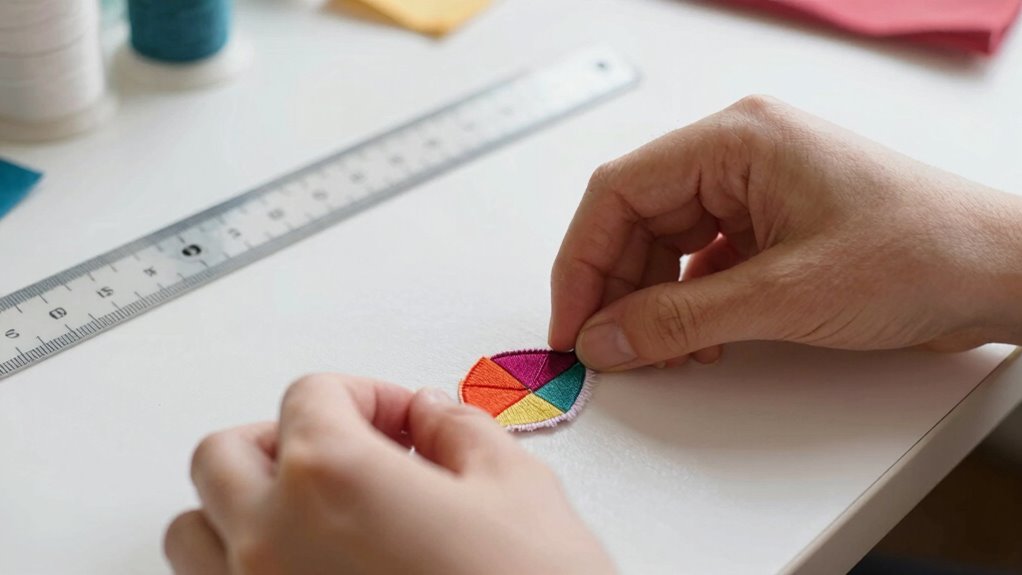
- Using measurement tools and light markings enhances placement accuracy and consistency.
- Proper skin prep and gentle handling reduce shifting caused by movement or improper adhesion.
- Attention to millimeter differences optimizes patch performance and prolongs wear time.
Why Precise Patch Placement Matters
While it might seem simple, placing a patch correctly is crucial because improper placement can reduce its effectiveness. The patch design influences how well it adheres and delivers medication, so positioning it accurately ensures ideal function. Pay attention to placement aesthetics, too—placing the patch where it’s discreet and comfortable can boost your confidence and adherence. Proper placement prevents issues like skin irritation, accidental detachment, or uneven absorption. Consider the patch’s shape and size relative to your body to find the best spot. A well-placed patch not only works better but also looks better, making it easier to wear consistently. Remember, even small misalignments can impact results, so take your time and follow guidelines for precise placement. For optimal results, understanding safe installation practices can help you avoid common issues and ensure the patch stays in place effectively. Additionally, choosing the right application site can enhance the patch’s absorption and comfort. Being aware of proper skin preparation techniques can further improve adhesion and minimize skin irritation, especially when considering the materials used in patches for better compatibility. Recognizing that ear wax odor can indicate underlying health issues reminds us of the importance of proper skin and health care during patch use.
How Small Millimeter Changes Impact Patch Effectiveness
Even tiny millimeter adjustments in patch placement can ensure improved adhesion and reduce the risk of leakage. When you position patches precisely, you guarantee better contact with your skin, which enhances their effectiveness. Small changes in placement make a big difference in keeping the patch secure and functioning as intended. Paying close attention to accuracy in placement can make a significant difference in overall patch performance. Additionally, understanding the importance of proper sizing and load‑planning can help optimize the patch’s durability and safety. Recognizing the impact of precise measurements is essential for achieving consistent results and maximizing the patch’s benefits. Being aware of measurement accuracy can help prevent common issues like uneven wear or detachment, especially when considering smart monitoring systems that provide real-time feedback on placement precision.
Precise Adhesion Benefits
Small adjustments in patch placement, even just a millimeter or two, can substantially boost its effectiveness. Precise placement enhances adhesion strength by ensuring the patch fully contacts the skin, reducing air gaps or wrinkles. When you position the patch accurately, you also improve material compatibility, allowing the adhesive to bond ideally with your skin’s surface. This not only prevents premature detachment but also ensures consistent delivery of active ingredients. Slight shifts can make a significant difference in how well the patch adheres over time, especially on uneven or textured skin. By paying close attention to these small millimeter changes, you maximize the patch’s performance, durability, and overall efficacy, giving you better results and peace of mind with every application. Additionally, understanding how contrast ratio affects image quality can help you choose the right projector for optimal visual clarity. Recognizing the importance of precision in application can further improve the overall effectiveness of the patch. Proper weight distribution during application also ensures the patch remains securely in place for the duration needed. Paying attention to application techniques can further enhance adherence and effectiveness. Moreover, understanding network infrastructure can ensure your devices stay connected reliably, much like precise patch placement ensures optimal performance.
Minimize Leakage Risks
Precise patch placement not only improves adhesion but also plays a vital role in minimizing leakage risks. When your patch isn’t perfectly aligned, even by a few millimeters, you risk gaps that can lead to leaks. These leaks compromise patch durability, causing it to fail sooner and reducing its overall effectiveness. Small adjustments in placement ensure a tight seal around the edges, preventing fluids from seeping through vulnerabilities. By paying close attention to millimeter differences, you enhance the patch’s ability to withstand pressure and movement, ultimately extending its lifespan. Proper placement reduces the chance of leakage, maintaining a secure, durable seal. Remember, minor positional tweaks make a significant impact on leak prevention and patch longevity. Accurate placement is essential for ensuring a reliable, long-lasting seal. Additionally, understanding how patch materials interact with skin can further improve adhesion and minimize leakage risks, especially when considering the skin’s moisture levels. Proper skin preparation and considering piercing jewelry materials can also contribute to better adhesion and reduced leakage. Recognizing skin type variations can inform better patch application strategies, further reducing leakage potential.
Common Mistakes That Cause Misaligned Patches
One common mistake that causes patches to become misaligned is rushing the placement process. When you hurry, you often neglect to carefully align the patch surface with the target area, leading to uneven positioning. This can compromise the adhesive strength, making the patch more likely to shift or peel prematurely. Always take your time to position the patch precisely before applying pressure. Confirm that the patch surface is flat and free of wrinkles or debris, which can interfere with proper adhesion. If the adhesive isn’t fully engaged or if you handle it too quickly, misalignment becomes inevitable. Remember, even a millimeter’s difference can affect the patch’s effectiveness, so patience and careful alignment are key to a successful, long-lasting application. Additionally, using a quality adhesive designed for the material can help ensure a secure fit and prevent shifting over time. Proper surface preparation and technique are equally important to achieve optimal results, especially when considering the horsepower of electric dirt bikes, which can influence the durability of the patch in high-stress conditions. To improve precision, consider using measuring tools like rulers or guides to achieve perfect placement. Incorporating proper tools and methods can significantly reduce placement errors and enhance the overall longevity of the patch.
Essential Tools and Techniques for Accurate Placement
To guarantee your patches are placed accurately, using the right tools and techniques is essential. Start with high-quality patch material suited for your skin type, ensuring a secure and comfortable fit. Proper skin preparation is critical; clean the area thoroughly to remove oils, dirt, and lotions that can impair adhesion. Use precision tools like rulers or template guides to help position the patch precisely, especially when millimeter accuracy matters. Apply gentle pressure to ensure proper contact between the patch and skin. Avoid stretching or pulling the skin during placement, as this can shift the patch. Incorporating free floating techniques can help maintain consistent patch placement even on uneven surfaces. Utilizing modern kitchen technology concepts such as automated measurement tools can further improve placement accuracy. These techniques and tools minimize errors and help you achieve ideal placement, ultimately enhancing the patch’s effectiveness and comfort.
A Step-by-Step Guide to Perfect Patch Positioning

To achieve perfect patch positioning, start by measuring carefully before you place it to guarantee accuracy. Use alignment guides effectively to keep everything straight and in the right spot. Finally, apply gentle pressure evenly across the patch to secure it firmly without causing damage.
Measure Carefully Before Placement
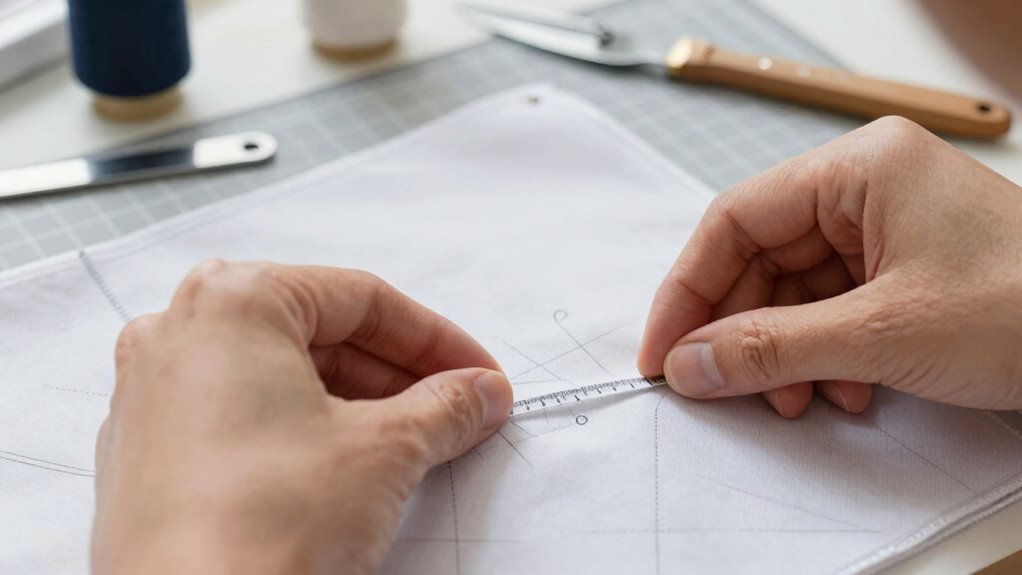
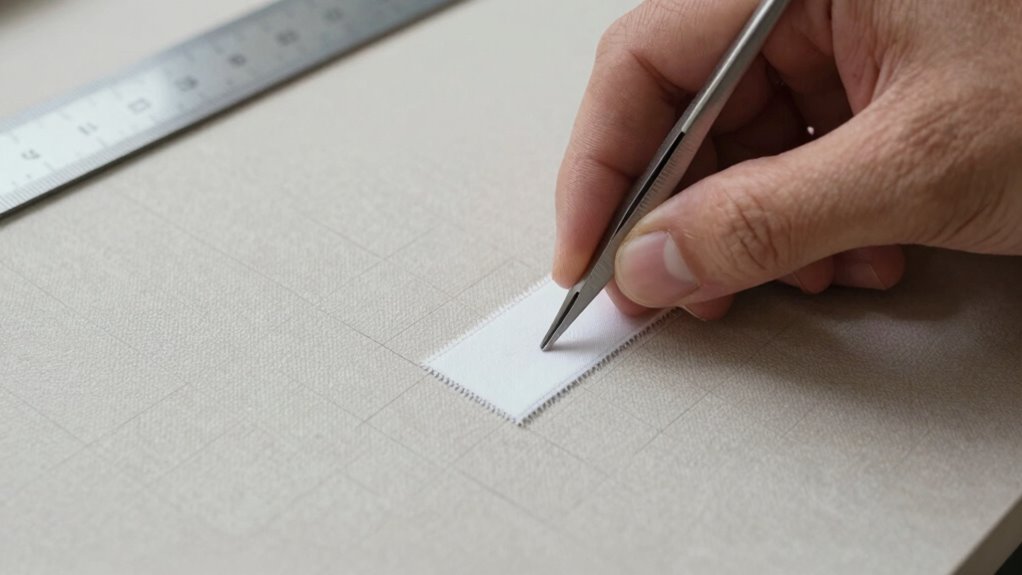
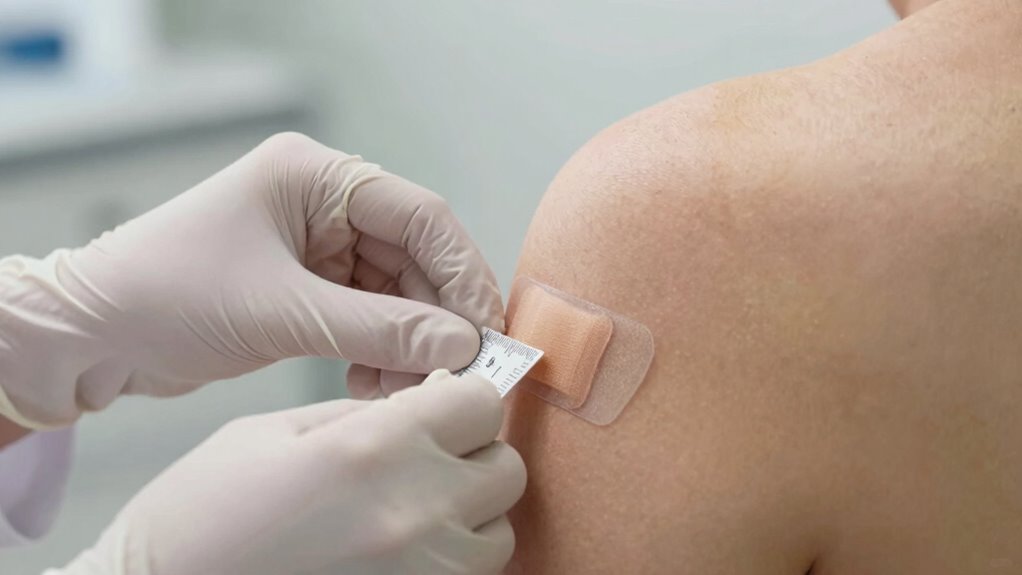
Ever wondered how to guarantee your patch sits perfectly? It all starts with measurement accuracy. Before you peel off the backing, take your time to measure the area carefully. Use a ruler or a precise measuring tool to determine the exact spot for placement. Double-check your measurements to verify accuracy, as even millimeters can make a difference. Accurate measurement helps you achieve better placement precision, reducing the chances of misalignment. Avoid rushing; precision is key to a smooth, secure adhesion. Mark the spot lightly with a pencil or tape if needed, so you can position the patch precisely. Remember, meticulous measurement sets the foundation for a flawless patch application, making sure it stays put and works effectively.
Use Alignment Guides Effectively
Using alignment guides can remarkably improve your patch placement, guaranteeing it sits exactly where you want it. These guides help you achieve precise placement accuracy by providing clear visual references. Start by carefully positioning the guide over your work area, aligning it with key markers or measurements. This ensures the patch is centered and aligned correctly. Use the guides to double-check your position before removing any backing or adhesive. Keep the guide steady as you peel and apply the patch, maintaining consistent placement. Proper use of alignment guides minimizes errors and helps you achieve a professional finish. Remember, small adjustments made with these tools can make a significant difference in the overall effectiveness of your patch.
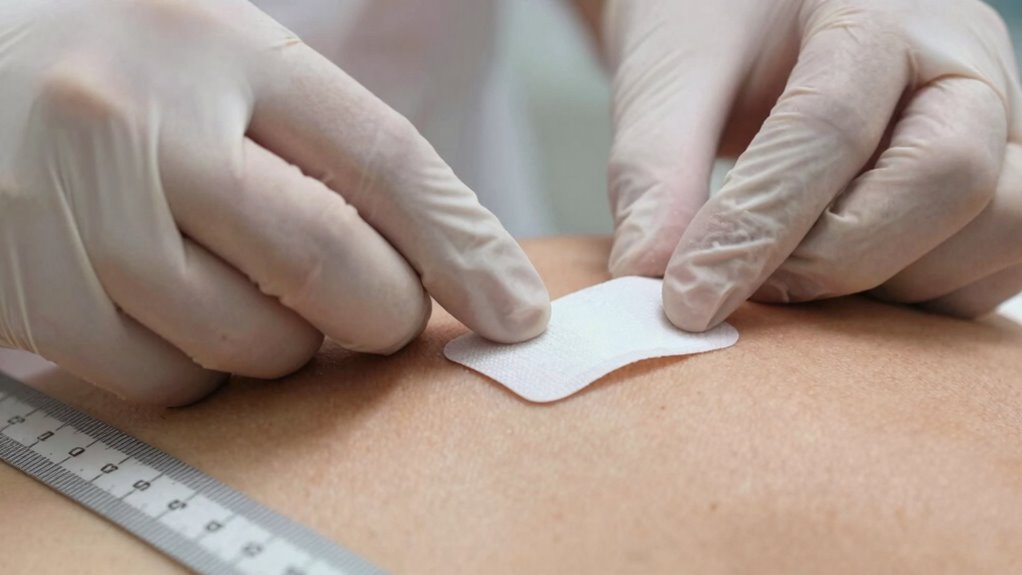
Apply Gentle Pressure Evenly
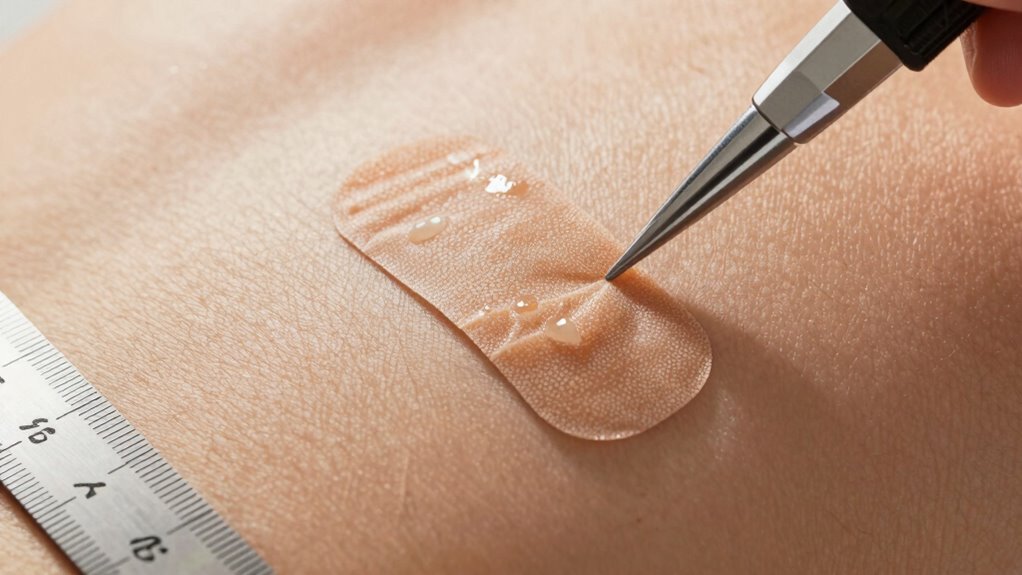
Once you’ve aligned your patch with the guides, applying gentle, even pressure is key to making sure it sticks properly. Focus on pressure control to distribute force uniformly across the patch’s surface. Using too much pressure can damage the adhesive, reducing its strength, while too little won’t secure the patch fully. Keep your hand steady and press down gradually, starting from the center and moving outward. This technique helps eliminate air bubbles and ensures full contact between the adhesive and your skin. Maintaining consistent pressure boosts the adhesive strength, leading to better adhesion and a longer-lasting patch. Take your time, avoid rushing, and check that the patch feels securely in place before proceeding. Proper pressure control is essential for a flawless, long-lasting application.
Troubleshooting When Your Patch Isn’t Sitting Right
If your patch isn’t sitting right, it’s usually due to surface contamination, improper application technique, or skin movement. Check that your skin is clean and dry before applying—residue can hinder adhesion. Remember, patch design and adhesive chemistry matter; a well-designed patch with compatible adhesive will stick better. Sometimes, skin folds or movement cause misalignment or lifting. To troubleshoot, press firmly and hold for a few seconds, ensuring even contact. If issues persist, consider prepping the area with an alcohol wipe to remove oils.
| Issue | Solution |
|---|---|
| Surface contamination | Clean with alcohol wipe before application |
| Skin movement | Use flexible patches or apply during still moments |
| Improper technique | Apply pressure evenly, hold for 10 seconds |
| Patch design | Choose patches suited for your skin type |
| Adhesive chemistry | Select patches with stronger or more compatible adhesive |
Success Stories: Real-World Patch Placement Hacks
Many people have found success by applying simple patch placement hacks tailored to their daily routines. These hacks focus on optimizing patient comfort and material flexibility, making patch wear more effective and less intrusive.
Simple patch placement tips can improve comfort and adhesion for everyday use.
- Adjusting placement to avoid sensitive areas, reducing discomfort and boosting confidence.
- Using flexible materials that move with your body, enhancing comfort during daily activities.
- Tiny millimeter shifts that improve adhesion and prevent peeling, ensuring consistent medication delivery.
These small adjustments, based on real-world experiences, demonstrate how slight variations in patch placement can make a significant difference. By prioritizing patient comfort and considering material flexibility, you can enhance your patch-wearing success and feel more confident in your routine.
Tips to Keep Your Patch Placement Consistent
Building on the idea of optimizing patch placement, maintaining consistency is key to guarantee reliable medication delivery and comfort. To keep your patch placement consistent, use the same spot each time and mark the area lightly with a washable pen if needed. This helps preserve patch aesthetics and minimizes skin irritation. Before applying, clean and dry the skin thoroughly to promote adhesion and reduce discomfort. Be mindful of skin folds or hair, which can affect patch stability and appearance. Removing and reapplying the patch in the same location assures consistent medication absorption and better patient comfort. Practicing these tips helps you develop a routine, making patch application easier and more effective while keeping the patch discreet and comfortable.
Frequently Asked Questions
How Do Environmental Factors Affect Patch Placement Accuracy?
Environmental factors can substantially impact patch placement accuracy. You need to guarantee proper environmental control, such as stable temperature and humidity, to prevent sensor calibration issues. Changes in these conditions can cause sensors to shift or malfunction, leading to placement errors. By maintaining a controlled environment, you help ensure precise patch positioning, minimizing errors caused by environmental fluctuations and ensuring reliable sensor performance.
Can Skin Type Influence Patch Adhesion and Positioning?
Your skin type definitely influences patch adhesion and positioning. If you have sensitive skin, you might notice reduced patch durability or irritation, which can cause shifts or detachment. To guarantee proper placement, clean and dry your skin thoroughly, and consider using a patch designed for sensitive skin. Monitoring skin reactions helps maintain secure placement and prolongs patch effectiveness, preventing accidental detachment and ensuring accurate delivery.
Are There Specific Patch Shapes Best Suited for Certain Areas?
You should choose a patch shape that matches the area for better placement precision. For example, rectangular patches work well on larger, flat areas like your back or thighs, while circular or oval shapes suit smaller or curved spots like your wrists or behind your ears. Using the right patch shape guarantees better adhesion and accurate delivery of medication, making your treatment more effective and comfortable.
How Often Should I Recalibrate Tools for Precise Placement?
You should recalibrate your tools regularly to guarantee peak tool accuracy. Don’t wait until you notice placement issues—calibration frequency depends on your usage, but a good rule of thumb is once a month or after any impact or drop. This prevents measurement errors, keeps patches precisely placed, and ensures consistent results. Staying proactive with calibration helps you avoid costly mistakes and maintains the highest standards in your work.
What Training Methods Improve Patch Placement Consistency?
You can improve patch placement consistency by practicing training drills that focus on precision and repeatability. Use visual cues like markings or guides to help you align patches accurately each time. Repetition helps your muscle memory develop, leading to steadier hands and fewer mistakes. Incorporate feedback and adjust your technique as needed, ensuring you consistently place patches within the ideal millimeter range for effective results.
Conclusion
Remember, just a few millimeters can make all the difference in patch effectiveness. Studies show that precise placement improves absorption by up to 30%, so taking your time really pays off. By avoiding common mistakes and using the right tools, you’ll guarantee your patch stays in the perfect spot. With these hacks, you’ll boost your results and feel confident every time you apply. Small adjustments lead to big gains—so precision matters more than you think.