
Mastering the art of applying **pimple patches** is as easy as 1-2-3! First, clean the spot to make sure it’s ready for the patch. Then, stick the patch onto the clean, dry skin and press down to ensure it stays put. Lastly, change the patch when it’s swollen or white to keep things clean and promote healing. Select a patch size that fully covers the pimple for best results. Follow these steps for smoother, clearer skin. Bonus tips can take your pimple-patching game to the next level! Start your journey to flawless skin today!
Key Takeaways
- Thoroughly cleanse the affected area before applying the patch for optimal adhesion and effectiveness.
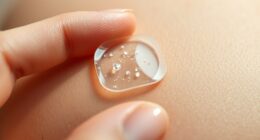
- Apply the patch securely to clean, dry skin by pressing it firmly onto the pimple.
- Replace the patch when it swells up and turns white to maintain a clean healing environment.
- Avoid wearing the patch for more than 12 hours to prevent skin irritation.
- Choose a patch size that fully covers the pimple to maximize its effectiveness.
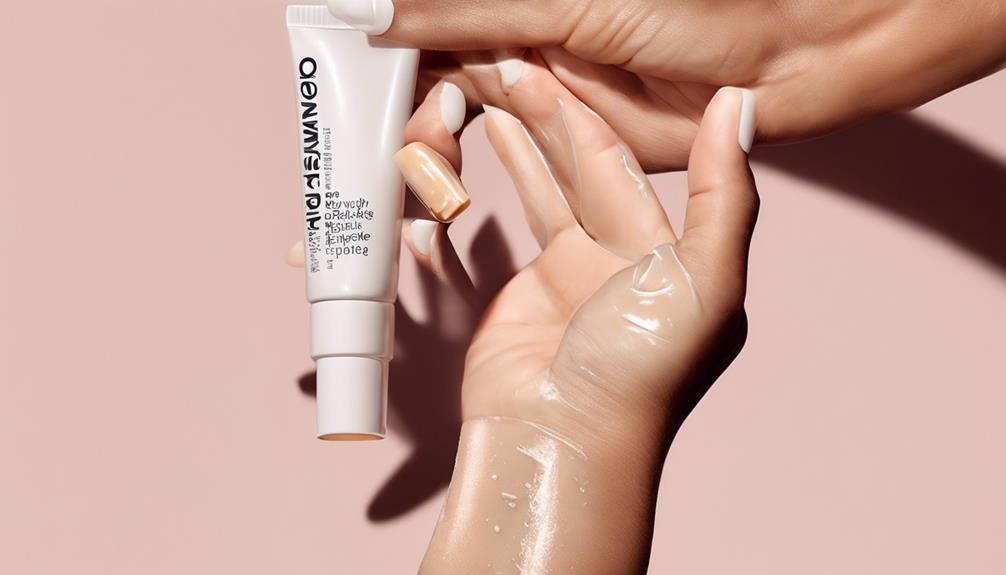
Cleansing the Affected Area
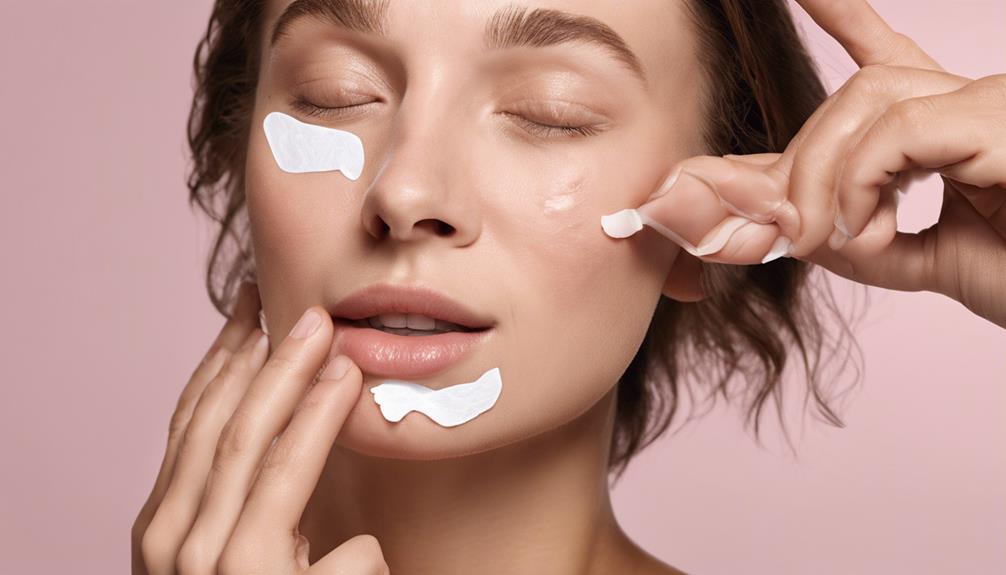
To effectively prepare the skin for pimple patch application, begin by cleansing the affected area thoroughly. Cleansing guarantees the removal of dirt, oil, and impurities, creating a clean canvas for the acne patch to adhere to. Using a gentle cleanser is essential as it allows the active ingredients in the patch to penetrate the skin effectively, targeting acne spots with precision. By cleansing before applying the patch, especially after exfoliating or using toner in your skincare routine, you set the stage for best results.
Proper cleansing not only promotes adhesion of the patch but also sets the foundation for it to work efficiently in combating pesky pimples. Clean skin is key to ensuring the acne patch adheres securely, maximizing its coverage and effectiveness. Remember, a simple step like cleansing plays a significant role in the effectiveness of your skincare routine when using pimple patches.
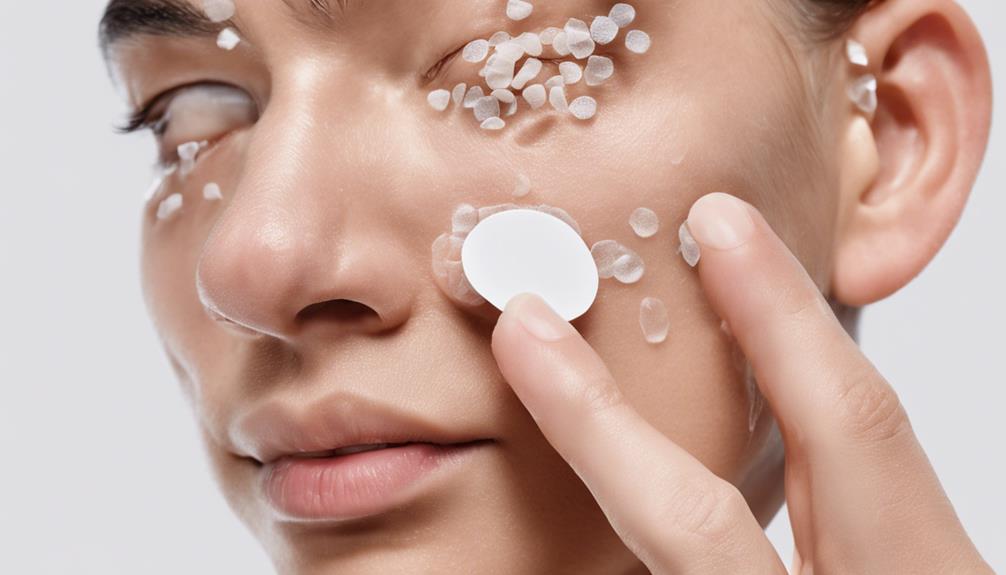
Applying the Pimple Patch Securely
After cleansing the affected area thoroughly, the next step is to apply the pimple patch securely to the troubled spot.
When you're ready to tackle that pesky pimple, gently attach the patch to your clean and dry skin. Guarantee a strong bond by pressing the hydrocolloid patch firmly onto the acne spot. Be careful not to touch the adhesive part, as this could reduce its effectiveness.
Check for any gaps or edges to make sure of complete coverage of the troubled area. The adhesive on pimple patches is designed to stick well, but a little extra pressure can go a long way in keeping it secure.
Remember, these patches are meant for single-use only, so replace them as needed for the best results.
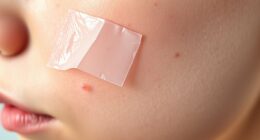
Replacing the Patch When Needed
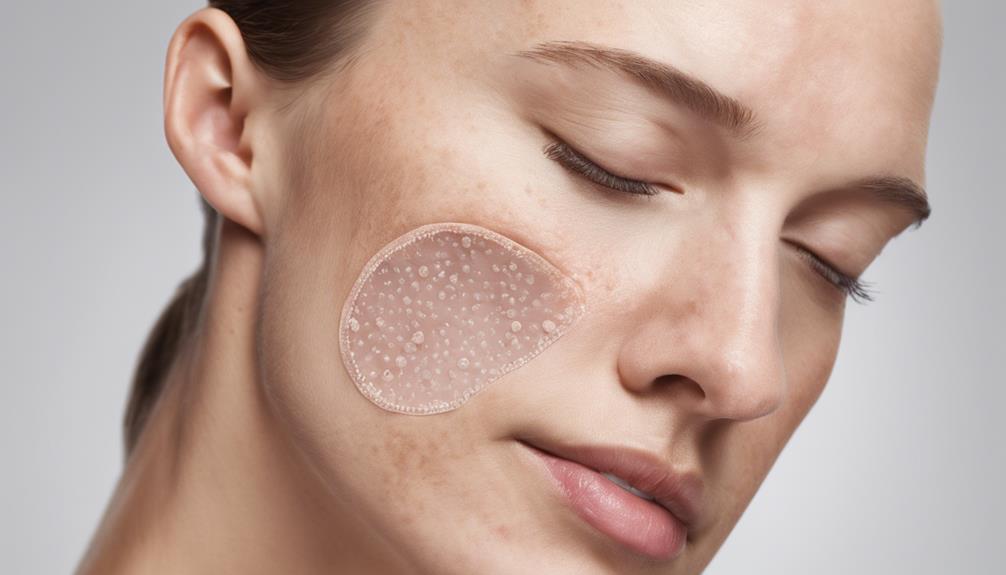
When the pimple patch swells up and turns white, indicating it has absorbed impurities, it's important to replace it. This change signals that the patch has done its job, drawing out the impurities from your skin.
It's essential to replace the patch promptly to maintain a clean environment for healing. Remember not to wear the patch for more than 12 hours to prevent any potential irritation.
Before attaching a new patch, make sure the area is clean to promote ideal healing conditions. By replacing the patch timely and keeping the area clean, you're actively supporting the recovery process.
The pimple patch forms a protective seal over the skin, creating an ideal environment for your skin to heal. Choose a patch size that fully covers the pimple for maximum effectiveness.
Taking these steps will help you effectively manage your breakouts and support your skin's natural healing process.
Frequently Asked Questions
How Do You Use a Pimple Master Patch?
When it comes to using a pimple master patch, we always start by cleansing the area thoroughly.
Then, we choose the right size patch to cover the acne spot completely.
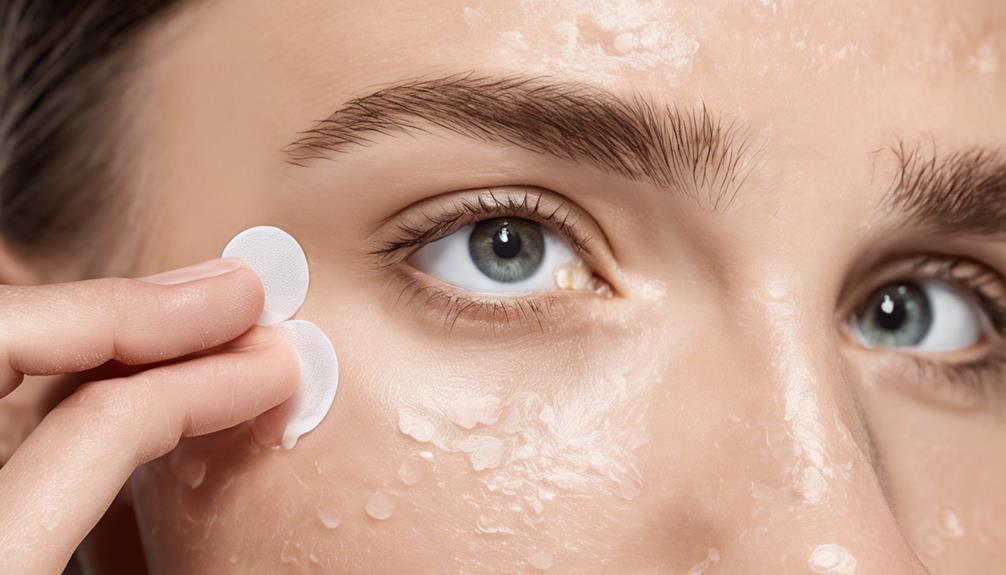
Next, we gently attach the patch by peeling off the protective film and pressing firmly on the troubled area.
Monitoring the patch's effectiveness is key; watch for it to turn white or expand as it absorbs impurities.
Follow usage instructions diligently for the best results.
What Step Do You Apply Pimple Patches?
When applying pimple patches, we place them after cleansing, ensuring they stick well for maximum effectiveness.
The process typically slots in before toner or moisturizer application.
Gently press the patch onto the troubled area, covering it entirely. Avoid touching the adhesive side to keep it working efficiently.
Proper attachment is key for the patch to target acne spots effectively.
Should I Pop Pimple Before Pimple Patch?
We don't recommend popping a pimple before applying a patch. Doing so can introduce bacteria and cause more inflammation. Patches work best on intact pimples to absorb impurities effectively.
Applying a patch on a popped pimple might lead to irritation or discomfort. Let the patch work naturally on the pimple for best results. Remember, prevention is key, so keep those hands off and let the patch do its magic!
Is It Bad to Leave a Pimple Patch on Too Long?
Leaving a pimple patch on for too long can diminish its effectiveness. Over time, the patch may lose adhesion and could even cause skin irritation if worn excessively.
To maintain top-notch results and skin health, it's vital to stick to the recommended wear time. Regularly changing the patch when it changes color guarantees maximum efficacy.
It's imperative to follow these guidelines for the best outcomes and avoid potential skin issues.
:Can I Apply Makeup Over a Pimple Patch If I Have Mastered the Application Process?
Yes, you can still consider putting makeup over pimple patch, even if you have mastered the application process. After applying the patch and allowing it to set, gently pat on your makeup with a light touch. Avoid rubbing or pressing too hard to preserve the patch’s effectiveness.
Conclusion
To sum up, mastering the application of pimple patches is as simple as 1, 2, 3.
Cleansing the affected area, applying the patch securely, and replacing it when needed are essential steps for effective treatment.
Just like a well-oiled machine, these patches work tirelessly to combat pesky pimples, giving you clear and radiant skin in no time.
So, follow these steps diligently and say goodbye to unwanted blemishes for good!