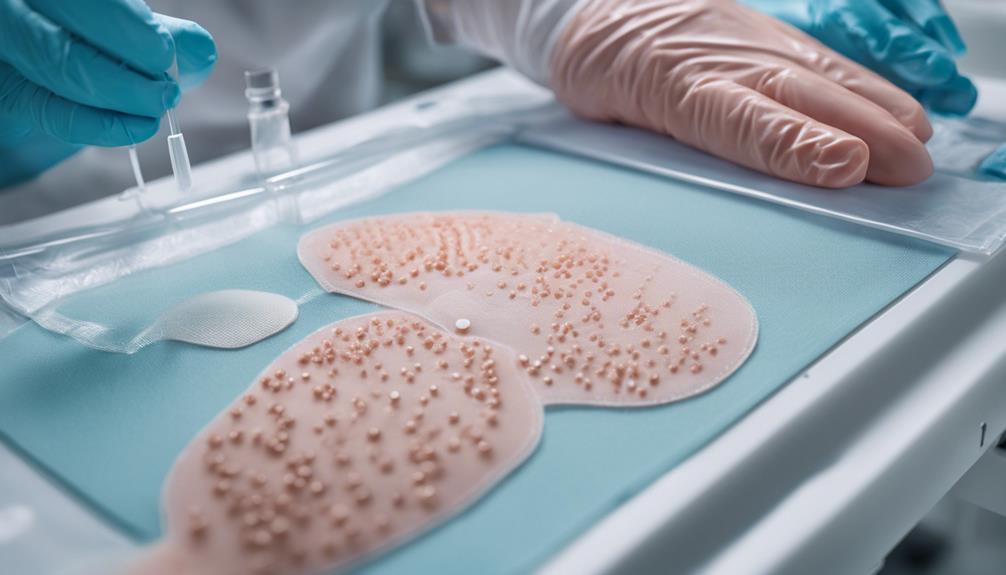
To make a pimple patch at home, grab hydrocolloid bandages and cut them into your desired shape. Mix tea tree oil, raw honey, turmeric powder, and aloe vera gel in a small bowl, balancing the amounts for your skin type. Apply the mixture to a clean area, then place the cut bandage over it. Leave the patch on for several hours or overnight. This method's fun, and there's more useful info about enhancing your patches!
Key Takeaways
- Use hydrocolloid bandages as the base, cutting them into desired sizes for customized patches.
- Combine natural ingredients like tea tree oil, raw honey, and aloe vera gel for added benefits.
- Ensure skin is clean and sanitized before applying patches for optimal effectiveness.
- Leave the patches on for several hours or overnight to allow ingredients to work.
- Conduct a patch test to check for skin reactions and ensure ingredient safety.
Understanding Pimple Patches

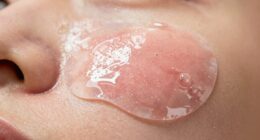
Pimple patches are a simple yet effective solution for managing breakouts. These adhesive stickers are typically made from hydrocolloid gel with a silicone outer layer. When you apply a patch to a pimple, it absorbs excess oil and pus, creating a moist environment that aids healing. Hydrocolloid patches have been used in medical settings since the late 1960s.
There are different types of patches available, including hydrocolloid, medicated, and microneedle options. Hydrocolloid patches work without active ingredients, while medicated ones contain ingredients like salicylic acid. Microneedle patches penetrate deeper into the skin.
To use them, cleanse and dry your skin, apply the patch, and leave it on for several hours or overnight. This way, you can protect your pimple from bacteria and prevent irritation, promoting faster healing.
Benefits of Homemade Pimple Patches

Making your own pimple patches at home offers several advantages that can enhance your skincare routine.
First, it's cost-effective, saving you money compared to store-bought options. You can customize the size and shape of your patches to target your specific acne needs. Plus, the ingredients are often readily available in your kitchen or local store, making them easy to whip up. Using natural components like apple cider vinegar or green tea appeals to those who prefer organic skincare. Additionally, homemade patches can mimic the benefits of hydrocolloid material by creating a moisture-free environment that promotes healing.
Finally, creating DIY patches can be a fun project, allowing you to engage with your skincare in a hands-on way.
Essential Ingredients for DIY Patches

To create effective DIY pimple patches, you'll need a few essential ingredients that serve as the foundation for your homemade solution.
These items guarantee your patches are both functional and safe. Here's what you'll need:
- Hydrocolloid Bandages: These are the base material for your patches, easily found in pharmacies.
- Sanitizing Wipes or Alcohol: It's vital to maintain cleanliness during the process, preventing any potential infections. Maintaining a sterile environment is crucial to avoid introducing bacteria to the skin.
- Scissors: You'll need these to cut the bandages into the desired patch size.
With these ingredients, you're set to start crafting your own pimple patches.
Step-by-Step Guide to Making Pimple Patches

Now that you've gathered the essential ingredients, let's break down the process of making your pimple patches. You'll mix the hydrocolloid gel with the adhesive backing, ensuring everything is ready for application. It's important to note that pimple patches absorb fluid and create a moist environment for healing. Plus, I'll share some tips on how to store and use your patches effectively.
Required Ingredients Overview
While creating your own pimple patches can seem challenging, gathering the right ingredients is straightforward and essential for effective results.
Here are the key ingredients you'll need:
- Hydrocolloid: This gel-forming material helps absorb excess oils and promotes healing. These patches often utilize hydrocolloid technology for enhanced efficacy.
- Salicylic Acid: A powerful beta hydroxy acid that unclogs pores and reduces inflammation.
- Tea Tree Oil: Known for its antibacterial properties, it's great for fighting acne. Incorporating oil-free moisturizer into your skincare routine can also help maintain skin hydration while using these patches.
These ingredients work together to create effective patches that can help reduce the size and visibility of pimples.
You can also consider natural alternatives like oatmeal or apple cider vinegar for added benefits.
Now that you have an overview, you're ready to move on to the mixing and application process!
Mixing and Application Process
Start by gathering your ingredients and tools to create your homemade pimple patches. Combine tea tree oil, raw honey, turmeric powder, aloe vera gel, and witch hazel in a small bowl. Make sure you balance the ratios to avoid any irritation. Adjust the consistency if needed and remember to use clean tools for mixing. Always patch test your mixture on a small area of your skin. Hydrocolloid patches, in particular, are known for their ability to absorb drainage from pimples, which can enhance their effectiveness.
Next, cleanse your skin thoroughly and apply the mixture to a cotton pad. Place it on the affected area, leaving it on for several hours or overnight. Here's a quick overview of the ingredients and their effects:
| Ingredient | Effect |
|---|---|
| Tea Tree Oil | Antibacterial |
| Raw Honey | Moisturizing and soothing |
| Turmeric Powder | Anti-inflammatory |
| Aloe Vera Gel | Calms irritated skin |
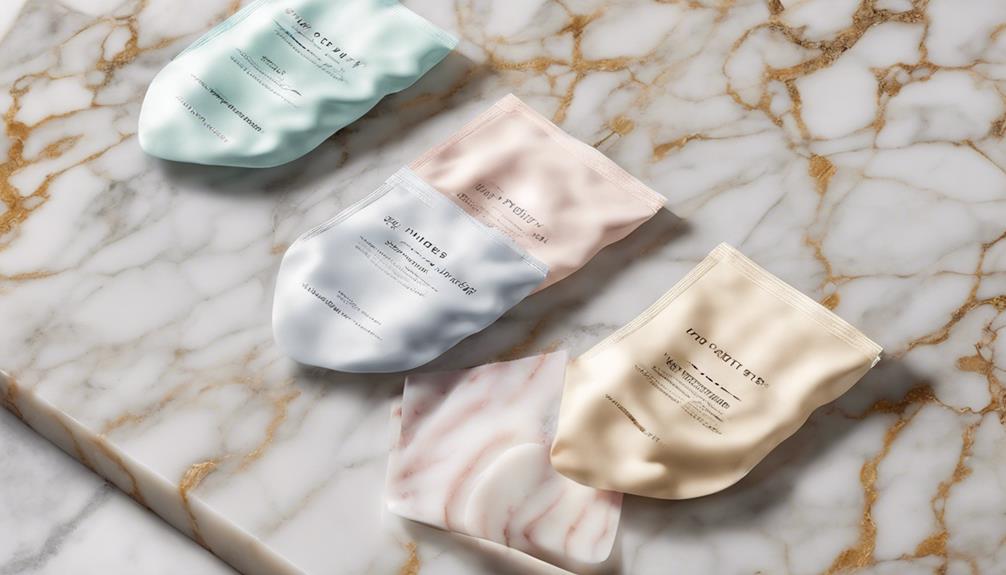
Storage and Usage Tips
Proper storage and usage are key to ensuring your homemade pimple patches remain effective.
Begin by maintaining a clean, sterile environment when making and storing your patches. Here are some essential tips to follow:
- Sanitize Tools: Always use sanitized scissors or a hole puncher to cut patches.
- Skin Prep: Cleanse your skin thoroughly before applying a patch, and choose one that fits the pimple size. Pimple patches typically contain hydrocolloid acne pads that help absorb excess fluid from the pimple.
- Timing and Duration: Apply patches during the end stage of inflammation and leave them on for several hours, or overnight for best results.
Remember to store your patches in a cool, dry place to maintain their efficacy.
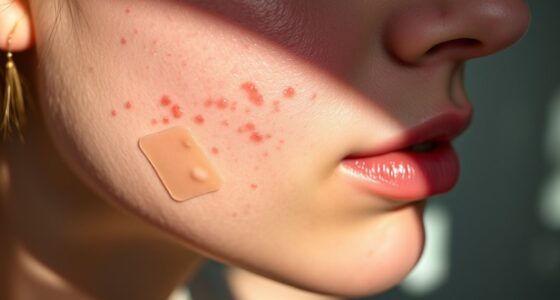
How to Apply Pimple Patches Effectively

Applying pimple patches effectively can greatly enhance their impact on your skin. Start by cleansing your skin with a gentle cleanser to remove dirt and makeup, then pat it dry.
Choose the right patch based on the type of pimple you're targeting and your skin sensitivity. Place the patch directly on the clean, dry pimple, pressing it gently for 10-30 seconds to guarantee it adheres properly.
Select the appropriate patch for your pimple type and skin sensitivity, then apply it firmly for optimal adhesion.
For microneedle patches, press for 15-30 seconds to allow penetration. Wear the patch for at least 6 hours, ideally overnight. Proper application is crucial to ensure that the patch performs its best and promotes healing.
Avoid touching the patch to minimize bacteria introduction.
After removal, cleanse the area and assess the pimple's condition. If needed, apply a second patch to fully extract impurities.
Tips for Customizing Your Pimple Patch Recipe

After mastering how to apply pimple patches effectively, you can enhance their benefits by customizing your own recipe.
Experiment with different ingredients to suit your skin type and needs. Here are a few tips to get you started:
- Choose Ingredients Wisely: For oily skin, try adding witch hazel or tea tree oil. If you have sensitive skin, consider honey or oatmeal for their soothing properties. Excess oil production can lead to clogged pores, so selecting ingredients that target this issue is essential. Additionally, using essential oils like lavender can provide additional soothing effects.
- Use DIY Materials: Hydrocolloid bandages work well for absorbing excess oils while allowing your patch to stay in place.
- Prioritize Safety: Always patch test new ingredients to avoid allergic reactions, and maintain hygiene throughout your process to prevent contamination.
Customizing your pimple patches can make a significant difference in your skincare routine!
Frequently Asked Questions
How Long Can Homemade Pimple Patches Be Stored?
You can typically store homemade pimple patches for a few days, as they're prone to contamination and ingredient degradation.
If you keep them in a cool, dry place, their shelf life might extend slightly. Refrigeration helps reduce bacterial growth, but avoid freezing, as it can impact their adhesive properties.
Always label and date your patches, and toss any that show signs of degradation or contamination to prevent skin irritation.
Can I Use Pimple Patches on Other Skin Issues?
Imagine your skin as a canvas, sometimes speckled with imperfections. You can definitely use pimple patches on other skin issues!
Hydrocolloid patches work wonders on minor wounds, protecting and promoting healing. Microneedle patches target stubborn hyperpigmentation effectively.
Just keep in mind that some ingredients might irritate sensitive skin. So, assess your skin's needs, and enjoy the convenience and versatility these patches provide while helping you restore your canvas to its best state.
Are There Any Side Effects of Using Homemade Patches?
Yes, there can be side effects when you use homemade patches. You might experience skin irritation, allergic reactions, or even inflammation, especially if your skin's sensitive.
Certain adhesives can cause peeling or exacerbate acne if they trap bacteria. It's important to patch test any ingredients on a small area first.
Always prioritize hygiene and choose non-irritating materials to minimize risks. If issues persist, consulting a dermatologist is a wise choice.
How Often Can I Apply Pimple Patches?
You can apply pimple patches as needed, typically once or twice a day.
If you're using hydrocolloid patches, you can wear them for up to three days, changing them daily.
Pay attention to your skin type; if you've got sensitive skin, you might want to use them less frequently.
Always check the manufacturer's instructions for the best results and to avoid irritation while treating those pesky pimples.
Can I Combine Different Ingredients in One Patch?
Imagine your skin as a canvas, and you're the artist, choosing vibrant colors to create a masterpiece.
Yes, you can combine different ingredients in one patch! Mixing ingredients like tea tree oil with hydrocolloid can enhance antibacterial effects and improve absorption.
Just remember to take into account your skin type and do a patch test first.
With the right blend, you can soothe and heal your skin while revealing its natural beauty.
Conclusion
Making your own pimple patches is not only fun but also a great way to tackle breakouts naturally. Did you know that about 85% of people between the ages of 12 and 24 experience acne? By crafting your own patches, you can customize ingredients to suit your skin's needs while saving money. So, why not give it a try? With just a few simple ingredients, you can create effective solutions to help clear your skin and boost your confidence!