You can make effective homemade pimple patches using simple ingredients. Start with hydrocolloid bandages and mix aloe vera gel, tea tree oil, and honey. Cut the bandage to size, apply your mixture on the sticky side, and place it over the pimple. Make sure your hands and the area are clean for the best results. Curious about the benefits and tips for maintaining effectiveness? There’s even more to discover to perfect your DIY approach!
Key Takeaways
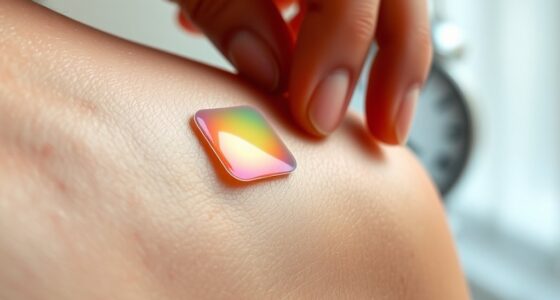
- Use hydrocolloid bandages as the base for your homemade pimple patches for effective absorption and protection.
- Combine aloe vera gel, tea tree oil, and honey for a soothing and healing mixture to apply on the bandage.
- Ensure the application area is clean to minimize bacteria and maximize patch effectiveness.
- Cut the bandage to size, apply the mixture, and press gently onto the pimple for optimal adherence.
- Store any leftover mixture in a sealed container for future use and convenience.
Understanding the Benefits of Homemade Pimple Patches
When it comes to skincare, many people find that homemade pimple patches offer unique advantages. You can easily customize these patches to suit your skin type, ensuring they address your specific needs. Plus, they’re often more affordable than commercial products, saving you money while still being effective. With DIY patches, you’ve got control over the ingredients, which means you can avoid potential allergens and use natural options. Additionally, creating your own patches allows for a sterile environment that can help reduce the risk of contamination, although it may be challenging to maintain at home. Utilizing essential oils in your patches can enhance their effectiveness, as certain oils possess antimicrobial properties that may help in healing. Creating your own patches also reduces packaging waste, making it an environmentally friendly choice. Not only do you get a quick solution using items from your kitchen, but you also gain a deeper understanding of skincare by making these patches yourself.
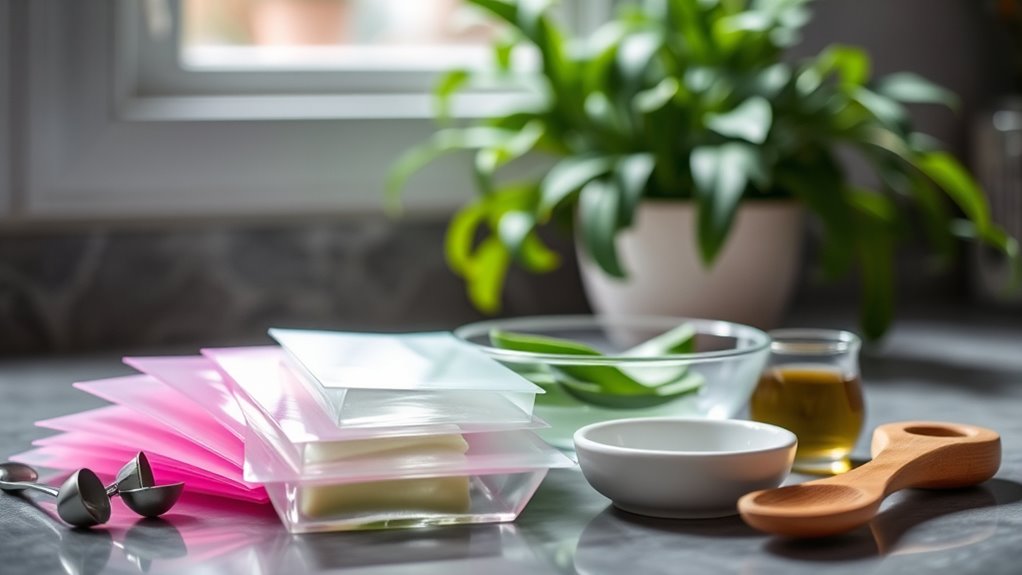
Essential Ingredients for Your DIY Pimple Patch

Creating your own DIY pimple patches can be both fun and rewarding, especially when you know which essential ingredients to include.
Start with hydrocolloid bandages, the base of most patches, available at pharmacies. Incorporate salicylic acid to gently exfoliate and unclog pores. Tea tree oil offers antibacterial benefits, while apple cider vinegar can enhance efficacy—just remember to dilute it. Washing your face only twice a day with a mild, fragrance-free cleanser can also help maintain skin hygiene and prevent future breakouts.
Green tea is great for soothing inflammation due to its antioxidants. For added benefits, consider aloe vera for its calming properties, honey for healing, or baking soda to clean pores.
Lemon juice can exfoliate, and cinnamon may brighten your skin. With these ingredients, you’ll create effective and soothing pimple patches tailored to your needs!
Step-by-Step Guide to Making Your Own Pimple Patch

Now that you have the key ingredients for your DIY pimple patches, it’s time to put them together.
Start by mixing one tablespoon of aloe vera gel with a few drops of tea tree oil and honey in a small bowl. This blend combines soothing and antibacterial properties.
Next, cut a piece of hydrocolloid bandage to your desired size, ensuring it’ll cover the pimple completely. Hydrocolloid patches are effective in creating a healing environment by drawing out excess sebum and impurities from the skin.
Apply your natural mixture onto the sticky side of the bandage, spreading it evenly.
Place the patch directly on the cleaned pimple, pressing gently to secure it. Let it sit for several hours or overnight for maximum effectiveness.
Finally, store any extra mixture in a sealed container for future use. Enjoy your homemade solution!
Tips for Safe and Effective Application

To guarantee your DIY pimple patches work effectively and safely, start with clean hands and sanitized tools. Use hydrocolloid bandages for their moisture-absorbing properties, and verify the area is clean to minimize bacteria. If you want to enhance effectiveness, consider applying salicylic acid or tea tree oil before the patch, as salicylic acid serum has shown positive results when used directly on acne. Many commercial patches also utilize hydrocolloid technology to absorb impurities and reduce inflammation. Make certain the patch is large enough to cover the entire pimple without pressing too hard, as this can cause irritation. Leave the patch on for several hours or overnight for ideal results. Avoid applying it to popped pimples to prevent infection. Finally, always check the sterility of your materials and consult a dermatologist for persistent issues. Following these tips will help you achieve the best results.
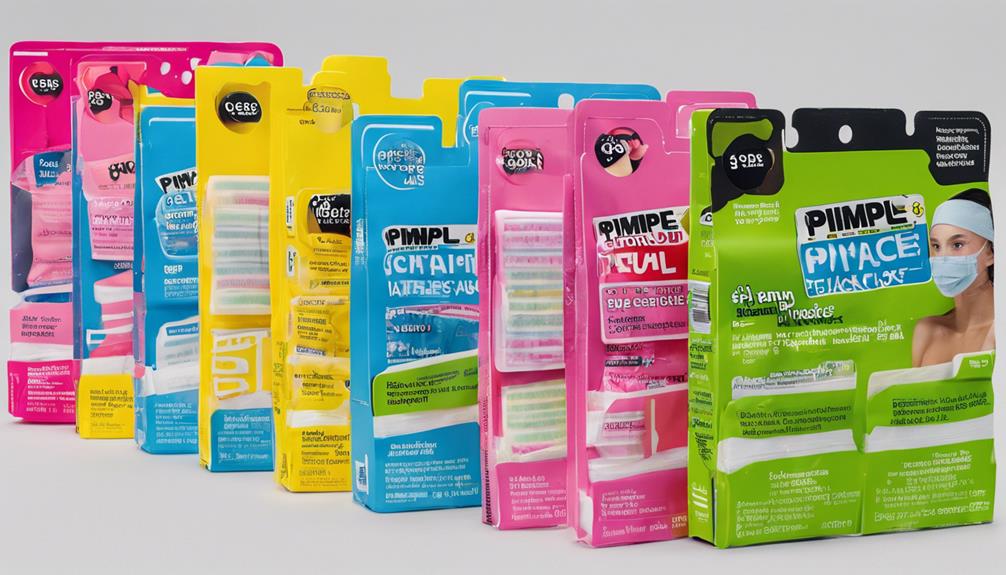
Comparing Homemade and Commercial Pimple Patches

While both homemade and commercial pimple patches serve the same purpose of treating acne, they differ greatly with respect to materials, efficacy, and convenience.
Homemade patches typically use hydrocolloid bandages or blister paper, which mightn’t adhere as well as commercial options. This can lead to reduced effectiveness. Additionally, using hydrocolloid bandages can provide a convenient and discreet option for acne treatment.
Homemade patches may not adhere as effectively as commercial options, potentially reducing their overall effectiveness.
Commercial patches are designed for peak stickiness and often include active ingredients like salicylic acid, enhancing their healing properties. Additionally, the sterility of factory-produced patches minimizes contamination risks, something that can be difficult to achieve at home.
While DIY patches may save you money, they require time and effort to prepare, whereas commercial patches offer ready-to-use convenience.
Ultimately, your choice depends on your priorities and skin needs.
Troubleshooting Common Issues With DIY Pimple Patches

Have you ever struggled with your DIY pimple patches not working as well as you’d hoped? Common issues often arise from inadequate cleansing or using unsanitized tools, which can lead to poor adhesion and irritation. Make sure your skin is clean and dry before applying a patch directly over the pimple, as pimple patch must be applied to clean, dry skin for effective absorption. If your patch isn’t sticking, check the size; it should cover the pimple completely. Avoid applying patches over oily products, as this can cause them to fall off. Test your ingredients first to prevent allergic reactions. Finally, leave the patch on for several hours or overnight for best results. By addressing these common pitfalls, you can enhance the effectiveness of your DIY pimple patches.
Frequently Asked Questions
Can I Use These Patches on Cystic Acne?
Yes, you can use homemade pimple patches on cystic acne. They help protect the area from bacteria and absorb pus, creating a moist environment that promotes healing.
However, keep in mind that these patches may not stick as well as store-bought options and lack additional active ingredients.
For the best results, consider combining them with other treatments like salicylic acid. If your cystic acne is severe, consulting a dermatologist is always a good idea.
How Often Should I Change the DIY Pimple Patches?
You should change your DIY pimple patches when they turn white or opaque, which shows they’ve absorbed impurities.
Typically, you can leave them on for several hours or overnight, but if your skin is sensitive, consider changing them more frequently to avoid irritation.
Always make certain your face is clean before applying a new patch and be cautious not to overuse them, especially on delicate skin.
What if I Experience Irritation After Using the Patch?
If you experience irritation after using a patch, it’s important to act quickly.
First, remove the patch immediately to prevent further discomfort. Clean the area gently with a mild cleanser, then apply a cool compress to soothe the irritation.
Moisturize the skin with a gentle product to promote healing. If the irritation persists or worsens, consider consulting a dermatologist for professional advice and potential treatment options.
Can I Use Multiple Patches on Different Pimples?
Why not treat multiple pimples at once? You can absolutely use multiple patches on different spots.
Just make sure each patch fits properly on its pimple. It’ll help you cover and treat individual breakouts effectively.
Plus, patches protect your skin from touching and picking, which reduces scarring.
Just remember to monitor your skin for any irritation and replace them as needed until you see improvement.
Your skin will thank you!
How Long Do Homemade Patches Last Before They Lose Effectiveness?
Homemade patches typically last several hours, but they may not endure as long as commercial ones.
Factors like moisture and temperature can degrade their adhesion faster, reducing effectiveness. Since ingredients like gelatin can break down in humid conditions, it’s wise to monitor the patch’s condition.
To maximize their lifespan, verify your skin is clean and dry before application, and replace them more frequently to maintain peak performance.
Conclusion
To sum up, making your own pimple patches can be a fun and rewarding way to tackle breakouts. Did you know that nearly 85% of people experience acne at some point in their lives? By crafting your own patches, you not only save money but also gain control over your skincare routine. So, go ahead and give it a try! With the right ingredients and care, you can create an effective solution to keep those pesky pimples at bay.