
To prevent your skincare videos from washing out skin texture, avoid using overly bright or harsh lighting. Adjust your lights to a softer, even glow with diffusers like softboxes or fabric curtains, and position them at angles that minimize shadows. Keep brightness controlled and match your environment’s color temperature for natural skin tones. Proper setup enhances texture and prevents flat, dull results—keep exploring these techniques to achieve a professional, flattering look.
Key Takeaways
- Overexposed lighting washes out skin texture, making fine details appear flat and dull on camera.
- Use diffusers, softboxes, or umbrellas to soften harsh light and prevent overexposure.
- Adjust light angles and distances to minimize glare and unflattering shadows that wash out skin detail.
- Match ambient lighting and color temperature to natural skin tones for realistic, flattering results.
- Calibrate camera settings and white balance to maintain natural skin textures and prevent overexposure.

Torjim Softbox Photography Lighting Kit, 20'' x 20'' Professional Softbox Lighting Kit with 85W 3000-7500K LED Bulbs, Studio Lights for Photography/Video Recording/Live Streaming/Portraits Shooting
【Illuminate Your Creativity】 Torjim softbox lighting kit is made of high-quality PET fabric and a foldable nylon cover,…
As an affiliate, we earn on qualifying purchases.
As an affiliate, we earn on qualifying purchases.
Why Bright, Overexposed Lighting Washes Out Skin Texture

Bright, overexposed lighting can make your skin appear flat and dull because it washes out subtle details and textures. One key factor is color temperature; overly cool or warm light alters your skin tone, reducing natural depth. Light color also impacts how your skin looks—harsh, bluish hues can mute shadows that define facial contours, while overly warm tones can create an unnatural glow. When the lighting is too intense, it flattens the visual information, making fine lines, pores, and textures disappear. Understanding how lighting affects your skin’s appearance is essential for creating high-quality content. Adjusting light intensity and balance can help preserve skin texture and enhance overall video quality. Proper light color and temperature help highlight your skin’s true qualities, giving your skincare videos a more authentic and appealing look. Additionally, proper lighting techniques can prevent overexposure and maintain the richness of skin details that viewers want to see. Recognizing the importance of contrast ratio ensures that shadows and highlights work together to reveal the natural contours of your skin, and controlling lighting contrast is vital for achieving a balanced, professional look.

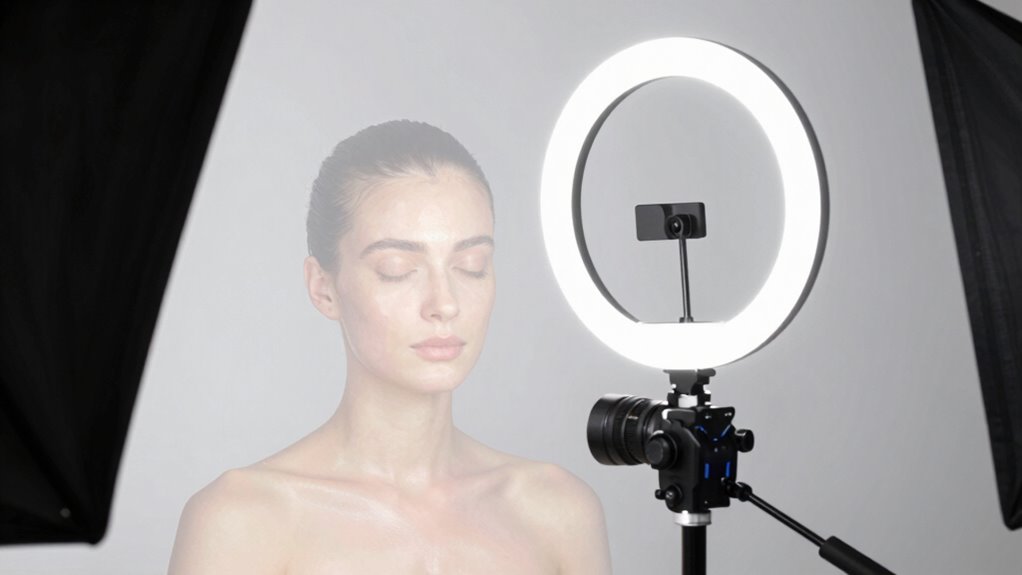
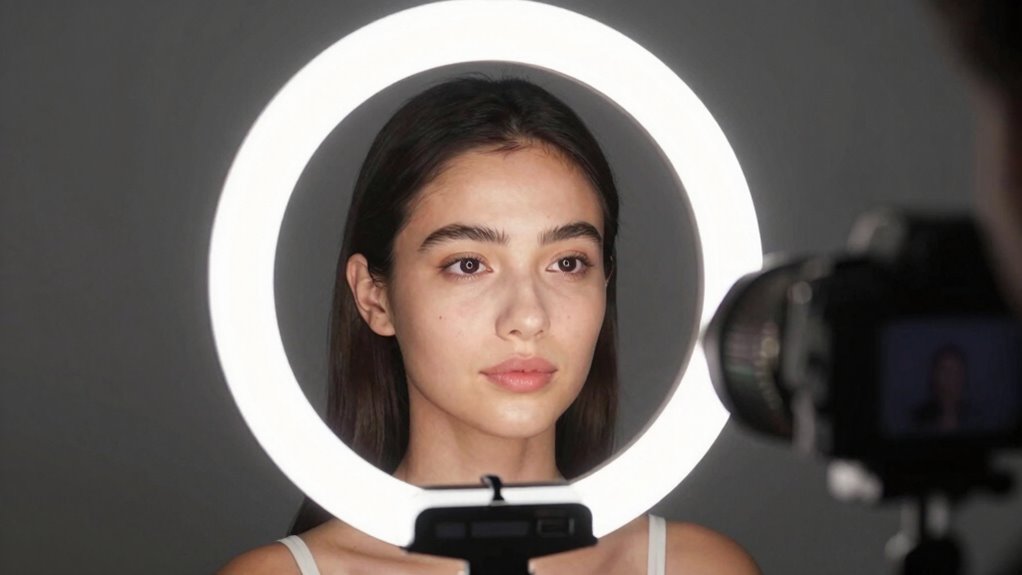
UBeesize 12'' LED Ring Light with 62'' Tripod Stand, Selfie Ring Light for Video Recording, Live Streaming, TikTok & YouTube, Compatible with iPhone & Android (Black)
【12” Powerful LED Ring Light with 240 LEDs】This upgraded 12-inch ring light features 240 high-efficiency LEDs delivering 10W…
As an affiliate, we earn on qualifying purchases.
As an affiliate, we earn on qualifying purchases.
How to Choose the Right Lighting Brightness for Skincare Videos
Choosing the right lighting brightness is key to showcasing your skin’s natural texture without washing out important details. Start by adjusting your light’s brightness to avoid overexposure, which can flatten the skin’s appearance. Aim for a soft, even glow that highlights texture without harsh shadows. Consider the color temperature; a neutral or slightly warm light enhances skin tones without making them appear dull or overly yellow. Proper light placement is essential—position your light at a 45-degree angle to your face, avoiding direct front or overhead lighting that can create unflattering shadows or wash out features. Test different brightness levels and angles until your skin details are clear and natural-looking, ensuring your skincare results shine through authentically. Incorporating adaptive lighting can further help you customize your setup to match your environment and skin tone perfectly. Additionally, understanding air purifier maintenance can help you create a healthier environment that supports your skincare routine and overall well-being. Paying attention to lighting calibration can also ensure consistent results across different filming sessions, especially when adjusting for ambient light variations in your filming space.

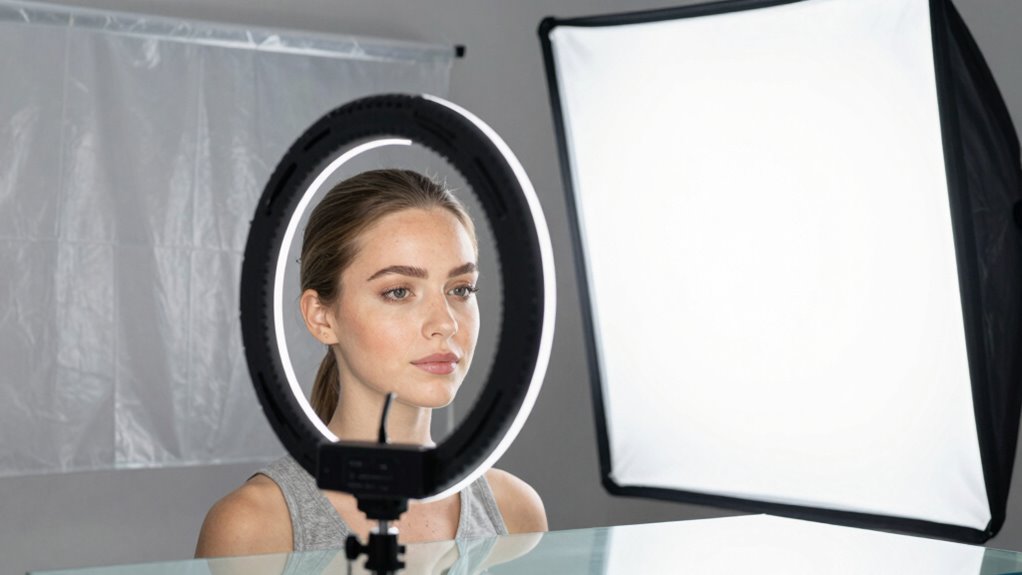
Selens Soft White Diffuser Foldable Light Diffuser Light Diffusion Panel with Carry Bag, Diffuser Fabric Light Modifier for TV Production Video Studio Photography Interview Portrait Shots -31x47in…
Pop up soft light diffuser is made of high quality material for long term use. Also, outer frame…
As an affiliate, we earn on qualifying purchases.
As an affiliate, we earn on qualifying purchases.
Setting Up Your Environment to Prevent Harsh Lighting
To prevent harsh lighting from ruining your skincare videos, you need to carefully set up your environment. Start by ensuring your space has balanced ambient shadows, which help soften direct light and create a more natural look. Adjust your lighting to match the room’s color temperature; using warm or neutral tones prevents the harsh, clinical feel that cool LEDs can produce. Position lights to avoid strong glare and shadows that wash out skin texture. Keep light sources at a consistent distance and angle to minimize uneven lighting. Use natural light when possible, or diffuse artificial lights to reduce intensity. Additionally, understanding Free Floating concepts like light diffusion and shadow balance can significantly improve your setup. By controlling ambient shadows and matching the color temperature, you create a softer, more flattering environment that preserves skin detail without harsh highlights. Paying attention to light placement ensures even coverage and reduces unflattering shadows. Incorporating proper lighting techniques can further enhance the overall quality of your skincare videos, making your skin appear more vibrant and true-to-life. Recognizing how light control impacts texture preservation is essential for achieving professional-looking results. To fine-tune your setup, experimenting with light modifiers can help achieve the desired softness and reduce unintentional glare.

NEEWER Basics 2Pcs LED Video Light Panel with 59'' Tripod Stands/Phone Holders, 2700-6500K 850Lux Dimmable Plastic Studio Lighting for Photography Filming Recording Live Streaming, No Adapter, BP300
【Bi Color Studio Panel Light】 NEEWER BP300 LED video light has built in 300 warm & cool LEDs,…
As an affiliate, we earn on qualifying purchases.
As an affiliate, we earn on qualifying purchases.
How to Soften Bright Lights With Diffusers and Modifiers
To soften bright lights, start by choosing the right diffusers to spread light evenly. Adjust the angles of your lights to minimize harsh shadows and create a more flattering look. Using softboxes effectively can also help you achieve a smooth, diffused glow perfect for skincare filming. Incorporating ethical lighting practices ensures your setup is both professional and responsible. Additionally, selecting appropriate lighting equipment tailored for skincare shoots can make a significant difference in achieving natural-looking results. Implementing light diffusion techniques can further enhance the softness and overall quality of your footage, and exploring light positioning strategies can optimize your setup for the best possible outcome. Considering light quality and color temperature helps ensure your skin tones appear natural and consistent throughout your shoot.
Choosing the Right Diffusers
Selecting the right diffuser can make a significant difference in softening harsh, bright lights on your skincare filming setup. When choosing a diffuser, consider diffuser materials like fabric, plastic, or glass, as each affects light diffusion differently. Fabric diffusers often produce a softer, more natural glow, while plastic or acrylic diffusers can provide a more even spread. Additionally, think about lighting color; some diffusers are designed to modify the color temperature, reducing unwanted color casts and ensuring your skin tone looks natural. The right diffuser balances light softness with accurate color rendering, helping you avoid washed-out textures. Understanding light diffusion principles can help you select the most effective diffuser for your needs. It’s also important to consider how diffuser materials impact light quality and durability, ensuring your setup remains effective over time. By selecting materials that suit your lighting environment and color needs, you create a flattering, professional look for your skincare videos. Proper knowledge of diffuser types can further enhance your ability to control light and achieve the desired aesthetic.
Adjusting Light Angles
Adjusting the angle of your lights can dramatically soften harsh brightness and create a more flattering glow on your skin. Proper light positioning reduces unwanted shadow play and evenly distributes illumination, preventing washed-out textures. Instead of aiming lights directly at your face, tilt or angle them slightly to the side or above, which helps diffuse the light more naturally. Experiment with different angles to find the sweet spot that minimizes glare and enhances skin details. Moving your lights closer or further away also impacts softness—closer lights produce gentler, more gradual shadows. Remember, small adjustments in light angles can make a big difference in how your skin appears on camera, helping you achieve a balanced, professional look. Additionally, light diffusion techniques can further soften the overall illumination and improve the visual quality of your filming setup. Incorporating lighting modifiers such as softboxes or umbrellas can also help control light spread and reduce harshness.
Using Softboxes Effectively
Softboxes are a game-changer for creating smooth, flattering lighting on your skin by diffusing harsh brightness. To use them effectively, start by adjusting the color temperature to match your filming environment, ensuring your skin tone looks natural. Proper light placement is essential: position the softbox slightly above and in front of your subject to minimize shadows and avoid washing out texture. Keep the diffusion material close to the bulb to maximize softness, but don’t block the light’s direction. Experiment with different angles and distances to find the most flattering look. Remember, softer light reduces the ‘too bright’ effect, highlighting skin texture without overexposing. Additionally, understanding light quality and levels can help you fine-tune your setup for optimal results. Using adjustable brightness settings on your softbox can further help in achieving the desired softness and balance. Adjusting light distribution can also help you control how evenly the light wraps around your subject.
Common Lighting Mistakes That Reduce Skin Detail: and How to Fix Them

One common mistake that reduces skin detail in lighting setups is relying on overly flat or even illumination. When your lighting lacks contrast, it flattens the skin’s texture, making features appear dull. To fix this, pay attention to color grading; subtle adjustments can enhance natural skin tones and bring out detail. Additionally, camera angles matter—shoot from slightly above or at an angle to create shadows that define contours and textures. Avoid direct, front-facing lighting that washes out detail. Instead, use a combination of key and fill lights at different intensities to add depth. Properly balancing these elements ensures your skin retains its natural texture, preventing the washed-out appearance caused by uniform lighting.
Tips for Achieving Natural, Flattering Skin Tone in Your Videos
Achieving a natural, flattering skin tone in your videos starts with understanding how lighting impacts color. Focus on skin tone calibration by adjusting your camera settings to match your skin’s natural hue. Use a consistent color temperature; daylight-balanced bulbs (around 5600K) often produce the most authentic look. Avoid overly warm or cool lights, which can distort your skin’s appearance. Before filming, calibrate your camera’s white balance to ensure accurate color reproduction. Test your setup by filming a short clip and reviewing it for color accuracy. Proper lighting and calibration help prevent your skin from appearing too dull, orange, or washed out. When your lighting aligns with your skin’s true tone, your videos will look more natural, flattering, and professional.
Frequently Asked Questions
Can Natural Light Be Better Than Artificial Lighting for Skincare Videos?
Natural light can often be better than artificial lighting for skincare videos because it offers a soft, even glow that highlights your skin’s natural texture without washing it out. You have more control over natural light by filming during specific times like morning or late afternoon. However, artificial lighting gives you consistency and control regardless of weather or time of day. Choose based on your desired look and filming conditions.
What Are the Best Color Temperatures for Skincare Filming?
For skincare filming, you should aim for a color temperature around 5000K to 5500K, which offers balanced color accuracy and natural-looking skin tones. This range also enhances mood lighting, creating a welcoming and professional feel. Cooler temperatures (above 6000K) can wash out textures, while warmer ones (below 4500K) may add unwanted yellow tones. Stick to this neutral spectrum for the most flattering, true-to-life results.
How Does Camera Angle Affect Skin Texture in Bright Lighting?
Your camera angle especially impacts skin texture in bright lighting. Low angles can cause angle distortion, making skin appear uneven, while high angles may emphasize shadows, washing out details. To showcase texture accurately, keep the camera at eye level and adjust the angle to minimize distortion. Proper shadow placement is vital—avoid harsh shadows that obscure skin features, and guarantee even lighting to highlight natural skin texture effectively.
Are There Specific Camera Settings That Help Mitigate Overexposure?
You can mitigate overexposure by adjusting your camera settings, like using exposure correction to darken overly bright areas. Also, tweak your aperture—narrowing it reduces the light entering the lens, helping preserve skin texture. Coincidentally, these adjustments keep your footage balanced and detailed, preventing washed-out skin and highlighting natural texture. Experiment with these settings until you find the perfect balance that captures your skincare details without overexposing the shot.
How Often Should I Adjust Lighting as I Film Throughout the Day?
You should adjust your lighting as needed throughout the day to maintain consistent lighting and avoid overexposure. Keep an eye on your shots, and when you notice changes in natural light or your setup, make small exposure adjustments. Regularly checking your footage helps guarantee your lighting stays even, preventing washout or harsh shadows. Staying attentive to lighting consistency allows your skincare videos to look professional and visually appealing.
Conclusion
Remember, lighting is the brush that paints your skincare story. If you don’t control it, harsh lights can wash out the details you want viewers to see. By choosing the right brightness and softening those rays, you bring your skin’s true texture into focus—like a clear window into your skin’s health. Keep experimenting, stay patient, and let your lighting work for you, not against you. After all, a gentle touch makes the brightest impression.