
Whipping up a pimple patch in minutes is easy! Grab some hydrocolloid bandages and cut them to size. If you’ve got apple cider vinegar or lemon juice, soak a cotton pad in it for a quick fix. Cleanse your skin first, then stick the patch over your pimple and press down firmly. Leave it on for at least six hours. Want to boost your acne-fighting efforts? There’s more effective tips waiting for you!
Key Takeaways
- Gather hydrocolloid bandages or blister paper and cut them into desired sizes for your DIY pimple patches.
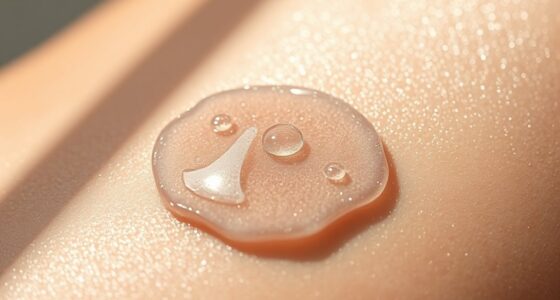
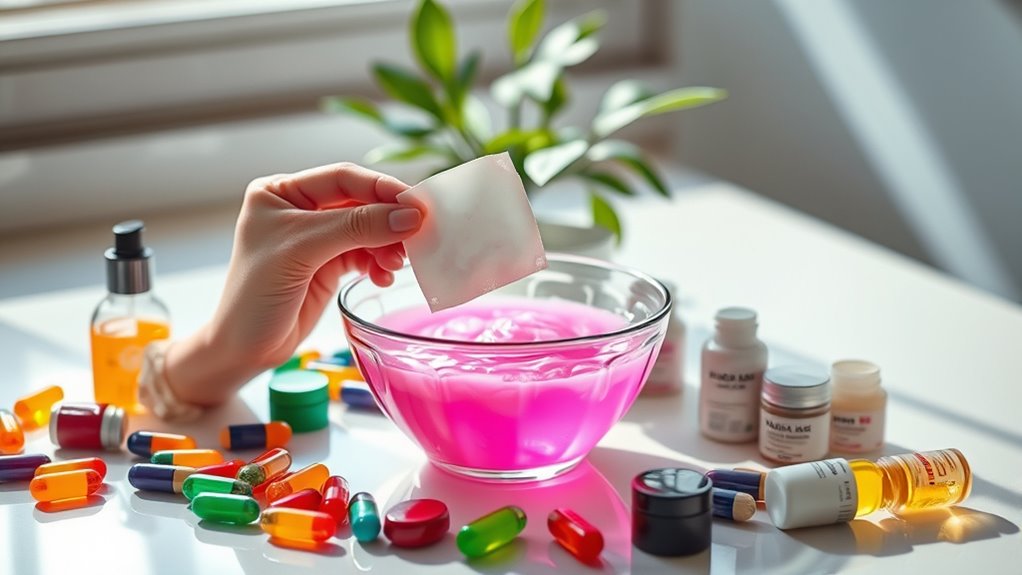
- Soak a cotton pad in apple cider vinegar or lemon juice for an easy liquid-based patch alternative.
- Cleanse your face thoroughly to ensure the patch adheres properly and prevents bacteria transfer.
- Apply the patch firmly over the pimple and leave it on for at least six hours or overnight for best results.
- Maintain a clean workspace and hands to avoid introducing bacteria into the patch area.
Understanding Pimple Patches
Pimple patches are a popular skincare solution that combines convenience with targeted acne treatment. These patches, often made of hydrocolloid, salicylic acid, or tea tree oil, create a protective barrier over your pimple. They absorb excess oil while delivering active ingredients to help with healing. Hydrocolloid patches are particularly effective, as they draw out pus and promote faster recovery. You’ll appreciate the transparent designs, which make them discreet enough for daytime wear. Originally derived from hydrocolloid bandages used in wound care, they’ve evolved into a go-to for acne management. However, keep in mind that their effectiveness can vary based on your skin type and the specific acne you’re dealing with, so it’s crucial to choose wisely. Additionally, these patches create a moist environment that aids in healing, offering more than just surface-level treatment. Many patches also contain salicylic acid as a key ingredient for treating stubborn cystic acne.
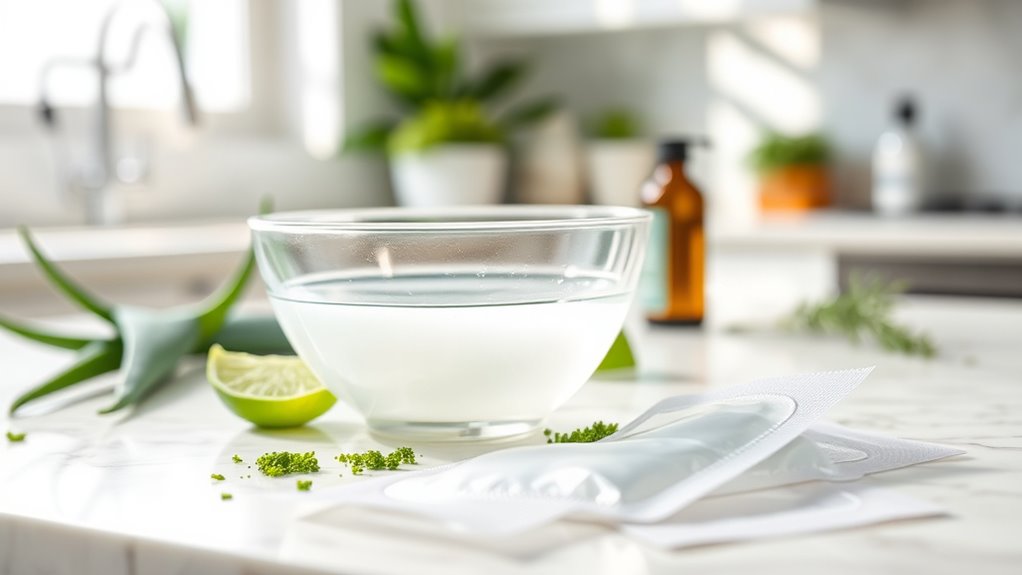
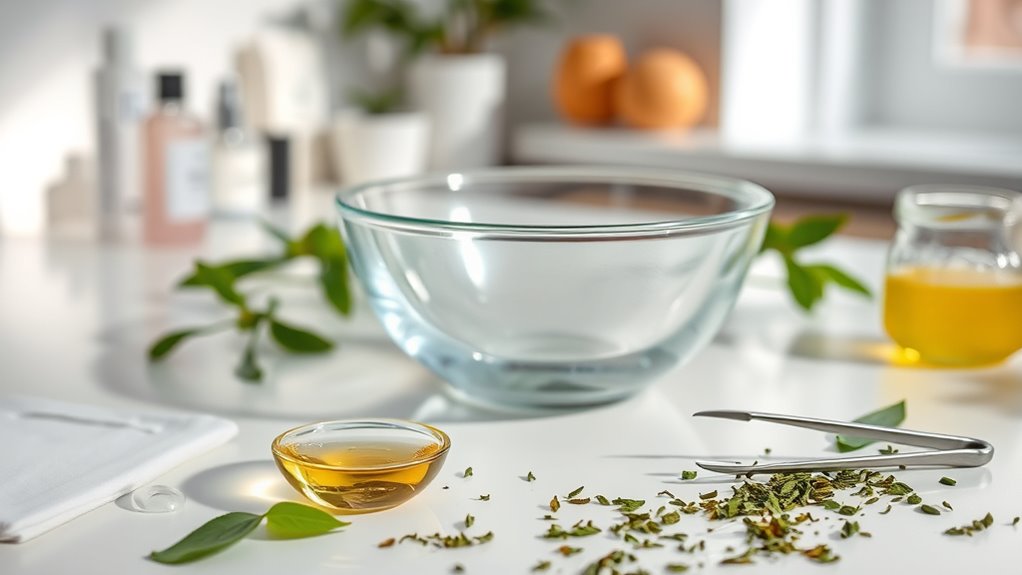
Essential DIY Ingredients for Pimple Patches
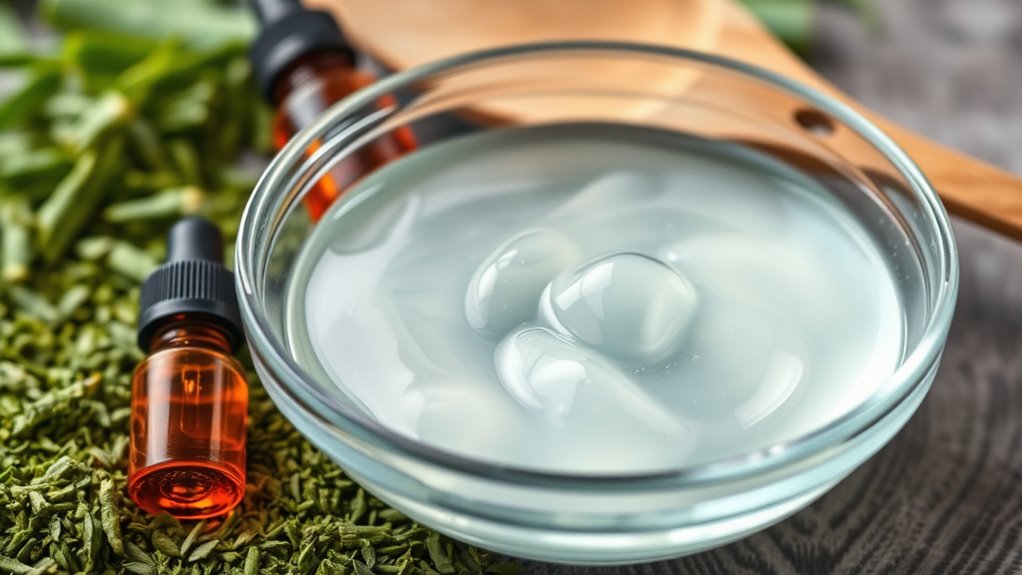
Creating your own pimple patches can be an effective way to harness the power of natural ingredients for acne treatment. Start with hydrocolloid bandages, which absorb pus and create a protective barrier. Enhance their effectiveness by adding tea tree oil for its antibacterial properties and aloe vera gel to soothe irritation. Raw honey also works wonders for calming the skin, while witch hazel can help tighten pores and reduce inflammation. For additional benefits, consider apple cider vinegar and turmeric powder, both known for their antibacterial and anti-inflammatory qualities. Using essential oils in your DIY patches can provide extra therapeutic effects. Finally, don’t forget cotton pads for easy application and avocado for moisture. These ingredients can help you create a powerful, natural remedy for pesky pimples, but remember that commercial patches often include active ingredients that enhance their effectiveness.
Step-by-Step Guide to Making Your Own Pimple Patch
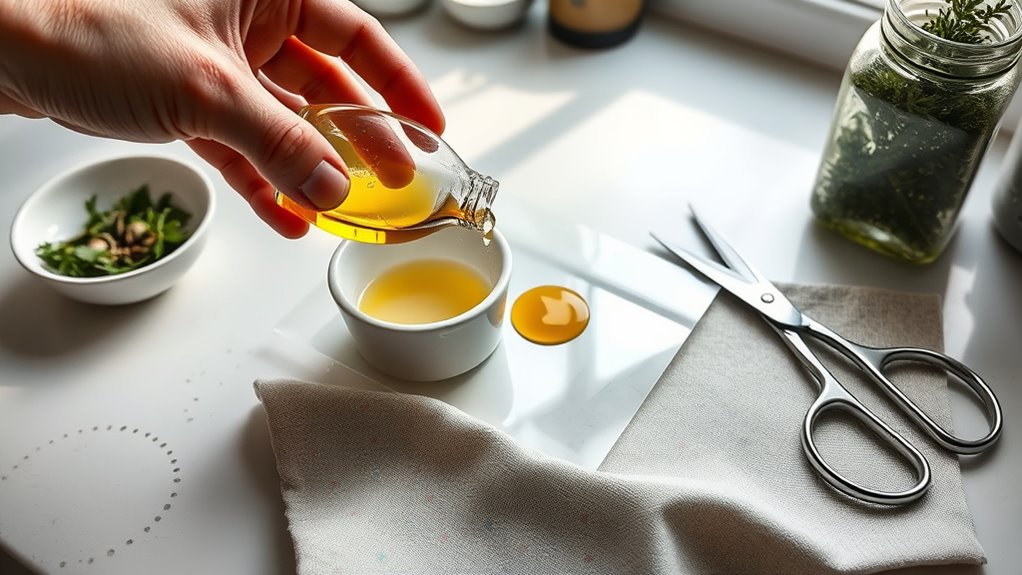
If you’re ready to tackle those pesky pimples with a DIY approach, making your own pimple patches is a straightforward process. Start by gathering your ingredients: hydrocolloid bandages, cotton pads, or blister paper. Hydrocolloid bandages can be particularly effective as they help in healing and reducing inflammation, as they are known to promote scalp health by drawing moisture to the area.
Make certain your work area and tools are clean. For liquid-based patches, soak a cotton pad in apple cider vinegar or lemon juice.
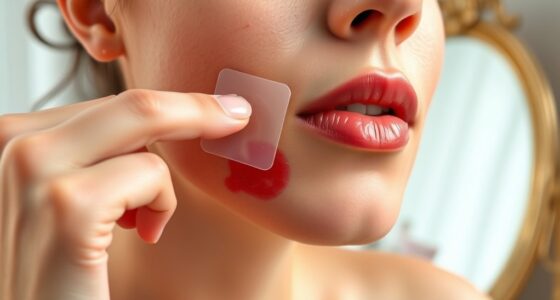
Cut your hydrocolloid bandages or blister paper into desired sizes with scissors. Before applying, cleanse and dry your face thoroughly.
Gently place the patch over the pimple, making sure it’s secure. Leave it on for 6-24 hours, then remove it and cleanse the area again.
Always patch test new ingredients to avoid irritation and consult a dermatologist for severe acne.
Benefits of Using Homemade Pimple Patches
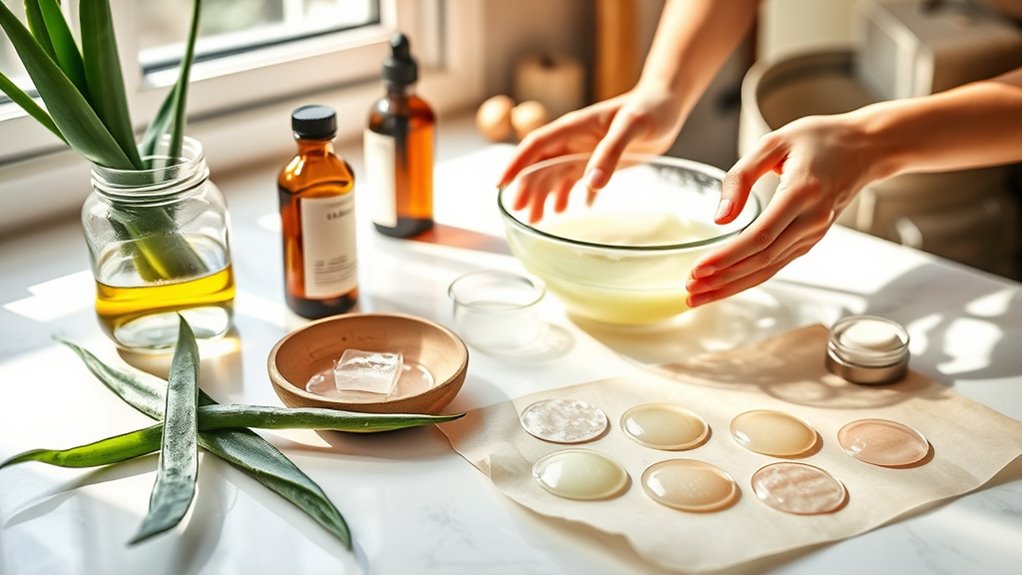
Homemade pimple patches offer several advantages that make them an appealing choice for tackling breakouts. First, they’re cost-effective since you can use affordable materials like hydrocolloid bandages or natural remedies. Additionally, hydrocolloid patches have been used for wound care since the 1980s, showcasing their effectiveness in drawing out excess fluid. You can customize your patches to fit any size or shape, tailoring them to your specific needs. This flexibility allows you to choose ingredients based on your skin type, ensuring a better match for your skin sensitivity. Plus, they’re quick and easy to prepare, eliminating the wait time associated with store-bought options. By making them as needed, you reduce waste and avoid excess packaging. Using hydrocolloid technology in your homemade patches can enhance their ability to promote healing and protect against bacteria. Furthermore, incorporating glycolic acid into your routine can help improve skin texture and reduce the appearance of acne over time.
Tips for Effective Application and Use

To maximize the benefits of your homemade pimple patches, it’s important to apply them correctly.
Start by cleansing your skin thoroughly to remove any dirt or oil, then dry the area completely to enhance adhesion.
Choose a patch that fits the pimple and a small surrounding area, pressing it firmly to avoid air pockets.
Use light pressure and warmth from your fingers to secure it.
Apply patches when a whitehead is visible and leave them on for at least six hours or overnight.
Remove them gently once they turn opaque, and cleanse the area afterward.
Avoid using harsh treatments on the newly treated skin, and maintain clean hands to prevent bacteria transfer.
Consistency is key for effective results, as pimple patches are effective for treating individual, surface-level pimples.
Combining Treatments for Enhanced Results
Combining treatments can markedly enhance your acne-fighting efforts by targeting multiple factors that contribute to the condition.
For instance, pairing retinoids with benzoyl peroxide effectively addresses both blackheads and inflammation. Clindamycin combined with retinoids reduces bacterial colonization and inflammation, while azelaic acid with oral tetracyclines minimizes hyperpigmentation risks, especially in darker skin types. A popular approach is the triple combination of clindamycin, adapalene, and benzoyl peroxide, showing over 70% reduction in lesions. This strategy not only improves efficacy but also simplifies your regimen, making it easier to stick to. Additionally, this triple-combination treatment demonstrates a synergistic effect, enhancing overall treatment outcomes.
Ultimately, combining treatments allows for a broader spectrum of action, leading to faster, more successful outcomes in your battle against acne.
Precautions to Take When Using DIY Pimple Patches
When using DIY pimple patches, it’s crucial to prioritize safety and hygiene to avoid worsening your acne.
Start by cleaning your face and hands thoroughly to prevent bacteria from contaminating the patch. Avoid touching the center of the patch with your bare hands, as this can introduce more germs.
Thoroughly clean your face and hands to prevent bacteria contamination, and avoid touching the patch’s center to reduce germ exposure.
Choose a patch size that fully covers the pimple, and make sure your skin is dry for better adhesion. Applying pimple patches is most effective when used on developed pimples that are coming to a head.
Be cautious not to apply patches on popped pimples, as this can lead to irritation.
Remember, DIY patches may lack the active ingredients found in commercial ones, and improper use can increase inflammation or risk of scarring.
Always consider these factors for the best results and skin health.
Exploring Other Natural Acne Treatments

After taking precautions with DIY pimple patches, you might want to explore other natural acne treatments that can complement your skincare routine.
Consider using tea tree oil, known for its antibacterial and anti-inflammatory properties, to target blemishes effectively. Aloe vera is another great option, as it helps soothe irritation and reduce acne appearance. Additionally, keeping skin clean can help manage oil levels and prevent future breakouts. Incorporating chia seeds into your diet can also support digestive health, which may help improve skin clarity. Consuming honey, particularly rapeseed honey, can provide vitamins and antioxidants that benefit overall skin health. Including chia seeds in your meals can also enhance your intake of omega-3 fatty acids, which are beneficial for overall health.
Incorporating green tea, either as a drink or topical application, can also decrease sebum production and inflammation.
Don’t overlook dietary adjustments—limiting high glycemic foods and staying hydrated can greatly benefit your skin.
Finally, managing stress through relaxation techniques can help keep breakouts at bay.
With these natural treatments, you can create a balanced approach to achieving clearer skin.
Frequently Asked Questions
How Long Can I Store Homemade Pimple Patches?
You can typically store homemade pimple patches for a few days before they start losing effectiveness.
To keep them usable, make sure to store them in an airtight container at room temperature or in the fridge.
Avoid high humidity and direct light, as these factors can degrade the materials.
If you notice any change in quality or odor, it’s best to discard them to prevent any potential skin issues.
Can I Use Pimple Patches on Open Wounds?
Yes, you can use pimple patches on open wounds, like popped pimples or scrapes.
These patches create a moist environment that promotes healing while keeping the area protected from bacteria.
Just make sure the wound is clean and dry before applying the patch.
However, be cautious if you have sensitive skin, as the adhesive might irritate it.
Replace the patch if it’s absorbed all its drainage for best results.
Are There Any Side Effects of Using DIY Pimple Patches?
Using DIY pimple patches can feel like playing with fire; they can bring both relief and risk.
You might experience skin irritation, allergic reactions to certain ingredients, or dryness if you’re not careful. Overusing them may delay healing, trapping bacteria instead.
Always patch test first, and remember, they’re not a cure-all. If your acne worsens or doesn’t improve, don’t hesitate to consult a dermatologist for tailored advice.
How Often Should I Change the Pimple Patch?
You should change your pimple patch based on its appearance and your skin’s response.
For small blemishes, swap them out every 6 to 8 hours when they turn opaque. Larger pimples may need 12 to 24 hours.
Always replace patches if they lift, peel, or become swollen. Remember, most shouldn’t stay on longer than 24 hours for hygiene.
Keep your skin clean and dry before applying for the best adhesion and results.
Can I Apply Makeup Over the Pimple Patch?
Imagine your skin as a canvas, and pimple patches as protective shields. Yes, you can apply makeup over those patches!
Just prep your skin well and use lightweight products. Gently dab on the makeup, especially around the patch, to keep it in place. A matte concealer works wonders to blend it seamlessly.
Conclusion
In just a few minutes, you’ve crafted your very own pimple patch, a little shield against pesky blemishes! With the right ingredients and a sprinkle of creativity, you’re now armed to tackle acne naturally. Like a warrior preparing for battle, you can confidently embrace your skin’s journey. Remember, every pimple patch is a step towards clearer skin, so keep experimenting and combining treatments. Your glowing future awaits—let your DIY spirit shine bright!