To effectively utilize pimple patches in 7 simple steps, begin by thoroughly cleaning the target area and applying the patch without pulling or stretching it. Make sure to use sanitized tools to prevent bacterial contamination and keep the patch on for a duration of 6-8 hours. Look out for a change in color to white, indicating absorption of impurities. Replace the patch promptly to facilitate healing and prevent irritation. Pimple patches have the ability to hasten recovery, diminish scarring, and uphold the health of the skin. Adhering to these steps can maximize their advantages. Additional recommendations include keeping the patch on for less than 12 hours and replacing it promptly. For more detailed insights on improving your pimple patch application, check out the steps provided.
Key Takeaways
- Cleanse and dry the skin before applying the patch.
- Avoid leaving the patch on for more than 12 hours.
- Monitor for signs of irritation like redness or itching.
- Promptly replace dislodged patches to maintain effectiveness.
- Consult a dermatologist if experiencing skin irritation symptoms.

HBlife Makeup Organizer with Brush Holder for Vanity, Large Plastic Bathroom Countertop Organizer Skin Care Storage, Easy to Store Lipsticks, Nail Polishes, Perfumes, Eyeshadow Palettes, All White
- Large Capacity: 13.58x6.89x9.76 inch with multiple compartments
- Organized Brush Slots: Dedicated slots for brushes, pens, and tubes
- Versatile Use: Suitable for vanity, bathroom, and office
As an affiliate, we earn on qualifying purchases.
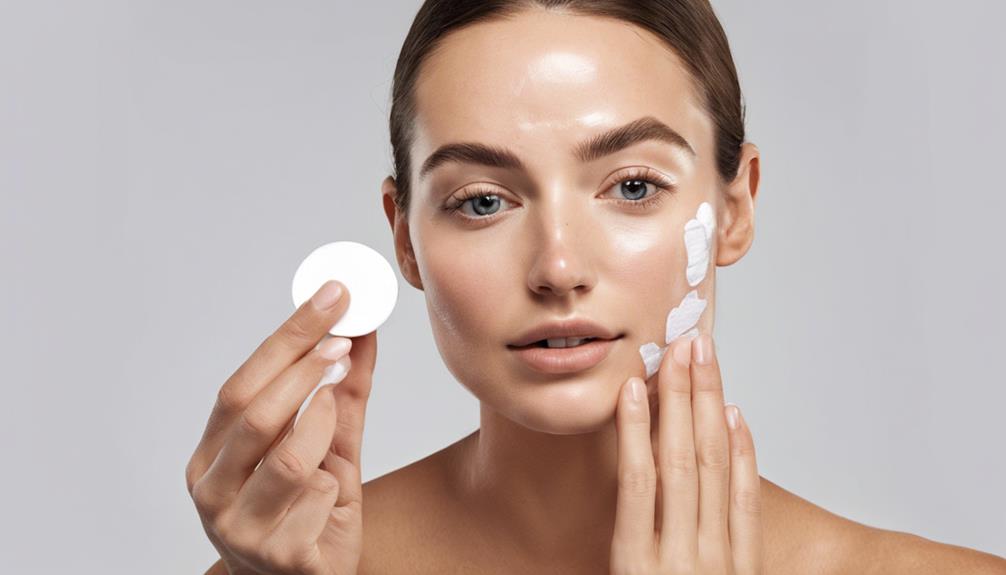
Preparing the Affected Area
How can we make sure the affected area is properly cleansed and ready for the pimple patch application? To ensure the affected area is properly cleansed and ready for pimple patch application, start by gently washing the skin with a mild cleanser to remove any excess oil, dirt, and impurities. Pat the area dry with a clean towel to prevent introducing any new bacteria. This preparatory step is crucial for discovering pimple patches effectiveness, as a clean canvas allows the patch to adhere better and work more efficiently, maximizing its healing properties. Additionally, consider applying a toner to balance the skin’s pH levels, further enhancing the patch’s ability to minimize blemishes.
To guarantee the best outcome when using acne patches, it's vital to start by cleansing the affected area gently with a mild cleanser. This step helps remove any dirt, oil, and impurities that could hinder the effectiveness of the pimple patch.
After cleansing, it's important to pat the skin dry gently, making sure there's no moisture left that could interfere with the adhesion of the patch. Avoiding the use of other skincare products like moisturizers or serums in the area where the patch will be applied is also key.
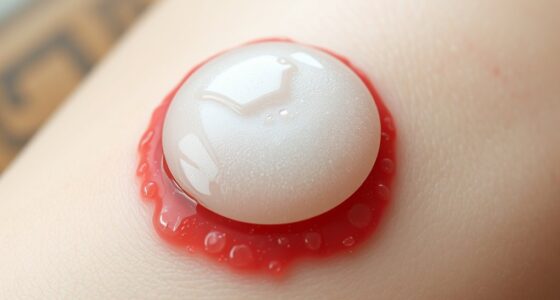
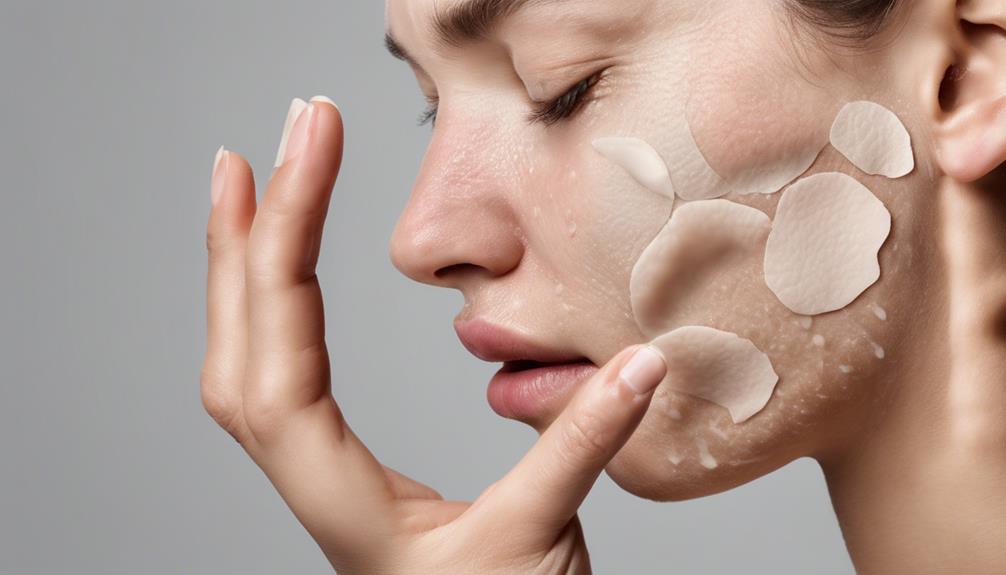
Applying the Patch Correctly
Before applying the pimple patch, make sure that the affected area has been thoroughly cleansed and dried to promote the best adhesion and effectiveness. Gently press the patch onto the pimple, ensuring it sticks properly to create a protective barrier. Avoid stretching or pulling the patch during application to maintain its shape and effectiveness. It is essential to cover the entire pimple and surrounding area with the patch to maximize absorption of its healing benefits.
To enhance the effectiveness of the pimple patch, look for products containing salicylic acid, which can help unclog pores and reduce inflammation. Salicylic acid is a common ingredient in many skincare products designed to target acne. Using a patch with this ingredient can aid in treating the pimple more effectively.
For a quick reference on applying the pimple patch correctly, refer to the table below:
| Application Tips | Description |
|---|---|
| Thorough Cleansing | Cleanse the affected area properly before applying the patch. |
| Gentle Pressing | Gently press the patch onto the pimple for proper adhesion. |
| Avoid Stretching | Refrain from stretching or pulling the patch during application. |
| Full Coverage | Make sure the patch covers the entire pimple and surrounding area. |
Avoiding Bacterial Contamination
When using pimple patches, it's important to be mindful of bacterial sources that could lead to skin irritation or infection. To prevent contamination, always use clean tweezers to apply the patch and avoid placing it on top of skincare products.
Properly adhering the patch without touching the center guarantees best absorption and helps prevent prolonged exposure to bacteria.
Bacterial Sources to Watch
To effectively prevent bacterial contamination when using pimple patches, it's important to be mindful of potential sources such as unwashed hands and contaminated tools. Clean skin plays a significant role in ensuring successful treatment with pimple patches. Bacteria from unwashed skin can easily transfer onto the patch, leading to irritation and potential infections.
It's essential to cleanse the skin thoroughly before applying the patch to eliminate dirt and bacteria. Additionally, proper storage of pimple patches in a clean, dry environment is important to prevent bacterial growth and maintain their effectiveness.
Contamination Prevention Tips
In maintaining excellent hygiene while using pimple patches, it's important to avoid touching the adhesive side to prevent bacterial transfer. Using clean tweezers for application can minimize the risk of contamination. Make sure the skin is clean and dry before applying the patch to uphold a hygienic process.
Storing pimple patches in a cool, dry place prevents bacterial growth and maintains their effectiveness. Regularly replacing the patch is vital to prevent bacterial buildup, ensuring the best healing and impurity absorption. These contamination prevention tips are essential for maximizing the benefits of pimple patches and promoting skin health.
Allowing Time for Absorption
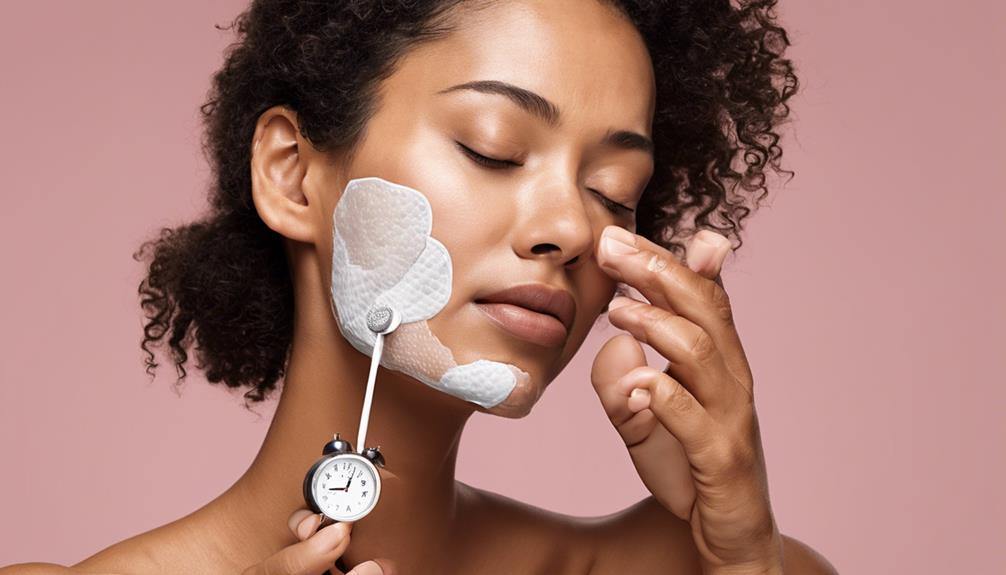
When using pimple patches, it's important to allow time for absorption to let the patch do its job effectively.
The absorption time varies based on the severity of the pimple and the specific patch being used.
Leaving the patch on for at least 6-8 hours promotes best results by allowing it to absorb impurities and treat the pimple thoroughly.
Absorption Time Importance
We find that allowing sufficient absorption time for pimple patches is vital for maximizing their effectiveness in drawing out impurities and pus. Pimple patches typically need around 6-8 hours to work effectively in the healing process. Giving the patch ample time ensures it can extract the pimple contents thoroughly, aiding in reducing inflammation and promoting healing.
Some patches may change color to white or cloudy when fully absorbed, signaling the need for removal. It's essential to exercise patience and avoid the temptation to remove or change the patch prematurely.
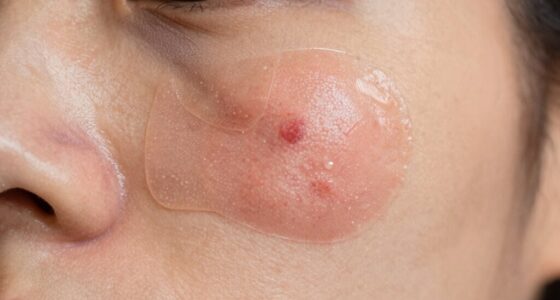
Proper Patch Application
After allowing sufficient absorption time for pimple patches, the next crucial step is ensuring proper application to maximize their effectiveness in drawing out impurities and promoting healing.
To properly apply an acne pimple patch, start by cleansing and drying the affected area. Gently peel the patch from its backing and place it directly over the pimple, ensuring it adheres well to the skin. Avoid touching or moving the patch to prevent disrupting the absorption process.
For best results, leave the patch on for at least 6 hours, or even overnight, to allow it to work continuously. This proper application creates a protective barrier, aiding in preventing further infection and supporting faster healing of the acne pimple.
Benefits of Waiting
To maximize the effectiveness of hydrocolloid patches in drawing out impurities and promoting healing, allowing sufficient time for absorption is crucial. By patiently waiting for the patch to do its job, it can absorb excess oil, pus, and impurities from the pimple effectively. This waiting period also helps the patch adhere better to the skin, optimizing its healing benefits. When the patch turns white, it signals that impurities have been absorbed, indicating it's time for removal and replacement. Allowing the patch to work undisturbed creates a barrier against external bacteria, preventing further infection. Waiting for the patch to work ensures it can effectively reduce inflammation and promote faster healing of the pimple.
| Benefits of Waiting | |
|---|---|
| Absorbs impurities effectively | |
| Maximizes healing benefits | |
| Prevents further infection |
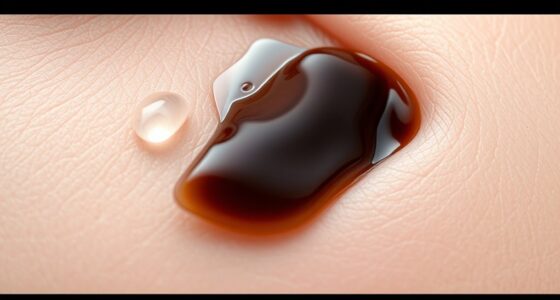
Monitoring for White Color Change

When monitoring pimple patches for a white color change, it's important to check for the indication of impurities and pus absorption. The white color change signifies that the patch is actively drawing out bacteria and excess sebum from the pimple. It's vital to pay attention to this change as it indicates that the patch is working to treat the pimple effectively.
By monitoring the color change, we can gauge the progress of the patch in addressing the impurities within the skin. Once the patch turns white, it has fulfilled its absorbing function, and it's recommended to replace it with a new one. This visual indicator helps us understand when the patch needs to be removed to prevent skin irritation and ensure optimal results.
Replacing When Necessary
We recommend changing pimple patches promptly either upon turning white or within 6-12 hours to maintain skin health and maximize efficacy. It's important to replace them promptly to prevent any potential skin issues and support the healing process.
Here are some essential points to keep in mind when replacing pimple patches:
- Preventing Dark Spots: Regularly changing the patches helps prevent the formation of dark spots by maintaining a clean environment on the skin.
- Promoting Faster Healing: By replacing the patches when necessary, you support faster healing of the affected area and reduce the risk of scarring.
- Maintaining Skin Health: Changing the patches as recommended ensures that your skin stays healthy and free from potential irritations or infections.
- Maximizing Effectiveness: Using a fresh patch when needed ensures that the active ingredients continue to work effectively, promoting clearer skin over time.
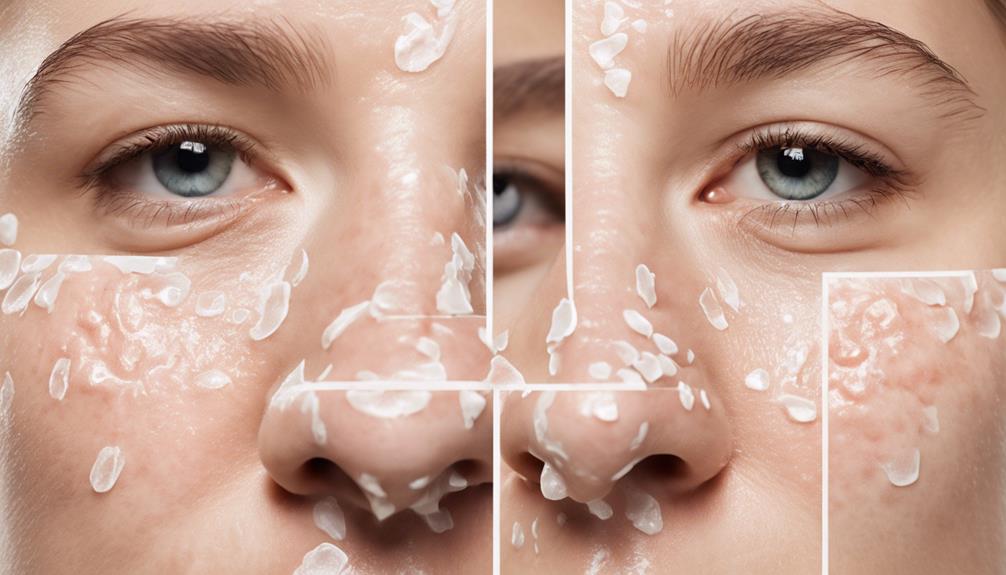
Preventing Skin Irritation
Preventing skin irritation is vital when using pimple patches to guarantee comfort and effectiveness. To achieve this, it's important to avoid leaving the patches on for more than 12 hours. Additionally, make sure that the skin is thoroughly cleansed and dried before applying the patch. Opt for patches containing gentle ingredients like hydrocolloid to prevent skin aggravation. Some patches infused with soothing tea tree oil can also help calm the skin and reduce the risk of irritation.
If a patch becomes dislodged or loses its adhesion, replace it promptly to maintain a clean and effective treatment area. Monitoring for any signs of redness, itching, or discomfort is significant. Should you experience any of these symptoms, discontinue use immediately and seek guidance from a dermatologist. By following these steps and being mindful of skin sensitivity, you can effectively use pimple patches while minimizing the risk of irritation.
Frequently Asked Questions
How Do You Use Pimple Patches Effectively?
When using pimple patches effectively,
cleanse and dry the area,
choose the right size for full coverage,
and change them regularly.
Gently press the patch onto the skin
and follow the wear time instructions.
These steps help maintain a clean environment,
prevent infection,
and promote healing without causing irritation.
By following these guidelines,
you can maximize the benefits of pimple patches
and support your skin's recovery process.
What Stage Should I Use a Pimple Patch?
When deciding the right stage to apply a pimple patch, it's important to take into account the pimple's condition. Patches work best on popped pimples, as they absorb impurities and safeguard the area.
They can also be used on early-stage redness and swelling to prevent scarring and speed up healing. For best results, apply a patch as soon as you notice a pimple forming to reduce inflammation and prevent infection.
Should I Pop Pimple Before Pimple Patch?
We don't recommend popping a pimple before applying a patch. Popping can introduce more bacteria, leading to infection and potential scarring. Patches work best on intact pimples, absorbing pus and impurities without popping.
Using a patch on a popped pimple may reduce its effectiveness and adherence. Let the pimple heal naturally while using a patch for protection and treatment.
When in Your Skincare Routine Do You Use Pimple Patches?
In our skincare routine, we use pimple patches after cleansing and toning, before applying serums or moisturizers. Placing them on clean, dry skin guarantees better adherence and effective targeting of the pimple.
We prefer using them at night for undisturbed treatment while sleeping, but they can also be worn during the day under makeup for added protection. Proper placement over the pimple concentrates the active ingredients for best results.
Conclusion
To sum up, pimple patches can be a highly effective tool in treating acne when used correctly. By following the seven steps outlined in this article, you can maximize the benefits of these patches and help clear up your skin faster.
For example, Sarah, a teenager with persistent acne, saw a noticeable improvement in her skin after consistently using pimple patches for a few weeks.
Remember to always consult with a dermatologist for personalized advice on skincare.