You can easily make DIY pimple patches at home tonight with just a few materials. Grab hydrocolloid bandages, scissors, and natural ingredients like tea tree oil and aloe vera. Clean your workspace, mix the ingredients, and cut the bandages into patch sizes that fit your pimples. Apply them on clean skin and let them work their magic. If you’re curious about proper application techniques, how long to keep them on, and more, there’s plenty to discover!
Key Takeaways
- Gather materials like hydrocolloid bandages, scissors, and natural ingredients such as tea tree oil and honey for effective DIY patches.
- Clean your workspace and tools thoroughly with sanitizing wipes or alcohol to minimize contamination.
- Mix natural ingredients in a bowl, then patch test on a small skin area for sensitivity before applying.
- Cut hydrocolloid bandages to size, ensuring they cover the pimple completely for maximum effectiveness.
- Apply the patch to a clean, dry area and replace it once it becomes dirty or loses stickiness.
Materials Needed for DIY Pimple Patches
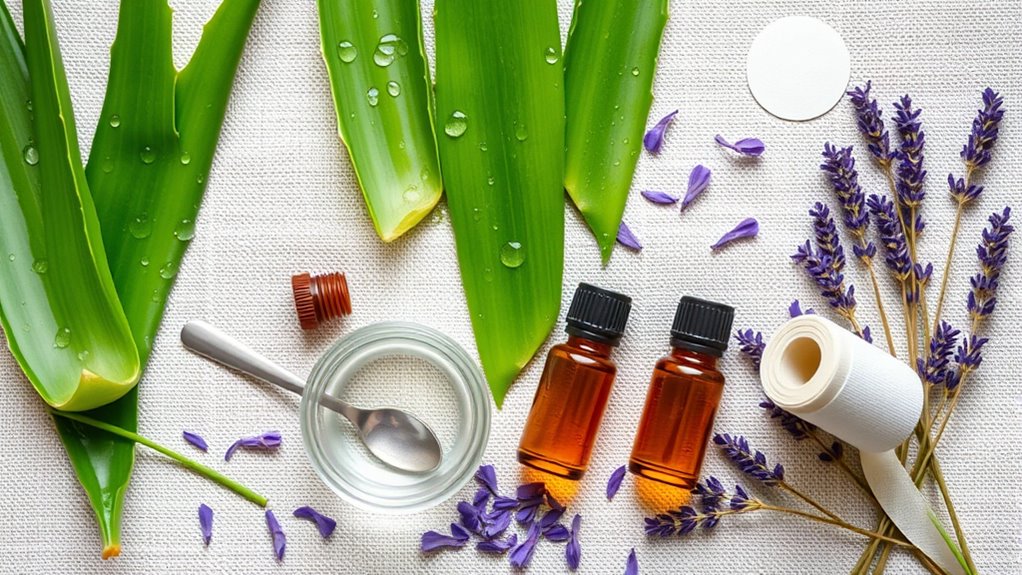
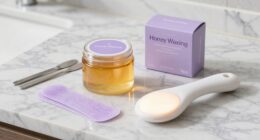
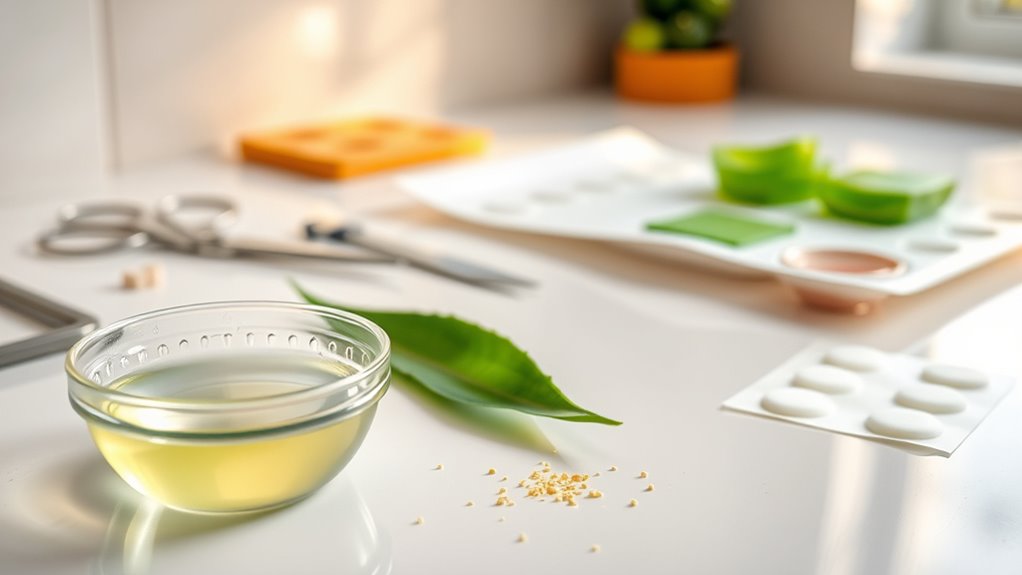
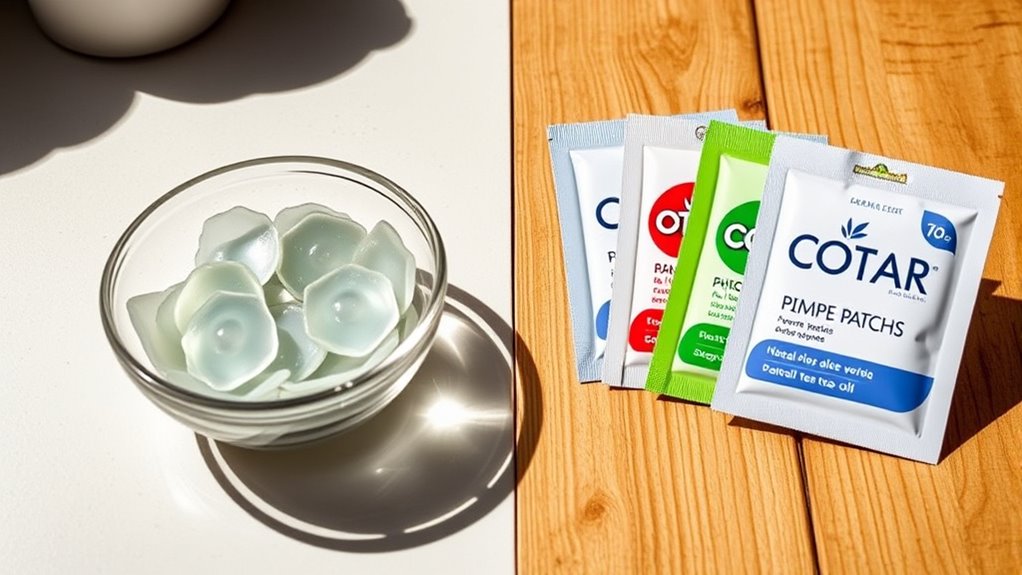
Creating your own DIY pimple patches is a fun and effective way to tackle pesky breakouts. To get started, you’ll need hydrocolloid bandages, which are excellent for absorbing pus and protecting your skin from bacteria. Grab some scissors to cut the bandages into smaller patches and guarantee you have sanitizing wipes or alcohol for maintaining sterility. A clean workspace is essential to reduce infection risks. Additionally, homemade patches may have inferior adhesion compared to commercial options, which can affect their effectiveness. Optionally, a hole puncher can help create uniform, round patches. For natural acne patch recipes, consider ingredients like tea tree oil, raw honey, and aloe vera gel, known for their soothing and antibacterial properties. With these materials, you’re all set to create your custom pimple patches!
Steps for Preparing Your Pimple Patches
Once you have your materials ready, it’s time to prepare your pimple patches.
Start by cleaning your work area thoroughly. Use sanitizing wipes or alcohol to guarantee everything is hygienic, and wash your hands before handling any materials. It’s also a good idea to remove any jewelry and keep pets away from your workspace.
Next, mix your natural ingredients—tea tree oil, raw honey, turmeric powder, aloe vera gel, and witch hazel—in a small bowl until you achieve a consistent paste. Regular exfoliation can help prevent clogged pores and breakouts, making your pimple patches even more effective.
Remember to patch test the mixture on a small area of skin first to check for sensitivity.
Once you’re ready, clean the affected area with soap and water, pat it dry, and apply your DIY patch directly to the pimple, pressing gently.
How to Cut and Size Your Pimple Patches
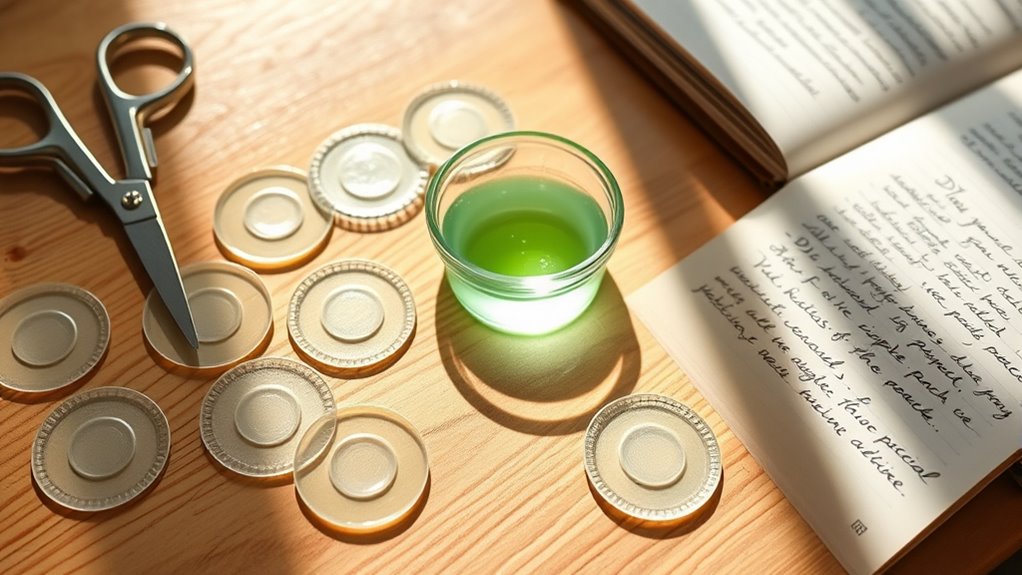
When you’re ready to cut your pimple patches, it’s important to make certain they fit perfectly for effective treatment. Start by cleaning your work area, hands, and scissors to prevent contamination.
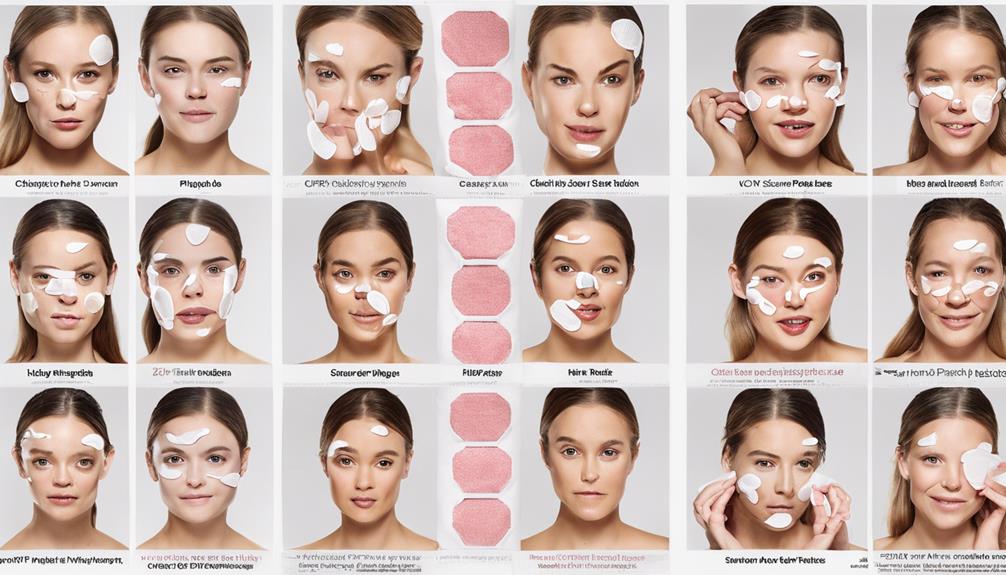
Use hydrocolloid bandages, cutting them to match the size of your pimples. For a precise fit, consider using a hole puncher for uniform circular patches. Make sure each patch covers the entire lesion, slightly larger for full coverage. Assess the type and size of your pimples to determine the necessary patch size. Hydrocolloid bandages help in healing and reducing inflammation, making them a great choice for your DIY patches. Additionally, maintaining a clean environment can help prevent airborne pathogens from affecting your skin. Circular shapes generally adhere better, so verify there are no air gaps. If needed, adjust or reshape the patches for ideal fit, ensuring they stick well to your skin without causing irritation. Using patches infused with active ingredients can further enhance their effectiveness in treating blemishes.
Proper Application Techniques for Maximum Effectiveness

Applying your DIY pimple patches correctly can considerably enhance their effectiveness.
Start by cleansing your skin with a gentle, oil-free cleanser to remove dirt and makeup. Pat the area dry to minimize irritation and improve adhesion. Make sure your hands are clean to prevent bacteria from spreading. Avoid applying patches over skincare products or makeup; the area should be clean for best results. It’s important to apply the patches on clean, dry skin for optimal effectiveness. Improved air quality can also contribute to better skin health by reducing irritation from allergens and pollutants.
Press the patch firmly onto the skin, ensuring the entire pimple is covered. A clean, dry surface will help the patch stick better. If needed, use tweezers to handle the patch without touching it.
Finally, replace any patches that become dirty or lose their stickiness. Consistency is key—keep them on for several hours for maximum benefits.
Duration: How Long to Keep Your Pimple Patches On

Keeping your DIY pimple patches on for the right duration is essential for achieving ideal results. You should typically leave them on for about 4-8 hours, with overnight use being ideal for persistent blemishes. Since homemade patches are often made from hydrocolloid bandages, they work well to absorb pus and oil. However, their adhesion mightn’t be as strong as store-bought options, which could affect their effectiveness. For whiteheads, shorter wear is fine, but stubborn pimples may need longer. Remember to replace patches once they become saturated to maintain their benefits. Using hydrocolloid bandages can enhance the absorption of excess fluid and speed up the healing process. If you have sensitive skin, consider reducing the wear time to avoid irritation.
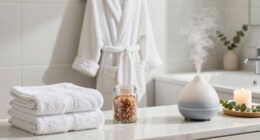
Post-Removal Care for Healthy Skin

Once you’ve removed your DIY pimple patches, it’s important to care for your skin properly to promote healing and prevent future breakouts.
Start with gentle cleansing using a mild, non-comedogenic cleanser to remove any residue. Gently Clean the Area is crucial to avoid further irritation. Regularly cleansing your skin can help reduce airborne pollutants that may lead to breakouts.
Next, apply a soothing toner to restore your skin’s pH balance.
Don’t forget to massage a good moisturizer into the area to keep it hydrated and support the healing process.
Protect your skin from pollutants and always wear sunscreen to guard against UV damage.
Pay attention to any signs of irritation; adjust your skincare routine if needed.
Finally, consume foods rich in omega-3 and vitamin E to further enhance your skin’s recovery.
Taking these steps will guarantee your skin stays healthy and radiant.
Limitations of DIY Pimple Patches

While DIY pimple patches can seem like a cost-effective solution for acne, they come with significant limitations that can hinder their effectiveness.
First, sterilization at home is tough, increasing the risk of bacterial contamination, which can worsen your acne. DIY patches often don’t adhere as well, leading to poor fluid absorption and inadequate healing support. Additionally, without specialized active ingredients like salicylic acid or tea tree oil, their efficacy may be limited. The manual process of cutting and applying these patches can be tedious and prone to error, risking improper fit and contamination. Finally, using non-standardized materials can cause skin irritation or allergic reactions, making them less reliable than commercial options. Furthermore, they are limited to specific types of active bumps, reducing their overall effectiveness. Proper piercing care and hygiene is crucial in preventing infections, which is a common concern for skin health.
Comparing DIY Patches to Store-Bought Options
DIY pimple patches may seem appealing, but their limitations prompt many to contemplate store-bought alternatives.
While DIY patches can effectively absorb fluids, they often lack the added benefits of salicylic acid and tea tree oil found in commercial options. Essential oils like tea tree oil provide natural antibacterial properties, which enhance the healing process. Store-bought patches undergo rigorous testing and are produced in sterile environments, minimizing contamination risks. Additionally, medicated patches provide targeted treatment that can significantly enhance the healing process.
Plus, they generally offer better adhesion and comfort, staying securely in place. You’ll also find a variety of sizes and designs that cater to different skin needs.
Although DIY patches might save you some money, the enhanced healing properties and convenience of store-bought alternatives often lead to higher user satisfaction.
Ultimately, weigh your options based on your skincare needs and preferences.
Exploring Different Types of Pimple Patches

When it comes to treating acne, understanding the various types of pimple patches can greatly enhance your skincare routine.
Hydrocolloid patches are great for surface-level acne like pustules and papules, creating a moist environment that promotes healing while absorbing debris. These patches are typically made of hydrocolloid, a gel-forming material, which is effective in drawing out excess fluid from pimples.
If you’re dealing with inflammation, consider medicated patches infused with ingredients like salicylic acid or tea tree oil to target bacteria and reduce swelling.
For deeper acne, microneedling patches deliver active ingredients directly into the skin, but use them cautiously to avoid irritation.
Each type serves a unique purpose, so choose based on the specific acne you’re facing and enjoy faster healing without the urge to squeeze.
Frequently Asked Questions
Can I Use These Patches on Cystic Acne?
You can’t effectively use pimple patches on cystic acne.
These patches work best for surface-level breakouts, creating a moist environment that helps heal minor pimples.
Cystic acne, however, involves deeper inflammation that requires more intensive treatment, like oral antibiotics or retinoids.
While DIY patches might seem appealing, they won’t penetrate deep enough to make a difference for cystic acne.
Stick to medical solutions for the best results with this type of acne.
How Do I Know if My Patches Are Contaminated?
You might think your patches are perfectly fine, but contamination can sneak in unexpectedly.
Check for visible dirt or an unusual texture—if they feel tacky, toss them. A foul odor signals bacterial growth, and any irritation on your skin after use is a red flag.
Always guarantee your workspace is clean and your tools are sanitized to minimize risks. If you notice any of these signs, don’t hesitate to discard the patches.
Are There Any Natural Ingredients to Add for Effectiveness?
Yes, you can definitely enhance your DIY patches with natural ingredients!
Consider adding tea tree oil for its antibacterial properties, or turmeric powder for its anti-inflammatory benefits.
Aloe vera gel soothes irritated skin, while raw honey provides both anti-inflammatory and antibacterial effects.
If you want extra healing power, mix in some lemon juice to exfoliate and aid in recovery.
These additions can make your patches even more effective for treating blemishes!
Can I Reuse DIY Pimple Patches?
You shouldn’t reuse DIY pimple patches. Doing so can transfer bacteria back onto your skin, increasing the risk of breakouts.
Plus, the adhesive weakens with each use, making them less effective. Contamination is another concern, as maintaining a sterile environment is tough.
Finally, the absorbency decreases, so they won’t draw out pus and oil effectively. For the best results, it’s wiser to use fresh patches each time.
What Skin Types Are Best Suited for DIY Patches?
Imagine waking up to clearer skin, feeling like you’ve conquered a battle.
When it comes to DIY patches, oily skin often thrives, soaking up excess sebum.
Combination skin needs a careful balance, while normal skin usually adapts well.
However, if you’ve got sensitive skin, be cautious—irritation can sneak in unexpectedly.
For dry skin, make certain you add moisture to your routine.
Understanding your skin type helps you create the most effective solution.
Conclusion
Now that you know how to create your own pimple patches, you can tackle breakouts without a trip to the store. Did you know that over 85% of people experience acne at some point in their lives? By making these patches at home, you’re not only saving money but also gaining control over your skincare routine. Remember to use proper techniques for application and removal to keep your skin healthy and glowing. Happy patching!