
You can easily make DIY pimple patches at home tonight! Start with hydrocolloid bandages and mix Epsom salt with a little water to create a paste. Apply the paste to clean, dry skin and place the bandage over it. Leave it on for several hours or overnight for the best results. These patches help reduce redness and inflammation quickly. Want to discover more tips, popular recipes, and natural ingredients to enhance your skincare routine?
Key Takeaways
- Gather essential ingredients: hydrocolloid bandages, Epsom salt, and water for your DIY pimple patches.
- Mix 1 tablespoon of Epsom salt with water to create an effective paste.
- Cut hydrocolloid bandages into appropriate sizes to fit over your pimples.
- Apply the paste to clean, dry skin before placing the bandage on top.
- Leave the patches on for several hours or overnight for the best results.
Understanding DIY Pimple Patches
When you want to tackle pesky pimples quickly, DIY pimple patches can be a game-changer. These homemade solutions can effectively reduce redness and inflammation in as little as 20 minutes.
DIY pimple patches are a quick and effective way to reduce redness and inflammation, often in just 20 minutes.
By using ingredients like Epsom salt, which helps reduce swelling, you can create customizable patches tailored to your skin’s needs. Incorporating essential oils like tea tree oil can enhance their effectiveness.
Proper application is essential—make sure your skin is clean and dry before placing the patch on the affected area. Ideally, leave it on for several hours or overnight for the best results.
The rise of DIY pimple patches on social media platforms like TikTok shows how many are turning to this innovative approach for better skincare outcomes.
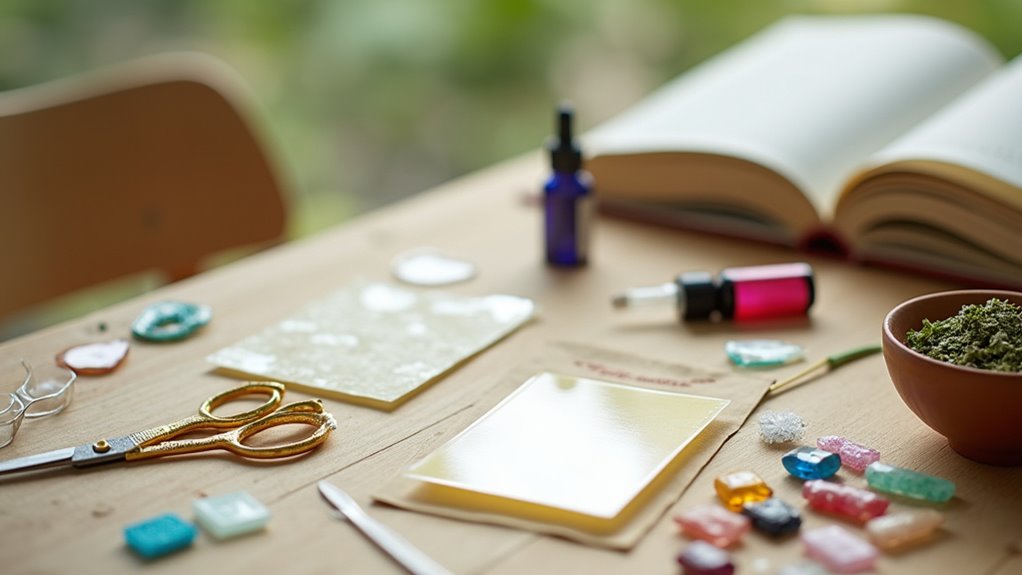
Essential Ingredients for Homemade Patches
To create effective homemade pimple patches, you’ll need to focus on a few key ingredients that work synergistically to combat acne.
Start with hydrocolloid bandages, as they help retain moisture and draw out impurities from your skin.
Next, consider adding Epsom salt for its anti-inflammatory properties, which can reduce swelling and redness.
Honey is another essential ingredient due to its natural antibacterial properties, helping prevent infection and soothe irritated skin.
You’ll also need water to mix with Epsom salt and activate the other components.
For an extra boost, you can include tea tree oil, known for its antimicrobial benefits; just use it sparingly to avoid irritation.
These ingredients will help you create powerful DIY patches.
Step-by-Step Guide to Making Your Pimple Patches
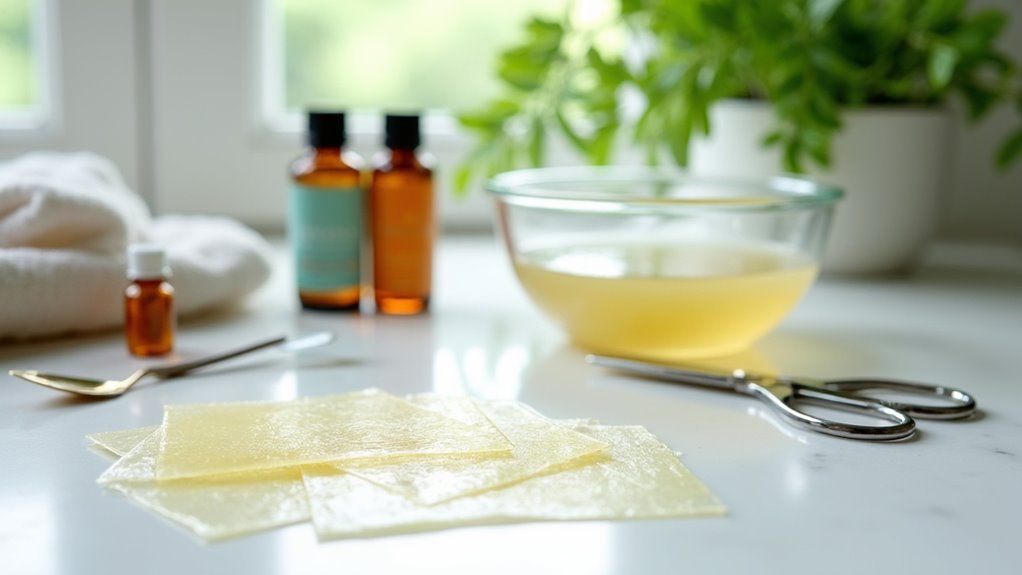
Creating your own pimple patches is a simple process that can yield impressive results.
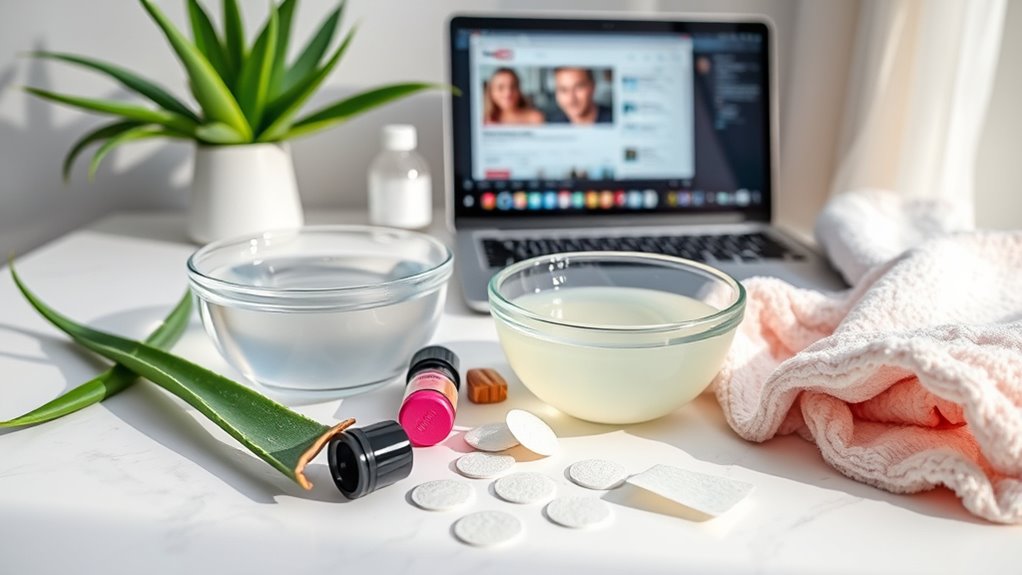
Start by gathering your ingredients: hydrocolloid bandages, Epsom salt, and water.
Mix 1 tablespoon of Epsom salt with a small amount of water until it forms a paste for targeted application on acne spots.
Cut the hydrocolloid bandages into small sizes that fit over individual pimples.
Confirm the area is clean and dry before applying the Epsom salt paste directly onto the pimple.
Place the bandage over the paste, then leave the patch on for several hours or overnight.
This will allow it to absorb excess oil and reduce inflammation effectively, giving you the relief you need from those pesky pimples.
Application Tips for Maximum Effectiveness

To get the most out of your DIY pimple patches, start with clean, dry skin to guarantee they stick well.
Timing’s essential, so leave them on for several hours or overnight for the best results.
And remember, avoid picking at your pimples beforehand to keep irritation at bay.
Clean Skin First
Starting with clean skin is essential when applying DIY pimple patches. Begin by washing your face with a mild, fragrance-free cleanser to remove dirt and excess oil. This guarantees your skin is primed for the patches to work effectively.
After cleansing, gently pat your skin dry with a clean towel; damp skin can hinder the patches’ ability to stick and absorb impurities.
Next, apply the patches directly to the acne spot, making sure they cover the entire blemish for the best results in reducing redness and inflammation.
For maximum effectiveness, consider leaving them on for several hours or overnight, allowing ample time for the patches to work their magic on your skin.
Timing Is Key
While timing might seem like a minor detail, it plays an essential role in the effectiveness of your DIY pimple patches. To maximize results, apply the patches to clean, dry skin to guarantee proper adhesion and absorption of ingredients.
Leaving them on for several hours or overnight can enhance their ability to reduce redness and inflammation. Many users find that applying patches right before bed offers peak treatment while you sleep, minimizing visibility during the day.
Remember, everyone’s skin is different, so don’t hesitate to experiment with application timing. Some may need longer or shorter durations for the best results.
Just make certain not to touch or pick at the acne before application to avoid reducing the patch’s effectiveness.
Avoid Picking Pimples
Applying DIY pimple patches effectively requires more than just timing; it’s also important to avoid picking at your pimples beforehand. Picking can introduce bacteria and worsen inflammation, so keep your hands off!
Start by cleansing your skin thoroughly with a gentle cleanser to guarantee the patch adheres properly. Once your skin is clean and dry, apply the pimple patch directly over the blemish for ideal absorption of excess oil and moisture.
Leaving the patch on for hours or overnight can help reduce redness and swelling. After use, monitor your skin reaction closely—if you notice any irritation, adjust the ingredients or how often you use the patches.
Popular DIY Pimple Patch Recipes
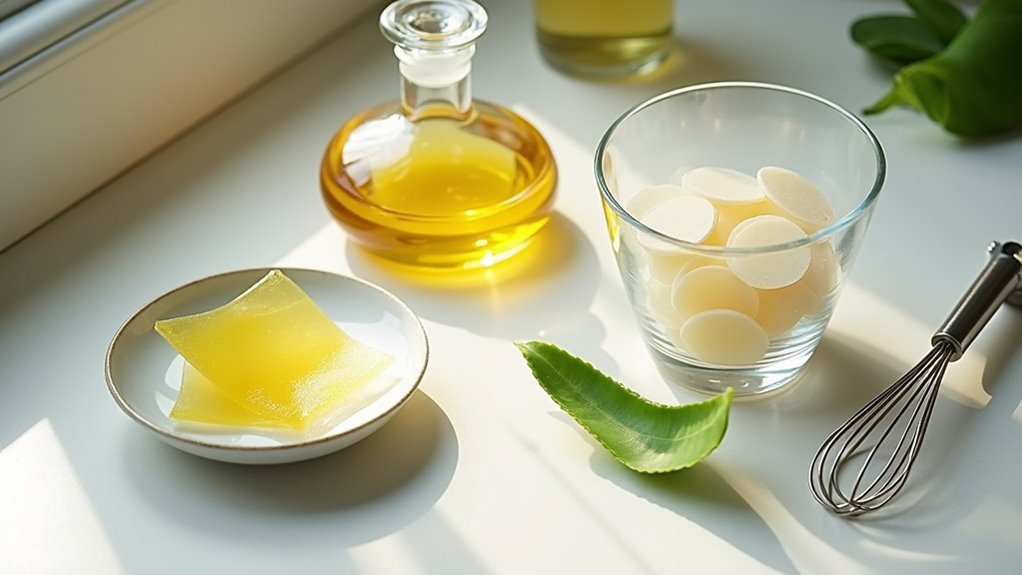
When it comes to DIY pimple patches, the Epsom salt recipe is a favorite for its simplicity and quick results.
You can also try the honey and hydrocolloid bandage combo, which harnesses honey’s antibacterial properties to soothe your skin.
Let’s explore these popular recipes so you can tackle those pesky blemishes effectively!
Epsom Salt Recipe
Epsom salt pimple patches are a simple and effective way to tackle pesky blemishes.
To create your own DIY version, mix 1 tablespoon of Epsom salt with 2 tablespoons of water to form a thick paste. Apply this homemade paste directly to the affected area, letting it sit for about 10-15 minutes.
Epsom salt’s anti-inflammatory properties can help reduce swelling and redness associated with acne, making it a popular choice for quick relief. After the time’s up, rinse off the paste with lukewarm water for best results.
Many users report noticeable reductions in pimple size and redness shortly after using these patches, proving that this affordable method can be a game changer in your skincare routine.
Honey Band-Aid Combination
If you’re looking for a natural way to combat acne, the honey band-aid combination is a fantastic DIY pimple patch option.
To make it, apply a small amount of raw honey directly onto a clean band-aid before placing it on your blemishes. Honey’s natural antibacterial and anti-inflammatory properties help soothe and heal acne while reducing redness and swelling.
For even better results, add a drop of tea tree oil to the honey, enhancing its acne-fighting power. Make sure the band-aid is securely applied to keep it in place, allowing the honey to penetrate the skin effectively.
Leaving the patch on for several hours or overnight will maximize its benefits, giving you a clearer complexion.
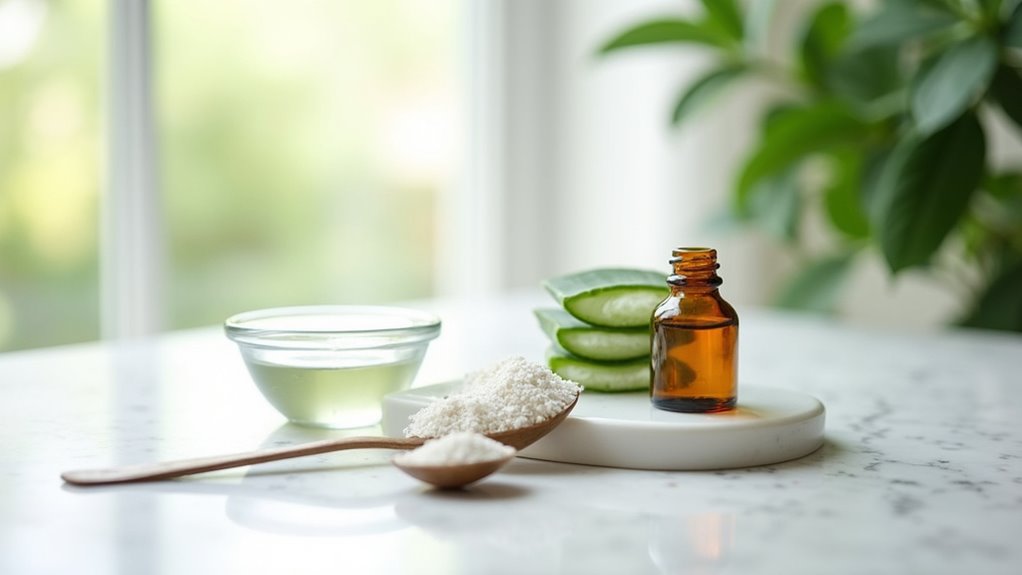
Benefits of Using Natural Ingredients in Skincare
Choosing natural ingredients for your skincare routine offers numerous benefits that can enhance your skin’s health. Natural ingredients often have antibacterial properties, helping to reduce infections and promote clearer skin.
Many, like honey and tea tree oil, provide anti-inflammatory effects, soothing irritated skin effectively. You’ll find that using these ingredients minimizes the chance of irritation, making them ideal for sensitive skin types.
Components such as apple cider vinegar and baking soda can balance skin pH levels, contributing to overall clarity and health.
Plus, natural skincare is rich in antioxidants from plant-based sources, protecting your skin from environmental damage and promoting a youthful appearance. Additionally, incorporating glycolic acid into your routine can further enhance skin texture and clarity.
Frequently Asked Questions
How to Make a Homemade Pimple Patch?
To make a homemade pimple patch, start by mixing 1 tablespoon of Epsom salt with 2 tablespoons of water to create a paste.
Cut small pieces of hydrocolloid bandages to cover your acne.
Apply the Epsom salt paste on clean, dry skin, then place the bandage over the affected area.
Leave it on for several hours or overnight to absorb excess oil and reduce inflammation.
Store any leftover patches in a dry place for later use.
What Can I Use if I Don’t Have Pimple Patches?
Ever wondered if you can tackle breakouts without those fancy pimple patches? You can!
If you don’t have pimple patches, try using hydrocolloid bandages as a DIY alternative.
Or, mix Epsom salt with water to create a paste that reduces swelling.
You might also soak cotton pads in diluted apple cider vinegar for a quick spot treatment.
Baking soda paste or crushed aspirin mixed with water can help too.
You’ve got options!
How Do You Make Homemade Pimple Treatment Overnight?
To make a homemade pimple treatment overnight, mix 1 tablespoon of Epsom salt with 1 tablespoon of water to form a paste.
Apply it directly to your clean, dry acne spots and let it sit overnight. This can help reduce swelling and redness.
For extra benefits, add a bit of honey for its antibacterial properties.
Just be sure to cleanse your skin first to maximize effectiveness and avoid irritation.
What Ingredients Make Pimple Patches Work?
To make effective pimple patches, you need a few key ingredients. Hydrocolloid bandages create a moist environment that absorbs excess oil and aids healing.
Epsom salt reduces swelling and redness, while honey offers antibacterial properties to prevent infections. Water is essential for mixing everything and ensuring adherence to your skin.
You can also add essential oils, like tea tree oil, for extra anti-inflammatory and antimicrobial benefits. Together, these ingredients work wonders on blemishes!
Conclusion
Making DIY pimple patches is like crafting a little shield for your skin. With just a few simple ingredients, you can take control of breakouts in the comfort of your home. By embracing natural remedies, you not only save money but also avoid harsh chemicals. So, why wait? Gather your supplies tonight and whip up your own patches, giving your skin the care it deserves. You’ll be amazed at how effective and satisfying this simple project can be!