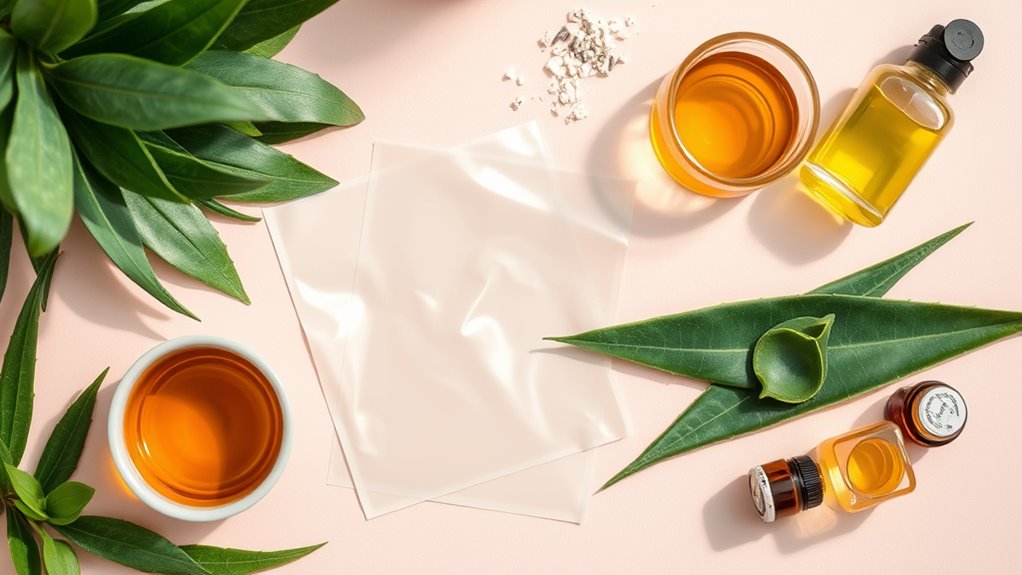
Want to save your skin and wallet with DIY pimple patches? Start by gathering hydrocolloid bandages, scissors, and your choice of natural ingredients like tea tree oil or apple cider vinegar. Cut absorbent cotton into small squares, soak them, and apply them to clean skin overnight for best results. Always guarantee the patch covers the blemish well. If you’re curious about optimizing your results or knowing when to opt for commercial patches, there are more tips ahead.
Key Takeaways
- Create effective DIY pimple patches using hydrocolloid bandages and enhance them with natural ingredients like tea tree oil for targeted relief.
- Utilize absorbent cotton pads soaked in Epsom salt for soothing inflammation and promoting healing on blemishes.
- Apply patches on clean, dry skin, ensuring they fully cover the blemish for optimal results and secure adhesion.
- Replace patches daily or when dirty to maintain effectiveness and hygiene in your skincare routine.
- Consider commercial patches for sensitive skin or severe acne for quicker results, especially before events, but DIY options can save money.
Essential Materials for Your DIY Pimple Patches
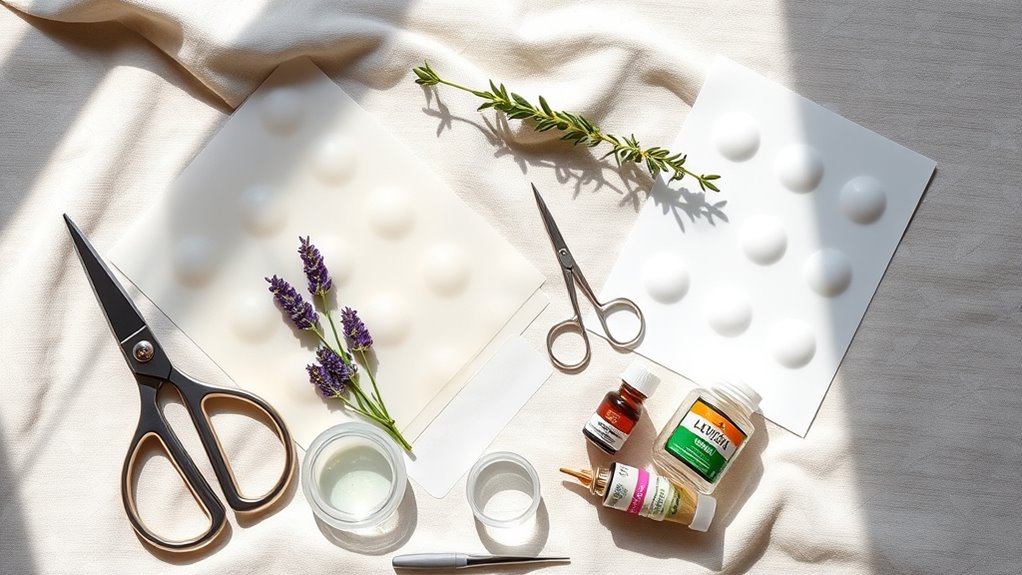
Creating your own pimple patches can be a game-changer for your skincare routine. To get started, you’ll need hydrocolloid bandages, which form the base of your patches. Make sure to have adhesives or alternatives to keep them securely on your skin. Grab some scissors or a hole puncher for shaping your patches to fit your needs. Don’t forget sanitizing wipes or alcohol to maintain hygiene while you work. For enhanced effects, consider adding optional active ingredients like tea tree oil or salicylic acid. These materials not only help combat breakouts but also allow you to customize your patches, making them an effective and cost-efficient addition to your skincare arsenal. Additionally, the quality of your raw materials directly impacts the effectiveness of your patches, so always opt for high-grade ingredients to maximize their benefits.
Step-by-Step Guide to Crafting Your Own Patches
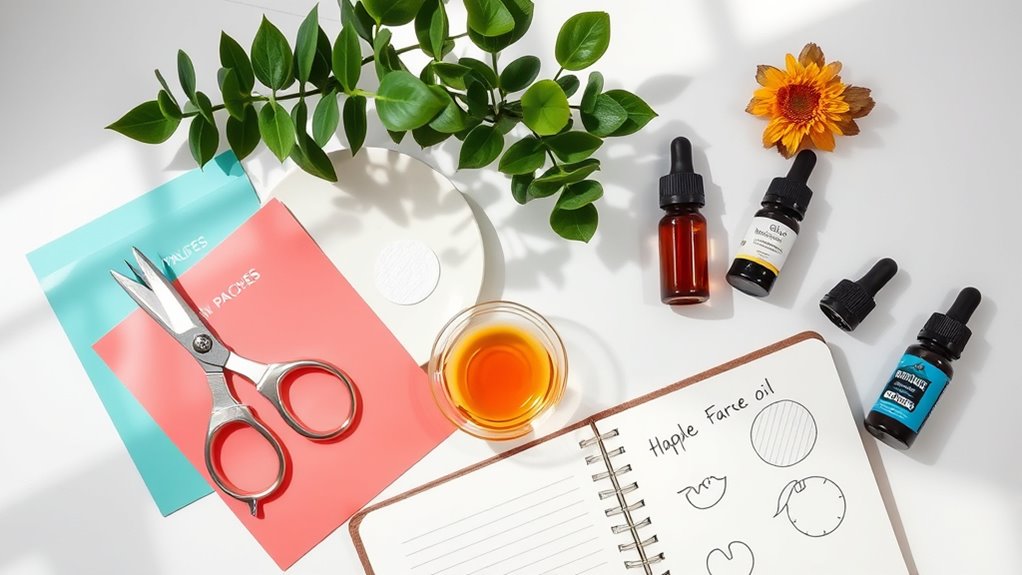
To craft your own pimple patches, start by gathering your materials and preparing your workspace.
Cut small squares from cotton pads or gauze, ensuring they fit snugly over your blemishes. Prioritize absorbent materials to effectively draw out pus and oil. These DIY patches can mimic the properties of hydrocolloid technology, which promotes healing by drawing out impurities.
Next, dissolve Epsom salt in warm water and soak your cotton squares. For added benefits, mix in a few drops of tea tree or lavender oil, but remember to spot test first to avoid irritation. Chronic scab picking can turn any pore into an open wound quickly, so using these patches can help prevent further damage.
If you prefer, you can mix gelatin with water to create hydrocolloid-like patches.
Once your patches are ready, apply them to clean, dry skin. Press down firmly, and leave them overnight for best results. This will provide targeted treatment while reducing inflammation.
Enjoy your DIY pimple patches!
Natural Ingredients to Enhance Your Pimple Patch Effectiveness
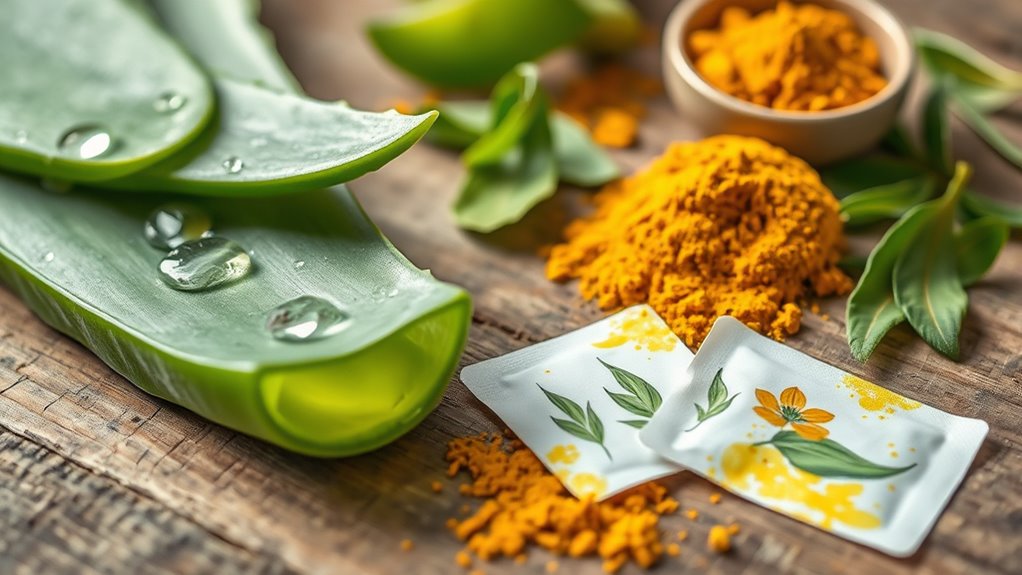
While DIY pimple patches can work wonders on their own, incorporating natural ingredients can greatly boost their effectiveness.
Apple cider vinegar, when diluted, helps reduce inflammation and exfoliate your skin. Chia seeds, known for their high fiber content, can also support overall skin health when included in your diet. Green tea contains antioxidants that soothe irritation and decrease acne-causing bacteria. You can even freeze green tea into ice cubes for a revitalizing cooling effect. Additionally, green tea ice cubes provide a refreshing treatment that can enhance the soothing properties of your patches. Regular use of natural remedies can complement your skincare routine and improve overall skin health. Moreover, consuming a diet rich in whole, unprocessed foods may further promote healthy skin.
Tea tree oil is a powerful antimicrobial; just remember to dilute it to avoid irritation. Niacinamide enhances hydration and helps manage oil production, making it ideal for oily skin.
Finally, baking soda serves as a gentle exfoliant and helps neutralize skin pH, but use it sparingly to prevent dryness. Mixing these ingredients into your patches can lead to clearer skin and improved results.
Tips for Proper Application and Usage
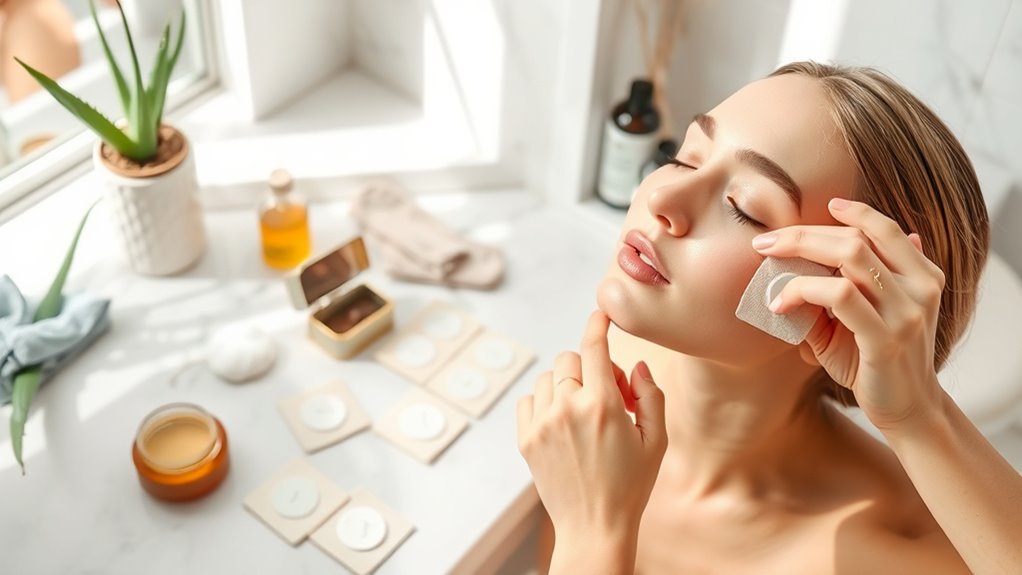
When you want to get the most out of your DIY pimple patches, proper application and usage are key.
Start by cleansing your skin with a gentle cleanser, then pat your face dry. After that, apply a toner, especially on sensitive areas, and avoid any oily products. When choosing a patch, confirm it fully covers the blemish without waste. Apply the patch directly onto the clean pimple and hold it for about 10-30 seconds for secure adhesion. Remember that hydrocolloid patches are ideal for treating early-stage pimples like whiteheads and small bumps.
Wear the patch for at least six hours, preferably overnight, and replace it daily or when it becomes dirty. After removal, cleanse the area and stick to your skincare routine for the best results.
When to Choose Commercial Pimple Patches Over DIY Options
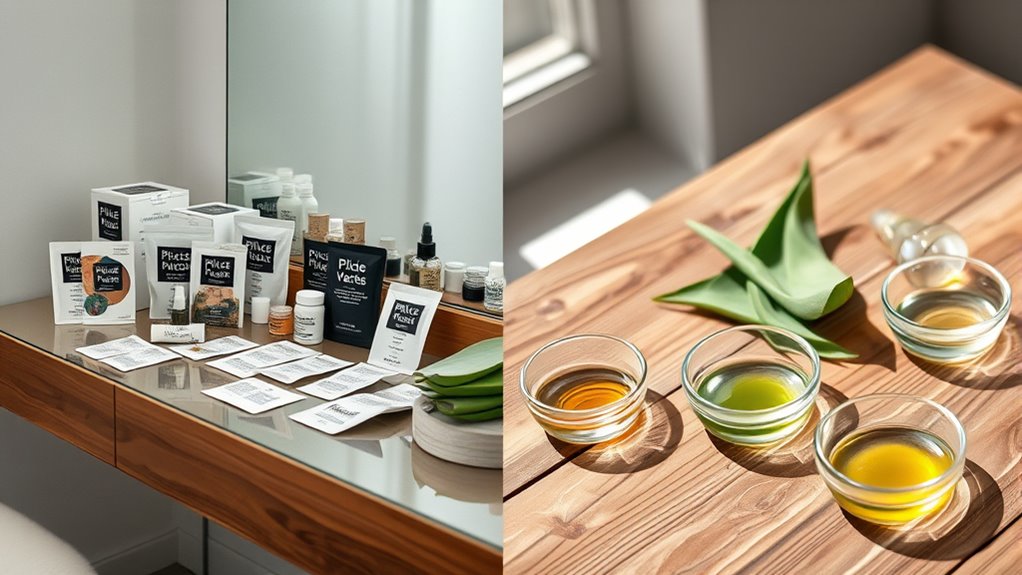
Choosing between DIY pimple patches and commercial options can greatly impact your acne treatment results.
If you have sensitive skin, opt for commercial patches, as they’re made in sterile environments, reducing irritation risks. Additionally, using HEPA filtration in air purifiers can help reduce airborne allergens that may worsen skin conditions. Furthermore, necessary cookies enhance user experience on websites where you might seek skincare advice. Regular use of moisturizers can also help improve overall skin health and reduce the likelihood of breakouts.
For severe or cystic acne, patches containing salicylic acid offer targeted relief that DIY versions lack. This is because salicylic acid helps unclog pores and remove excess oil effectively.
If you need quick results before an event, commercial patches work faster and adhere better than homemade ones.
Plus, they come in various sizes to meet your specific needs. While DIY patches might seem cost-effective, the reliability and long-term benefits of commercial patches often save you money and time, making them a smarter choice for effective acne management.
Frequently Asked Questions
How Long Can I Store DIY Pimple Patches?
You can typically store DIY pimple patches for about one to two weeks, depending on how you’ve made and stored them.
Keep them in a clean, dry container to maintain hygiene and avoid moisture.
Remember, without preservatives, their shelf life is shorter than store-bought options.
If you notice any changes in texture or smell, it’s best to discard them to prevent any skin irritation or infection.
Always prioritize your skin’s health!
Can I Reuse DIY Pimple Patches?
Think of your skin as a delicate garden; reusing DIY pimple patches is like watering it with dirty water.
You can’t expect blooms when you’re introducing bacteria and irritation. While it might seem tempting to save a patch for another day, the risks of infection and skin damage outweigh any benefits.
Instead, use fresh patches for a healthier, more effective approach. Your skin deserves the best care, after all!
Are DIY Patches Safe for Sensitive Skin?
When it comes to DIY patches, their safety for sensitive skin can be a concern. You might experience irritation from the adhesive or materials used, especially if your skin is prone to reactions.
Additionally, creating patches in a non-sterile environment can increase the risk of infection. If you have sensitive skin, it’s wise to consult a dermatologist or consider using store-bought patches designed specifically for delicate skin.
Your skin deserves the best care!
What if My Pimple Is Not Raised?
Imagine you wake up with a painful, unraised pimple that feels deep under your skin.
If your pimple isn’t raised, you mightn’t see a head, making it tricky to treat. You can try applying a warm compress to reduce inflammation or use products with salicylic acid.
If it persists, don’t hesitate to consult a dermatologist for targeted treatments.
How Do I Know if My Pimple Is Healing?
You can tell your pimple is healing by observing several signs.
Look for reduced redness and swelling, which indicate inflammation is subsiding. If pus drains, that’s a positive sign your body’s fighting the infection.
As it heals, you might notice drying, flaking skin and even the formation of a scab.
Additionally, if you experience less pain and fewer new spots appearing, your skin is likely stabilizing and recovering well.
Conclusion
In the battle against blemishes, DIY pimple patches can be your secret weapon, turning your skincare routine into a creative adventure. With a few simple materials and a pinch of natural magic, you can craft effective solutions that save both your skin and your wallet. So don your DIY cape and embrace the journey to clearer skin! Remember, sometimes the best remedies are those you create with your own hands—let your creativity shine bright in the quest for flawless skin.
