To craft your own DIY acne patch, you will need curry leaf powder, Multani mitti, holy basil leaves, and rose water. Form a paste, clean your face, apply the mixture on acne spots, making sure they are fully covered. Allow it to dry overnight for optimal results. Wash your face in the morning. Repeat regularly for clear skin. This natural remedy helps reduce current breakouts and prevents future ones. Stay committed for long-lasting benefits. For a more in-depth guide on making and using your homemade acne patch, check out the detailed steps provided.
Key Takeaways
- Blend curry leaf powder, Multani mitti, holy basil leaves, and rose water for potent acne treatment.
- Apply the paste on pimples, let dry overnight for maximum effectiveness.
- Cleanse face before application for best results.
- Consistent nightly use reduces existing spots and prevents breakouts.
- Long-term benefits include clear skin and improved overall skin health.
Gathering the Ingredients
To create your own DIY pimple patch, start by gathering the necessary ingredients: curry leaf powder, Multani mitti, holy basil leaves, and rose water. When targeting a stubborn spot on your face, these ingredients come together to form a powerful spot treatment.
Imagine this: a small affected area on your face where a pesky pimple has appeared, and your skin is dry. This is where the magic begins. Curry leaf powder, rich in antioxidants, will help reduce inflammation and promote healing on that specific spot.
Multani mitti steps in to draw out any excess oil lingering on your skin, perfect for those prone to acne. The holy basil leaves, with their antibacterial properties, work wonders in combating the acne-causing bacteria lurking beneath the surface.
Mixing the Ingredients

To properly mix the DIY pimple patch ingredients, combine the following in a bowl:
- 1 tablespoon of curry leaf powder
- 1 tablespoon of Multani mitti
- 3-4 holy basil leaves
Add rose water gradually to achieve a paste-like consistency for easy application.
Thoroughly verify the ingredients to guarantee a smooth texture before applying the paste on pimples.
Ingredient Selection
For mixing the ingredients in your DIY pimple patch, you can combine curry leaf powder, Multani mitti, holy basil leaves, and rose water. Each ingredient plays an important role in combating acne.
Curry leaf powder brings in antioxidants that help with breakouts, while Multani mitti works to draw out excess oil from your face, keeping it balanced. The antibacterial properties of holy basil leaves fight against acne-causing bacteria, promoting clearer skin.
Rose water not only helps to create a paste for easy application on pimples but also adds a soothing element to the mixture. By carefully selecting and combining these ingredients, you're taking a step towards achieving healthier, clearer skin.
Proper Mixing Technique
Mixing the ingredients for your DIY pimple patch involves carefully blending curry leaf powder, Multani mitti, holy basil leaves, and rose water to achieve a smooth and consistent texture.
Start by combining the ingredients in a clean bowl or container to maintain hygiene. Guarantee a balanced ratio of each component for maximum effectiveness.
Stir the mixture thoroughly to evenly distribute all elements, ensuring a uniform application on your skin. The key is to blend until a homogeneous texture is achieved, facilitating easy application on the affected areas.
Forming the Paste
To form the paste for your DIY pimple patch, combine curry leaf powder, Multani mitti, holy basil leaves, and rose water.
This mixture brings antioxidants, oil-absorbing properties, antibacterial benefits, and aid in application, respectively.
Once these ingredients are mixed well, you can apply the paste onto your pimples for a natural remedy.
Paste Ingredients
Combining curry leaf powder, Multani mitti, holy basil leaves, and rose water forms the key ingredients for the DIY pimple patch paste. Each component plays an essential role in combating acne: curry leaf powder is packed with antioxidants, Multani mitti helps to extract excess oil, holy basil leaves possess antibacterial properties, and rose water facilitates smooth application.
This powerful combination works synergistically to reduce acne breakouts effectively and promote clear skin. By applying the paste directly on pimples, letting it dry overnight, and maintaining a regular skincare routine, you can experience lasting effects.
Consistent use of the DIY pimple patch can aid in diminishing acne spots, preventing future breakouts, and nurturing overall skin health.
Mixing and Applying
After preparing the key ingredients for the DIY pimple patch paste, the next step involves guaranteeing the mixture achieves a smooth and consistent texture for best application on your pimples.
Here are some tips to guide you through mixing and applying the paste efficiently:
- Combine Ingredients: Mix curry leaf powder, Multani mitti, holy basil leaves, and rose water thoroughly to create the paste.
- Consistency Check: Aim for a paste-like consistency that's easy to apply evenly on your pimples.
- Even Application: Make sure the paste is spread evenly on the affected areas to maximize its effectiveness in combating acne breakouts.
Preparing the Skin
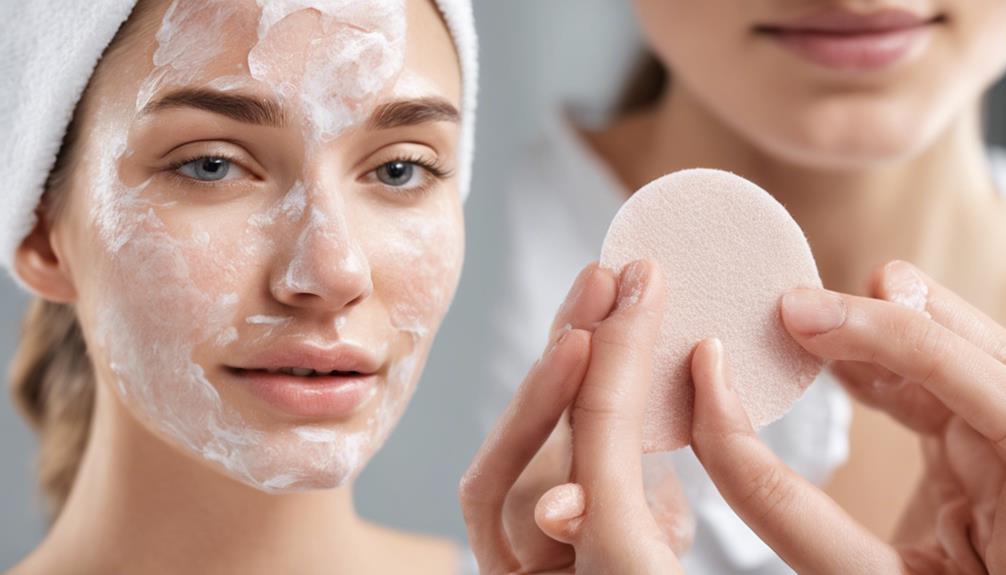
Before applying the DIY pimple patch, cleanse your face with a mild cleanser to remove dirt and oil. This step is important in preparing your skin for the patch application. Harsh scrubs or exfoliants should be avoided as they can irritate the skin and potentially worsen acne. Once you've cleansed your face, gently pat it dry with a clean towel. Make sure that there's no makeup or skincare products left on your skin, as this can affect how well the patch adheres.
Remember not to touch your face with dirty hands, as this can transfer bacteria and potentially lead to more breakouts. By maintaining clean hands and a freshly cleansed face, you set the stage for the DIY pimple patch to work effectively. Taking these simple steps will help create a clean and suitable environment for the patch to target your pimples efficiently.
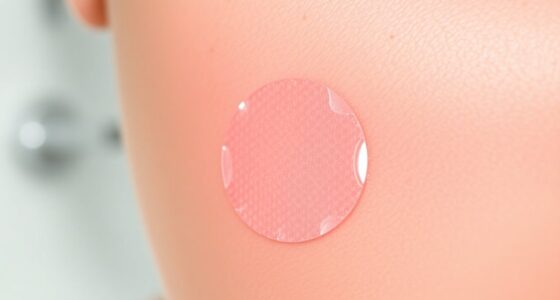
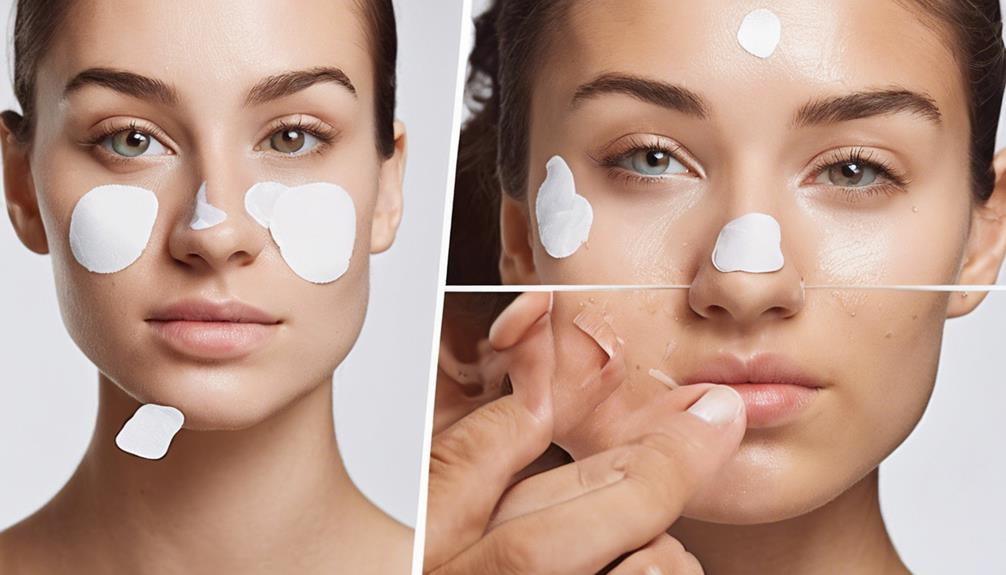
Applying the DIY Patch

When applying the DIY pimple patch, be sure to cover the pimple completely with a thin layer of the mixture. This helps the ingredients work effectively to reduce breakouts.
Let the patch dry overnight to maximize its impact on your skin.
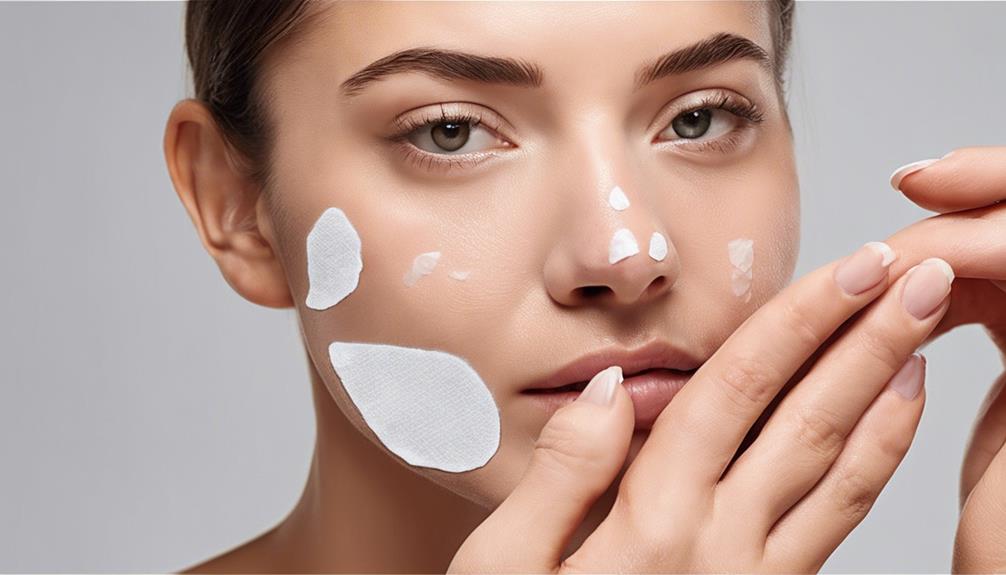
Patch Application Technique
To maximize the effectiveness of the DIY pimple patch, make sure to directly apply the mixture onto the affected areas of your face. Here are three key steps for best patch application technique:
- Gently dab the DIY patch mixture onto clean, dry skin where breakouts are present.
- Allow the patch to dry completely overnight to guarantee it can work its magic in reducing acne breakouts effectively.
- Remember that the patch not only stops acne breakouts but also supports the overall health of your skin.
Prolonging Patch Effectiveness
For best results in prolonging the effectiveness of the DIY pimple patch, make sure to apply thoroughly and consistently on the affected areas of your skin.
It's important to guarantee the patch is completely dry before leaving it on overnight to maximize its effectiveness in tackling those pesky pimples.
Consistent application of the patch can effectively stop acne breakouts, while maintaining a clean face and avoiding oily foods can further enhance its effectiveness.
Remember, regular use of the patch is key to seeing prolonged and sustained results in reducing acne spots.
Sharing the video tutorial on making and applying the DIY pimple patch can also be helpful for others struggling with acne.
Stay committed to the process, and your skin will thank you!
Letting It Dry

Allow sufficient time for the DIY pimple patch to completely dry overnight to optimize its effectiveness in treating acne. Here are three essential tips to guarantee your DIY pimple patch dries effectively:
- Hands-off Approach: Refrain from touching or disturbing the drying patch to allow it to adhere well and work its magic on the pimple.
- Enhanced Adhesion: The drying process aids in the patch sticking securely to the skin, enabling it to target the acne spot efficiently.
- Oil Absorption: Allowing the patch to dry overnight helps in absorbing excess oil and impurities from the affected area, promoting better results.
Overnight Treatment
Make sure your DIY pimple patch is applied to the affected area before bedtime for an effective overnight treatment against acne. The combination of curry leaf powder, Multani mitti, holy basil leaves, and rose water in the patch works wonders in reducing acne breakouts while you sleep. By leaving the patch on overnight, the active ingredients can penetrate your skin, targeting the pimples directly and helping to minimize their appearance.
Consistency is key – regular use of the DIY acne pimple patch not only treats existing acne but also prevents future breakouts, promoting clearer skin over time. To enhance the effectiveness of the patch, it's essential to maintain a healthy diet and keep your face clean. By incorporating these practices into your skincare routine and making the most of the overnight treatment, you can achieve long-lasting effects on your skin health.
Morning Rinse

When you wake up, start your day by gently rinsing your face to cleanse and refresh your skin for the day ahead. Here's why the morning rinse is vital for your skincare routine:
- Prepares Your Skin:
Morning rinse helps to cleanse the face and prepare it for the day ahead, removing any oils or impurities that may have accumulated overnight.
- Maintains Balance:
Using a gentle cleanser in the morning can help maintain the balance of your skin, ensuring it stays healthy and radiant throughout the day.
- Optimal Skincare Application:
Morning rinse is essential to create a clean canvas for applying skincare products. It ensures that your serums, moisturizers, and other treatments are absorbed effectively, maximizing their benefits for your skin.
Remember to follow up your morning rinse with a toner and moisturizer to keep your skin hydrated and protected throughout the day. This simple step can make a significant difference in the overall health and appearance of your skin.
Repeat Application
To maintain peak results, regularly reapply the DIY pimple patch as part of your skincare routine. Consistent use is key to maximizing the effectiveness of the patch in targeting and treating acne spots. By applying the patch on a regular basis, you can't only address existing breakouts but also help prevent future ones from occurring. It's recommended to incorporate the pimple patch into your daily or nightly skincare regimen to support clear and healthy skin over time.
Make sure to follow the instructions provided with the DIY pimple patch for the best results. Reapplying the patch as advised can help maintain its potency and ensure that it continues to work effectively in combating acne. By establishing a routine of using the patch consistently, you can harness its benefits for your skin's overall well-being. Remember, persistence is key when it comes to achieving and maintaining clear, blemish-free skin.
Long-Term Benefits
Regularly applying the DIY pimple patch not only targets and treats acne spots but also provides long-term benefits by supporting clear skin and overall skin health. Here are three reasons why incorporating this DIY remedy into your skincare routine can lead to lasting improvements:
- Reduction in Acne: The DIY pimple patch helps in reducing existing acne spots and preventing future breakouts, leading to clearer skin over time.
- Promotion of Skin Health: Consistent use of the patch promotes clear skin and supports overall skin health by targeting the root causes of acne and promoting healing.
- Long-Lasting Effects: By regularly applying the DIY pimple patch, you can enjoy long-term benefits on your skin health, ensuring a sustained improvement in the appearance and texture of your skin.
Frequently Asked Questions
How Do I Make My Own Pimple Patch?
To make your own pimple patch, combine ingredients like curry leaf powder, Multani mitti, holy basil leaves, and rose water. These components work together to provide antioxidants, draw out excess oil, combat acne-causing bacteria, and promote skin healing.
What Can I Use if I Don't Have a Pimple Patch?
If you find yourself without a pimple patch, don't fret! You can whip up a DIY paste using natural ingredients like turmeric, honey, and aloe vera.
Tea tree oil makes a handy spot treatment to combat inflammation and acne-causing bacteria. Benzoyl peroxide, applied directly on the blemish, can act as a makeshift patch to dry it out.
Cut up hydrocolloid bandages or use an aspirin and water mixture for redness and swelling.
How Do You Make Homemade Zit Spot Treatment?
To make homemade zit spot treatment, combine ingredients like curry leaf powder, Multani mitti, holy basil leaves, and rose water. These work together to reduce acne by controlling oil, providing antioxidants, and fighting bacteria.
Apply the mixture directly on pimples and leave it overnight to dry. Consistent use can prevent future breakouts and promote clear skin.
A clean diet, good skin hygiene, and regular application are key for effective acne spot reduction.
Do Bandaids Work as Pimple Patches?
Bandaids aren't ideal as pimple patches.
Pimple patches are specifically designed to treat acne, containing ingredients like salicylic acid or hydrocolloid to absorb pus and oil, creating a protective barrier against bacteria and dirt.
Unlike bandaids, pimple patches are translucent and discreet for day or night wear.
Bandaids, focused on wound care, lack the acne-fighting properties necessary for effective acne treatment.
Is the DIY Pimple Patch as Effective as the Easy Homemade Pimple Patch?
The DIY pimple patch can be just as effective as the easy homemade pimple patch recipe. Both options use natural ingredients and can help to reduce inflammation and clear up blemishes. Whether you choose to make your own or buy a pre-made patch, the key is consistency and proper application.
Conclusion
So there you have it – in just 10 easy steps, you can create your own DIY pimple patch to tackle those pesky breakouts. Say goodbye to expensive store-bought options and hello to a cost-effective solution that works wonders overnight.
Give it a try and see the results for yourself. Who knew combating pimples could be this easy and budget-friendly?
Happy patching!