
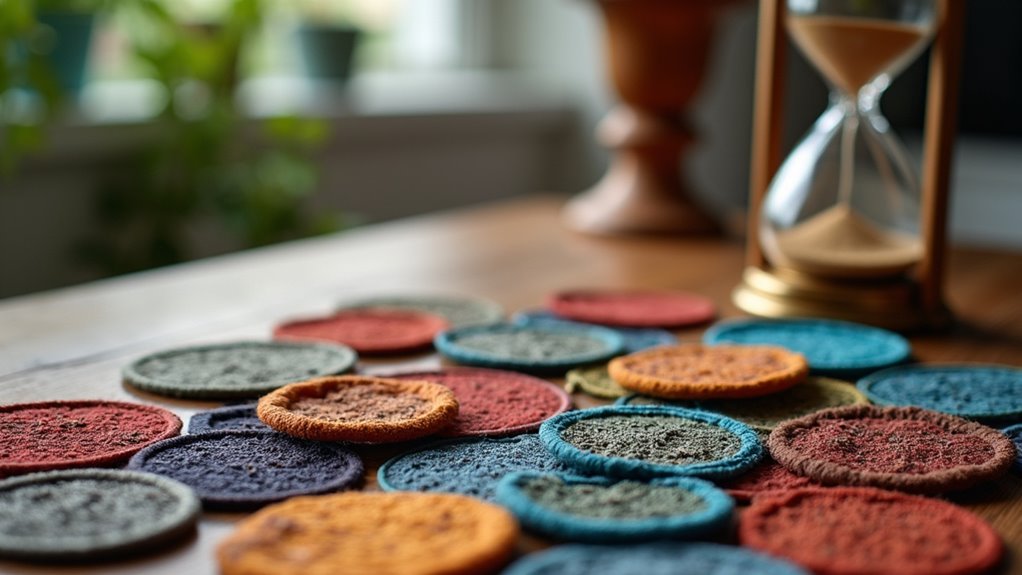
Timing is key for patch application. Apply your patch during the first five days of your menstrual cycle for immediate contraceptive protection, or on your quit day for nicotine patches. Stick to a routine—consistent application helps maintain stable hormone levels. Always place the patch on clean, dry skin in a hairless area, and rotate sites to avoid irritation. If you stick with proper timing and techniques, you’ll maximize effectiveness. Discover more tips to enhance your patch experience!
Key Takeaways
- Apply birth control patches during the first five days of menstruation for immediate contraceptive protection.
- Use nicotine patches on your designated quit day to maximize effectiveness in smoking cessation.
- For Rotigotine patches, apply consistently in the afternoon to maintain stable medication levels.
- Designate a specific day for patch changes to enhance effectiveness and prevent gaps in protection.
- Monitor patch adherence, especially after water activities, and use backup contraception if it has been off too long.
Understanding the Importance of Timing for Patch Application

When it comes to patch application, timing is key to ensuring effectiveness. To maximize benefits, you should start using your patch at the same time each week. This consistency helps maintain stable hormone levels or therapeutic effects, depending on the patch type.
For birth control patches, applying the patch during the first five days of your menstrual period gives you immediate contraceptive protection. When you’re applying the patch, make sure to do so on clean, dry skin for ideal adherence and absorption.
If you’re using a nicotine patch, align your application with your quit day for the best results. Remember, effective patch use hinges on your commitment to timing, so stick to your schedule for maximum impact.
Best Time of Day to Apply the Rotigotine Patch

Applying the Rotigotine patch in the afternoon is ideal for ensuring consistent medication levels throughout the night. This timing helps you maintain steady absorption and effectiveness, which is essential for managing your symptoms.
To get the best results, try to apply the patch at the same time each day. Before you apply the patch, make sure to clean the skin thoroughly; this enhances adhesion and reduces the risk of irritation.
For best comfort, upper arms are recommended as application sites since they can minimize itching or discomfort during movement.
Preparing Your Skin for Patch Application

To get the most out of your Rotigotine patch, it’s essential to prepare your skin properly before application.
Start by making sure the area is clean, dry, and free from lotions, creams, oils, powders, or makeup. This maximizes the adhesive effectiveness of the patch.
Ensure the application area is clean, dry, and free from any products to enhance the patch’s adhesive performance.
Choose hairless areas like the upper outer arm, back, belly, or buttocks for placement, steering clear of cuts, creases, or areas prone to sweating.
Wash the application area with warm water and clear soap, then dry thoroughly before you use the patch.
Remember to rotate patch locations with each new application to prevent skin irritation and guarantee consistent drug absorption.
Avoid applying the patch on or near the breasts for best results.
How to Properly Apply the Patch
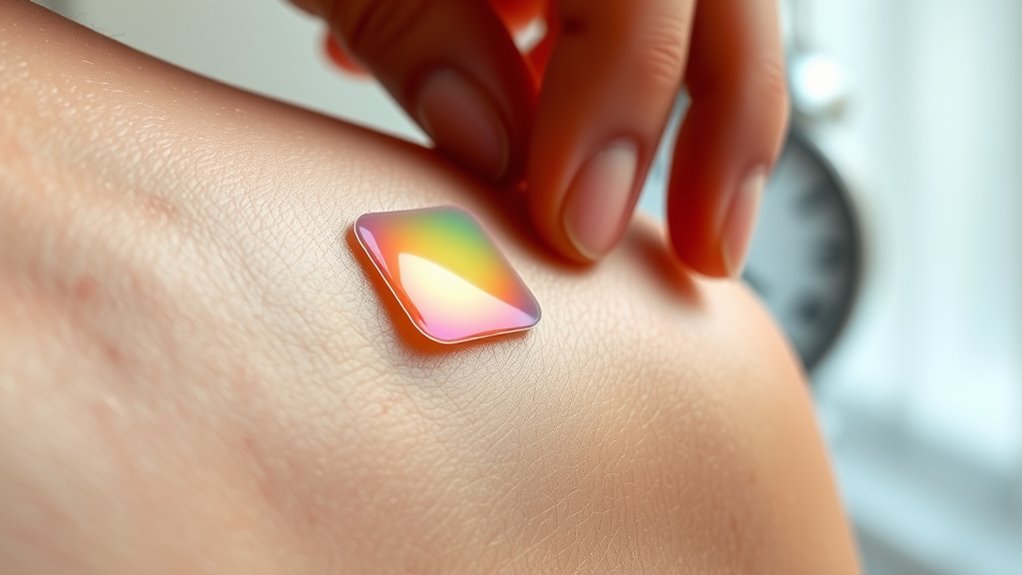
After preparing your skin, it’s time to apply the Rotigotine patch correctly for ideal results.
First, choose a clean, dry, hair-free area like your upper arm, back, abdomen, or buttocks, avoiding the breast area. Make certain the site is free from any lotions, creams, oils, powders, or makeup.
Open the patch package carefully and remove the protective liner without touching the sticky side. Position the patch on your skin and press it firmly for at least 10 seconds to guarantee it adheres properly.
If you need to put a new patch on, remember to rotate the application sites to prevent irritation and wait at least a week before reusing the same area.
Consistency in Application: Why It Matters

When you stick to a consistent patch application schedule, you boost your chances of effective contraception.
Choosing a regular ‘patch change day’ helps keep your hormone levels stable and reduces the risk of forgetting to replace the patch.
This reliability not only enhances adherence but also supports tracking your menstrual cycle and any side effects.
Daily Application Timing
Consistency in applying patches at the same time each day can greatly enhance their effectiveness.
Daily application timing is essential for maintaining stable drug levels in your bloodstream, which maximizes the benefits of the patch. By using the patch on clean, dry skin at the same time daily, you’ll reinforce the habit, making it less likely you’ll forget to replace it.
For nicotine patches, consider placing them in the afternoon to help minimize sleep disturbances. This regularity not only helps manage side effects but also allows you to anticipate how the medication affects you throughout the day.
Studies show that sticking to a strict schedule can greatly boost your success rates with patch-based therapies.
Adherence to Schedule
To guarantee you get the most out of your patch, sticking to a set schedule is essential. Consistency in changing your patch helps maintain steady hormone levels, maximizing its contraceptive effectiveness, which exceeds 99% with correct use. Designate a specific “patch change day” each week to minimize the chances of forgetting to put on a new patch, which can lead to decreased protection against pregnancy. By wearing each patch for 7 days and allowing a 7-day patch-free week, you’ll confirm regular hormonal cycling and menstruation as expected. Additionally, understanding the importance of hormonal cycling can help in managing your overall reproductive health during this time.
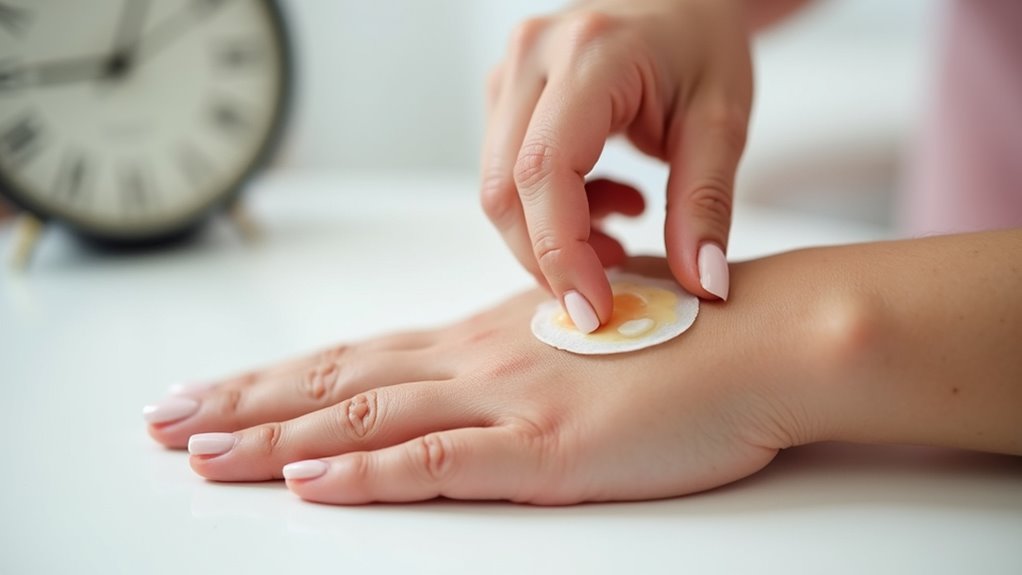
Managing Itching and Skin Reactions

When using patches, you might experience some itching or skin reactions at the application site.
To manage this, it’s important to follow effective itch relief strategies and choose your patch placement wisely.
Let’s explore how to minimize these reactions for a more comfortable experience.
Common Skin Reactions
Many people experience common skin reactions like redness, itching, and irritation at the site of patch application.
These skin reactions can linger for a few days after you remove the patch. To minimize discomfort and guarantee the patch sticks to your skin effectively, consider these tips:
- Keep the skin clean and dry before applying the patch.
- Avoid lotions or creams that may cause the patch to not stick well.
- Rotate patch application sites to reduce irritation.
- If reactions persist beyond three days or worsen, consult a healthcare provider.
Itch Relief Strategies
While managing common skin reactions like redness and irritation is important, finding effective itch relief strategies can considerably enhance your comfort.
Start by applying patches to clean, dry, and hairless skin that’s free from oils or lotions, as these can worsen irritation. If you experience itching, consider rotating application sites to give previously used areas time to heal.
After removing a patch, over-the-counter hydrocortisone cream may help relieve localized itching, but it’s best to consult a healthcare provider first. Additionally, maintaining proper piercing care and hygiene is crucial to prevent further irritation.
Remember to keep the patch on for the full recommended duration to minimize skin reactions; changing it too often can increase irritation risk.
If itching persists or becomes severe, reach out to a healthcare professional for alternative remedies.
Patch Placement Tips
Choosing the right patch placement can greatly impact your comfort and the effectiveness of the medication. Here are some essential patch placement tips to keep in mind:
- Apply patches to clean, dry, hair-free skin, ideally on the upper arm, back, or thigh.
- Avoid areas with cuts, creases, or excessive sweating to minimize irritation.
- Rotate patch locations with each application to allow your skin to heal and prevent irritation.
- Verify patches don’t overlap, as this can lead to increased skin reactions and affect absorption.
After removing the patch, monitor your skin for any redness or irritation. If irritation lasts more than three days, consult your healthcare provider for guidance.
Proper placement helps you enjoy the benefits of your medication without discomfort.
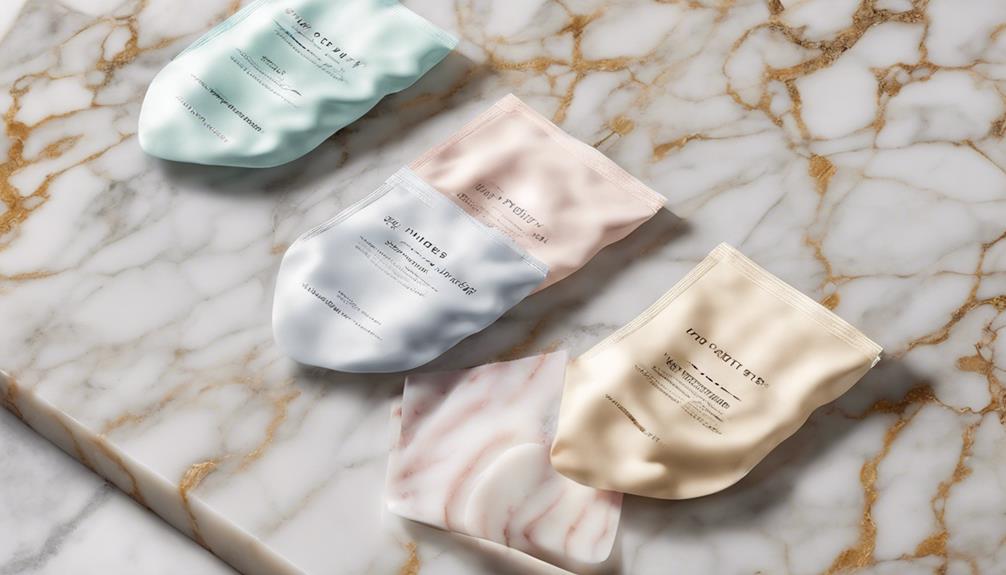
Storage Tips for Your Patches
Proper storage of your patches is essential for maintaining their effectiveness. Keep them at room temperature, away from direct sunlight, heat sources, and moisture.
Avoid refrigeration or freezing, as extreme temperatures can compromise their integrity and performance. Always keep your patches sealed in their foil pouches until you’re ready to use them; this prevents exposure to air and humidity.
Additionally, make certain that your patches are stored out of reach of children and pets to avoid accidental ingestion or misuse. Before applying a patch, check the expiration date on the packaging to confirm it’s still effective.
Following these storage tips will help you get the most out of your patches when you need them.
What to Do if Your Patch Falls Off
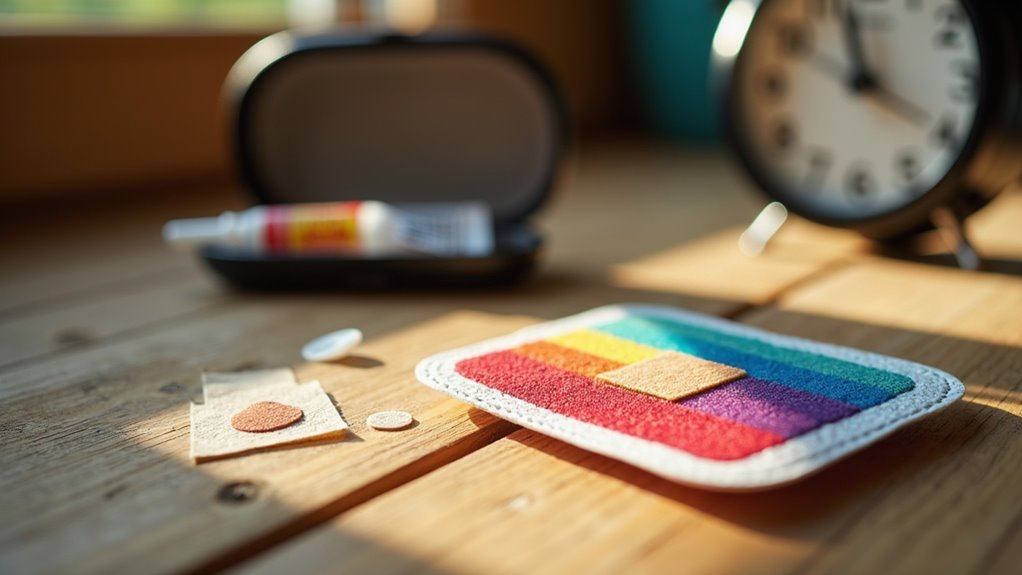
If your patch falls off, don’t panic; you can still take steps to confirm you remain protected.
First, check how long it’s been off. If it’s less than a day for Twirla or two days for Xulane, try to reapply it. If it won’t stick, put on a new patch.
Here’s what to do next:
- Confirm the application site is clean and dry.
- Monitor the patch regularly, especially after swimming or showering.
- If it’s been off too long, use backup contraception for 7 days.
- Consult your healthcare provider if your patch frequently comes loose.
Taking these actions helps maintain your contraceptive effectiveness.
The Role of Patch Change Days in Effectiveness

Designating a consistent patch change day is essential for maintaining effective birth control.
By tracking these change days, you guarantee that the patch is applied and replaced on schedule, maximizing its effectiveness.
Skipping or altering this routine can lead to unintended gaps and reduced protection, so staying organized is key.
Importance of Consistent Timing
Maintaining a consistent patch change day each week is essential for ensuring the contraceptive patch remains effective. By sticking to a schedule, you help keep hormone levels steady, maximizing the patch’s efficacy.
Here are a few reasons why consistent timing matters:
- It minimizes the risk of forgetting to change the patch.
- Reinforcing the habit makes it easier to remember your patch change day.
- Skipping patch-free weeks can lead to breakthrough bleeding.
- The contraceptive patch is over 99% effective with proper use, so consistency is key.
Establishing a routine for your patch change day not only supports your contraceptive needs but also enhances your peace of mind.
Stay on track for the best results!
Tracking Change Days
Sticking to a consistent patch change day is only part of the equation; tracking those days is just as essential for ensuring the contraceptive patch works effectively. By keeping a record of your patch change days, you minimize confusion and maintain peak effectiveness. Here’s a simple tracker to help you stay on schedule:
| Week | Patch Change Day | Notes |
|---|---|---|
| Week 1 | Monday | Change patch |
| Week 2 | Monday | Change patch |
| Week 3 | Monday | Change patch |
| Week 4 | Monday | Patch-free week |
| Week 5 | Monday | Start new cycle |
Using reminders or calendars can enhance your tracking efforts, ensuring you don’t exceed the 7-day patch application limit, thereby preserving the patch’s effectiveness.
Impact on Effectiveness
When you consistently apply the contraceptive patch on your designated change day each week, you greatly enhance its effectiveness in preventing unintended pregnancies.
By sticking to this routine, you maintain steady hormone levels, essential for maximizing protection. If you forget to replace your patch on time, the effectiveness can drop to 91%, compared to over 99% with proper use.
To guarantee ideal results, consider these tips:
- Always start the patch on your chosen day.
- Replace the patch promptly if it falls off.
- If you want to skip a period, start a new pack immediately.
- Use backup contraception if the patch is out for too long.
Following these guidelines will help maintain the patch’s effectiveness.
Communicating With Your Healthcare Provider About Patch Use
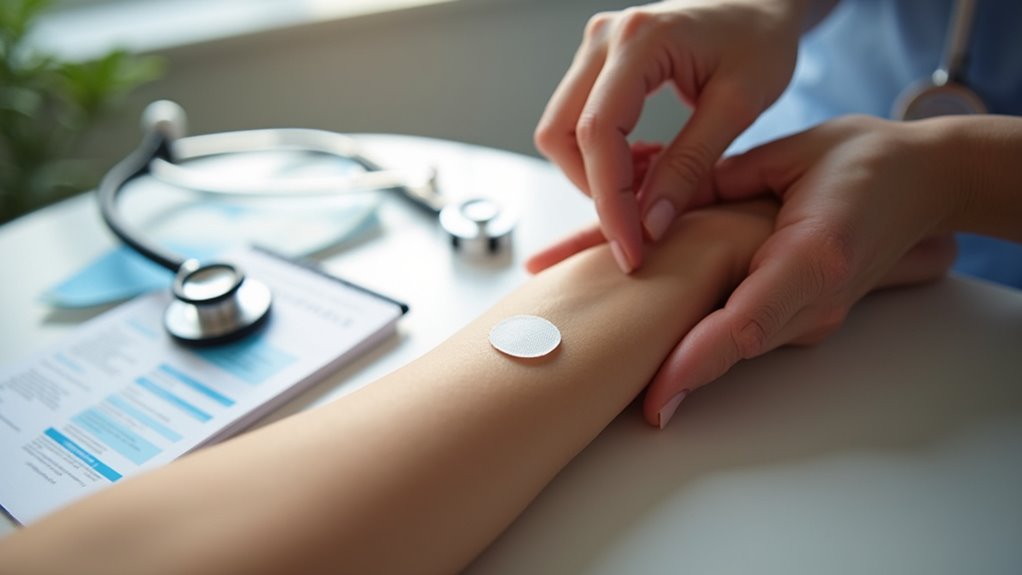
Effective communication with your healthcare provider is essential for ensuring the patch is the right contraceptive choice for you.
Always discuss your medical history, current medications, and any health conditions that may affect patch use. Inquire about the schedule for applying the patch, managing side effects, and what to do if the patch loosens or falls off.
It’s important to know when to replace it and whether you need a new one. Make sure to ask about the patch’s efficacy and the importance of adhering to the change schedule.
Regularly communicate any concerns or changes in your health that might impact the patch’s effectiveness, such as starting a new medication or lifestyle change. Your provider is there to help you navigate these issues.
Frequently Asked Questions
When Is the Best Time to Put on the Patch?
The best time to put on the patch is when it fits seamlessly into your daily routine.
You might want to apply it in the afternoon, as this can help with absorption and adherence.
For contraceptive patches, consider starting during the first five days of your menstrual cycle for immediate protection.
Always stick it to clean, dry, hair-free skin to avoid irritation and guarantee it stays put throughout the day.
When Should a Patch Be Applied?
Imagine applying a patch like slapping on a superhero cape; timing’s everything! You should apply your patch on a consistent schedule, ideally on the same day each week.
If you’re starting a contraceptive patch, do it within the first five days of your period for immediate protection.
For nicotine or rotigotine patches, pick your quit day or afternoon, respectively.
Just remember, clean and dry skin makes for a happy patch!
What Are the Three Important Things to Do When Applying Transdermal Patches?
When applying transdermal patches, there are three important things you should do.
First, make certain to choose clean, dry, hairless skin for ideal adhesion and absorption.
Next, press the patch down firmly for at least 10 seconds to secure it and remove any air bubbles.
Finally, remember to rotate your application sites with each new patch to prevent skin irritation and guarantee effective drug delivery.
Following these steps will help you get the best results.
How Long Does It Take for the Patch to Activate?
Think of a patch as a quiet gardener, planting seeds of healing beneath your skin.
How long it takes for that garden to bloom depends on the patch type. For nicotine patches, you’ll feel relief within hours, while rotigotine may take up to a day.
Other patches may need a week to fully activate, so be patient. Each patch has its own rhythm, and it’s essential to follow the guidelines for the best results.
Conclusion
In summary, timing can make all the difference when using the rotigotine patch. Applying it at the right moment enhances its effectiveness, while neglecting this aspect might lead to subpar results. Just as day follows night, your consistency in application should mirror the routine of your daily life. Remember, a well-prepared patch application is your ally, so don’t overlook the small details. Communicate with your healthcare provider; it’s the key to accessing the full potential of your treatment.

Claire has a knack for turning complex dermatological concepts into engaging, easy-to-understand articles. Her work primarily focuses on creating detailed reviews and thought-provoking articles in the “Vetted” category. Claire’s writing not only informs but also inspires our community to try new skincare solutions.